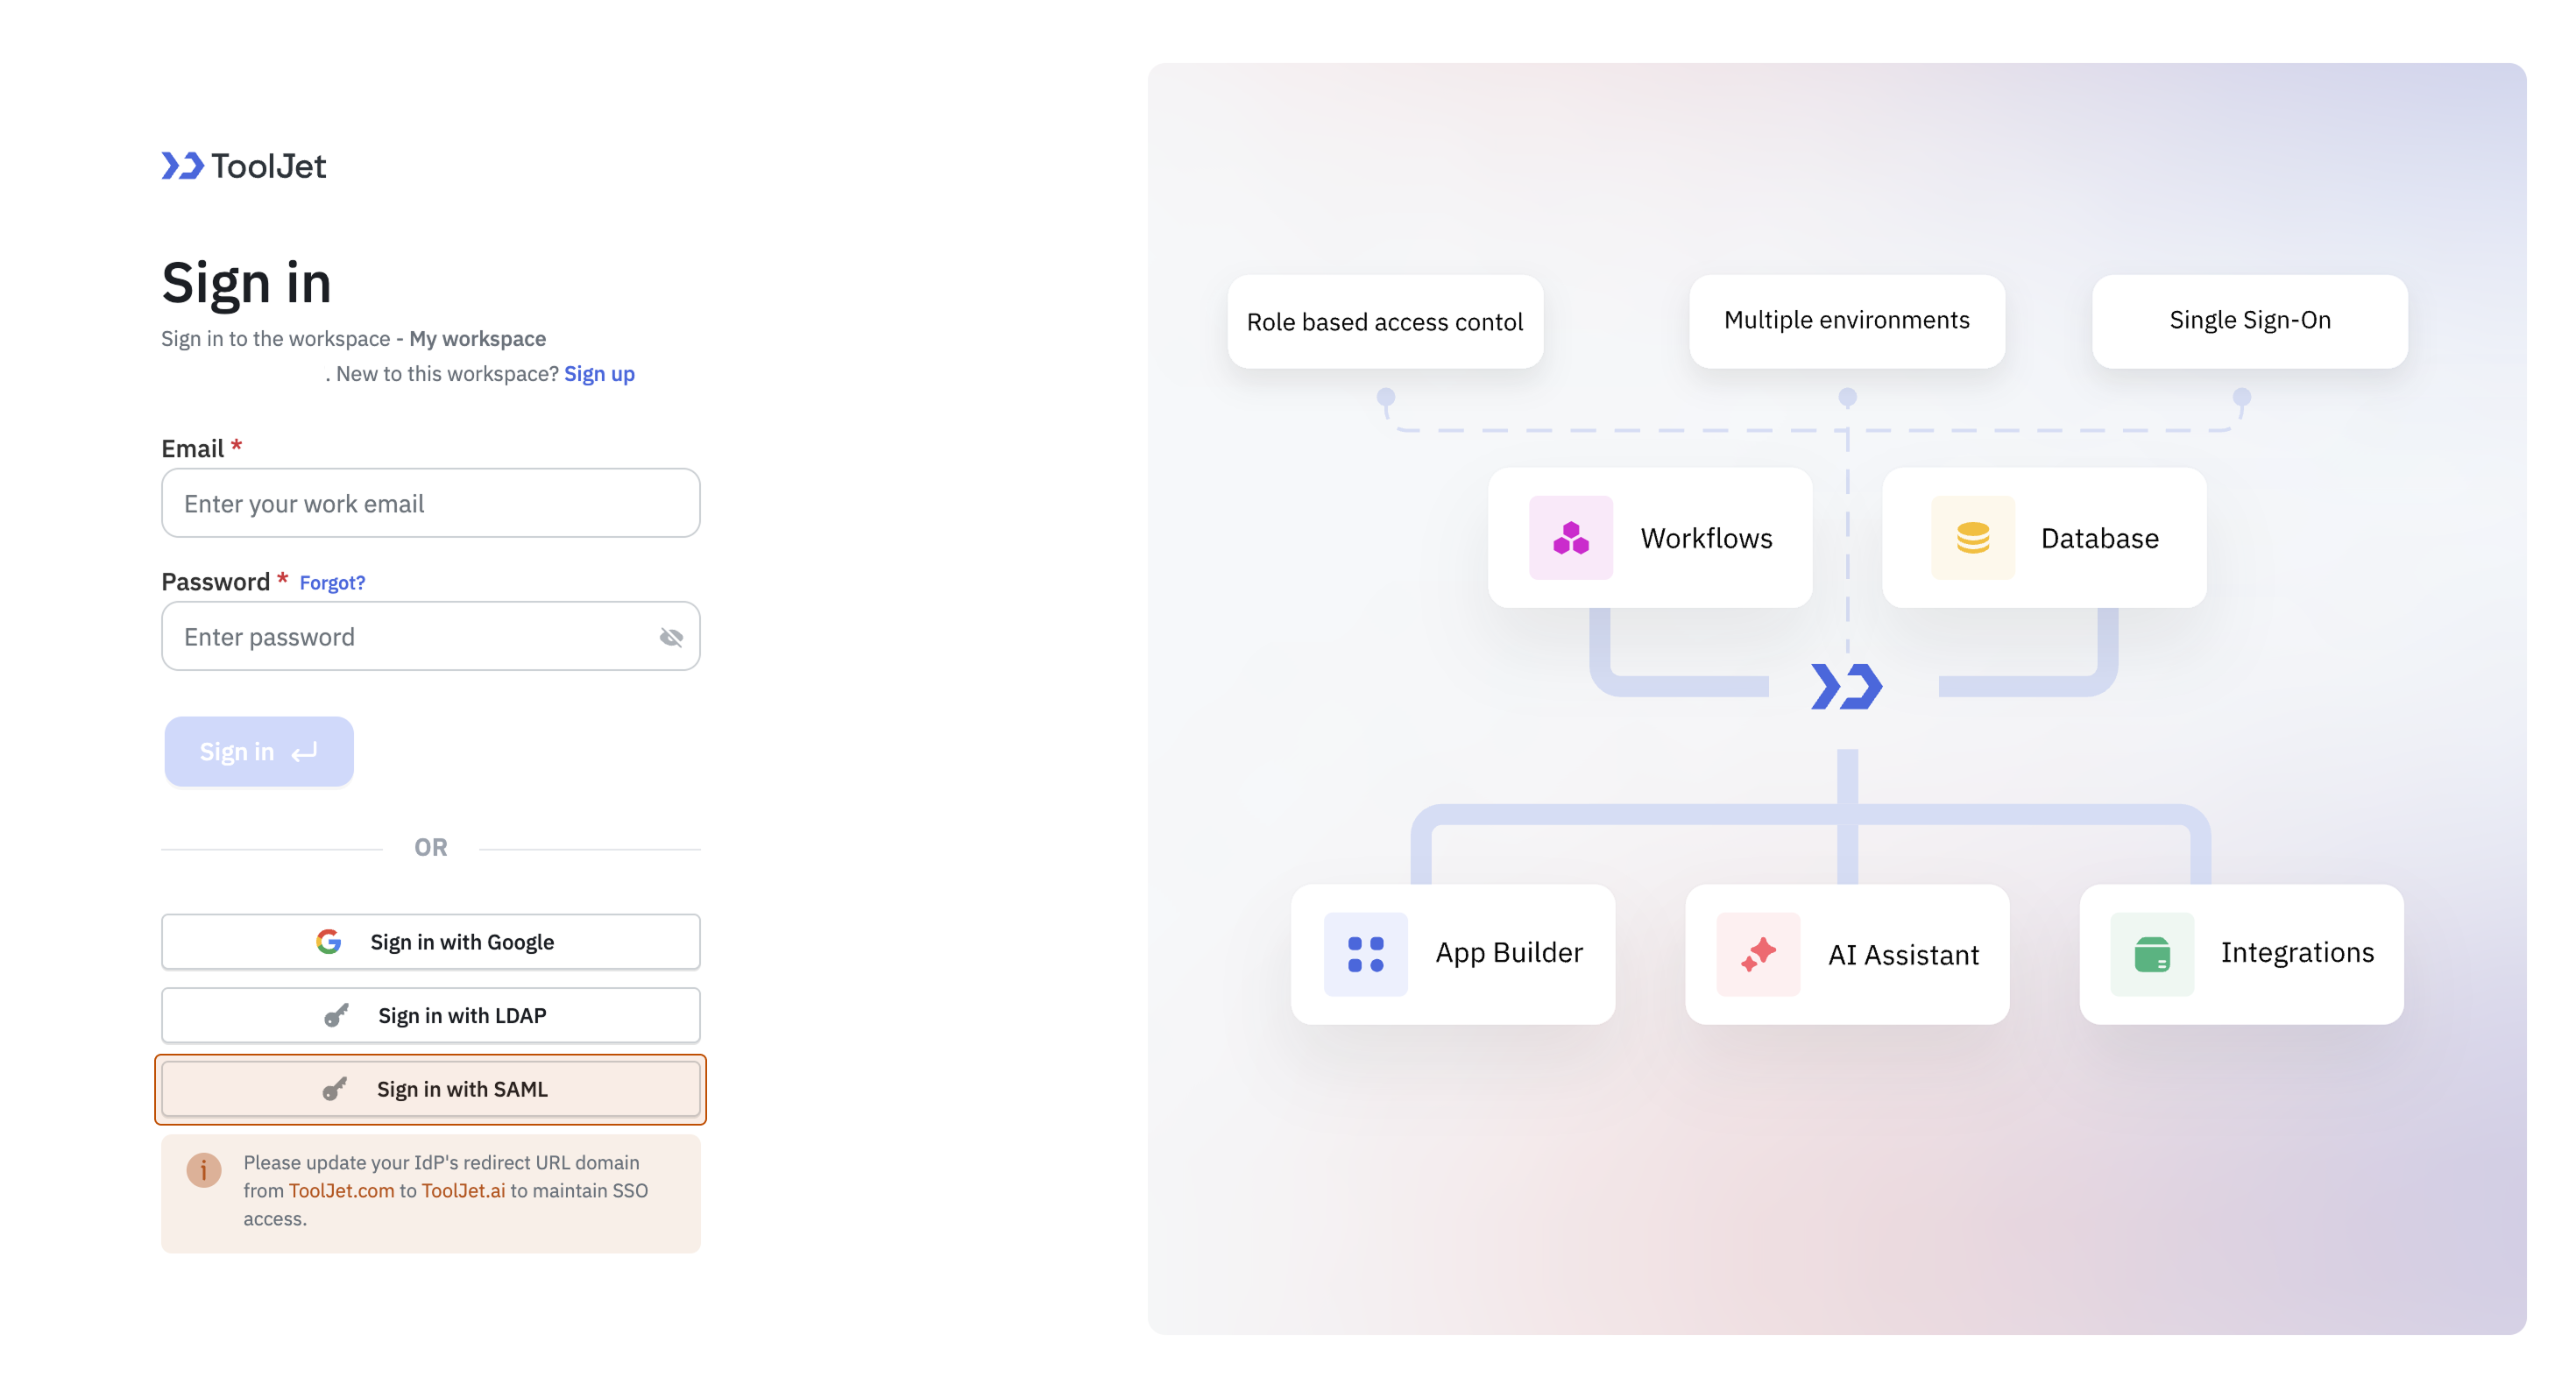
Okta
Okta can be configured as the Identity Provider for SAML, which is an authentication protocol that securely verifies user identities through a trusted provider. This document explains how to obtain the required credentials from the Okta Developer Console. Refer to the SAML Setup guide to configure SAML in your application.
Generating Metadata
-
Sign in to the Okta Developer Console.
-
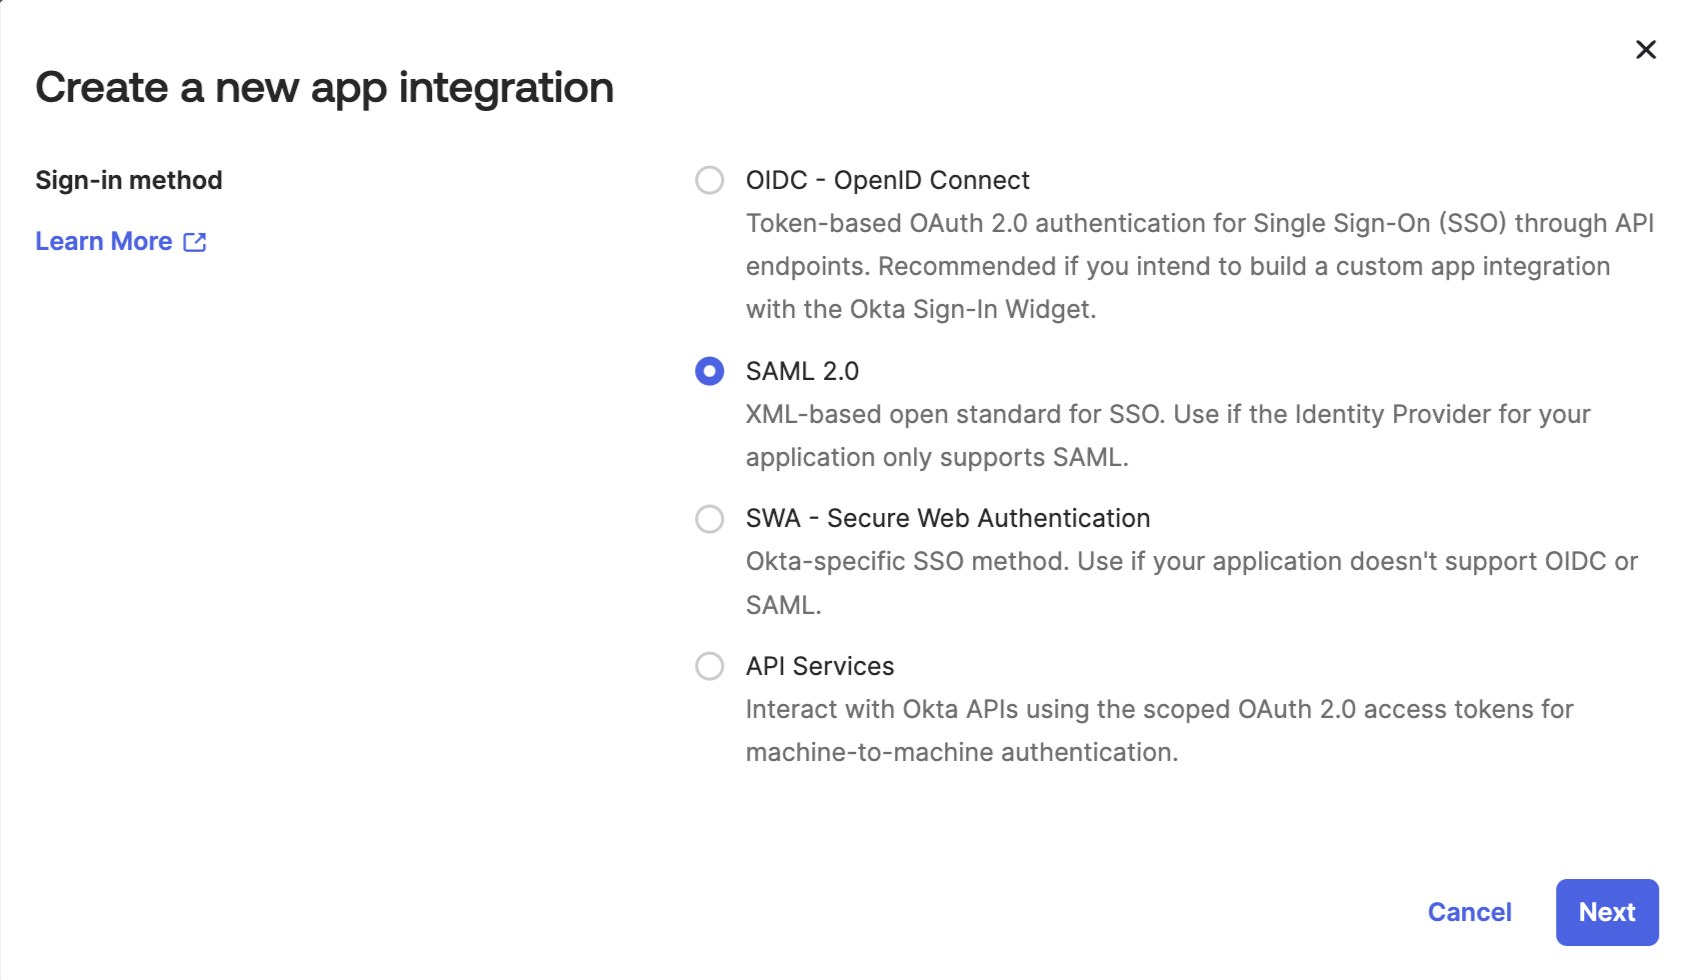
Navigate to the Applications section and click Create App Integration.

-
Select SAML 2.0 as the Sign-in method. Click on the Next button.
-
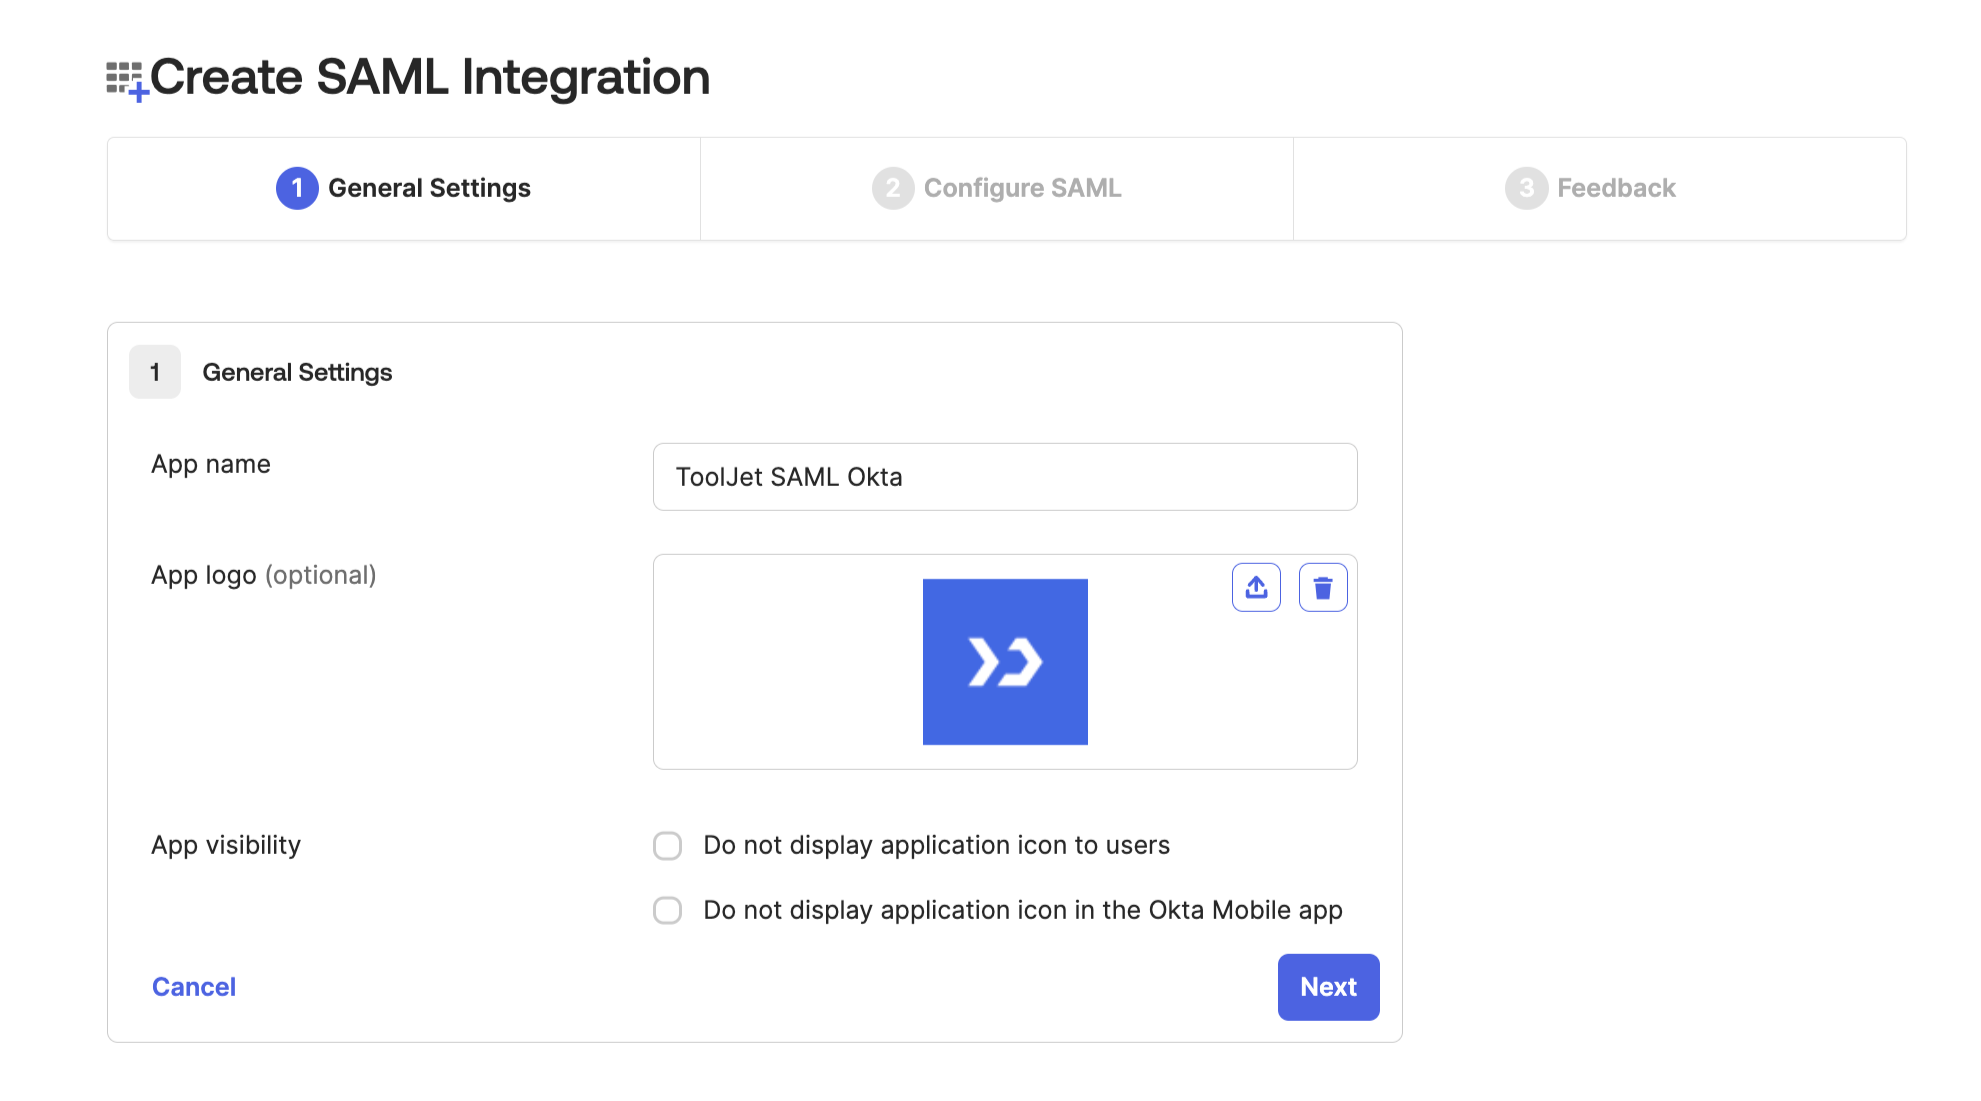
Configure the General Settings:
- App Name: Enter the application name to be displayed on the login page.
- App Logo (optional): Upload a logo to be shown on the login page.
-
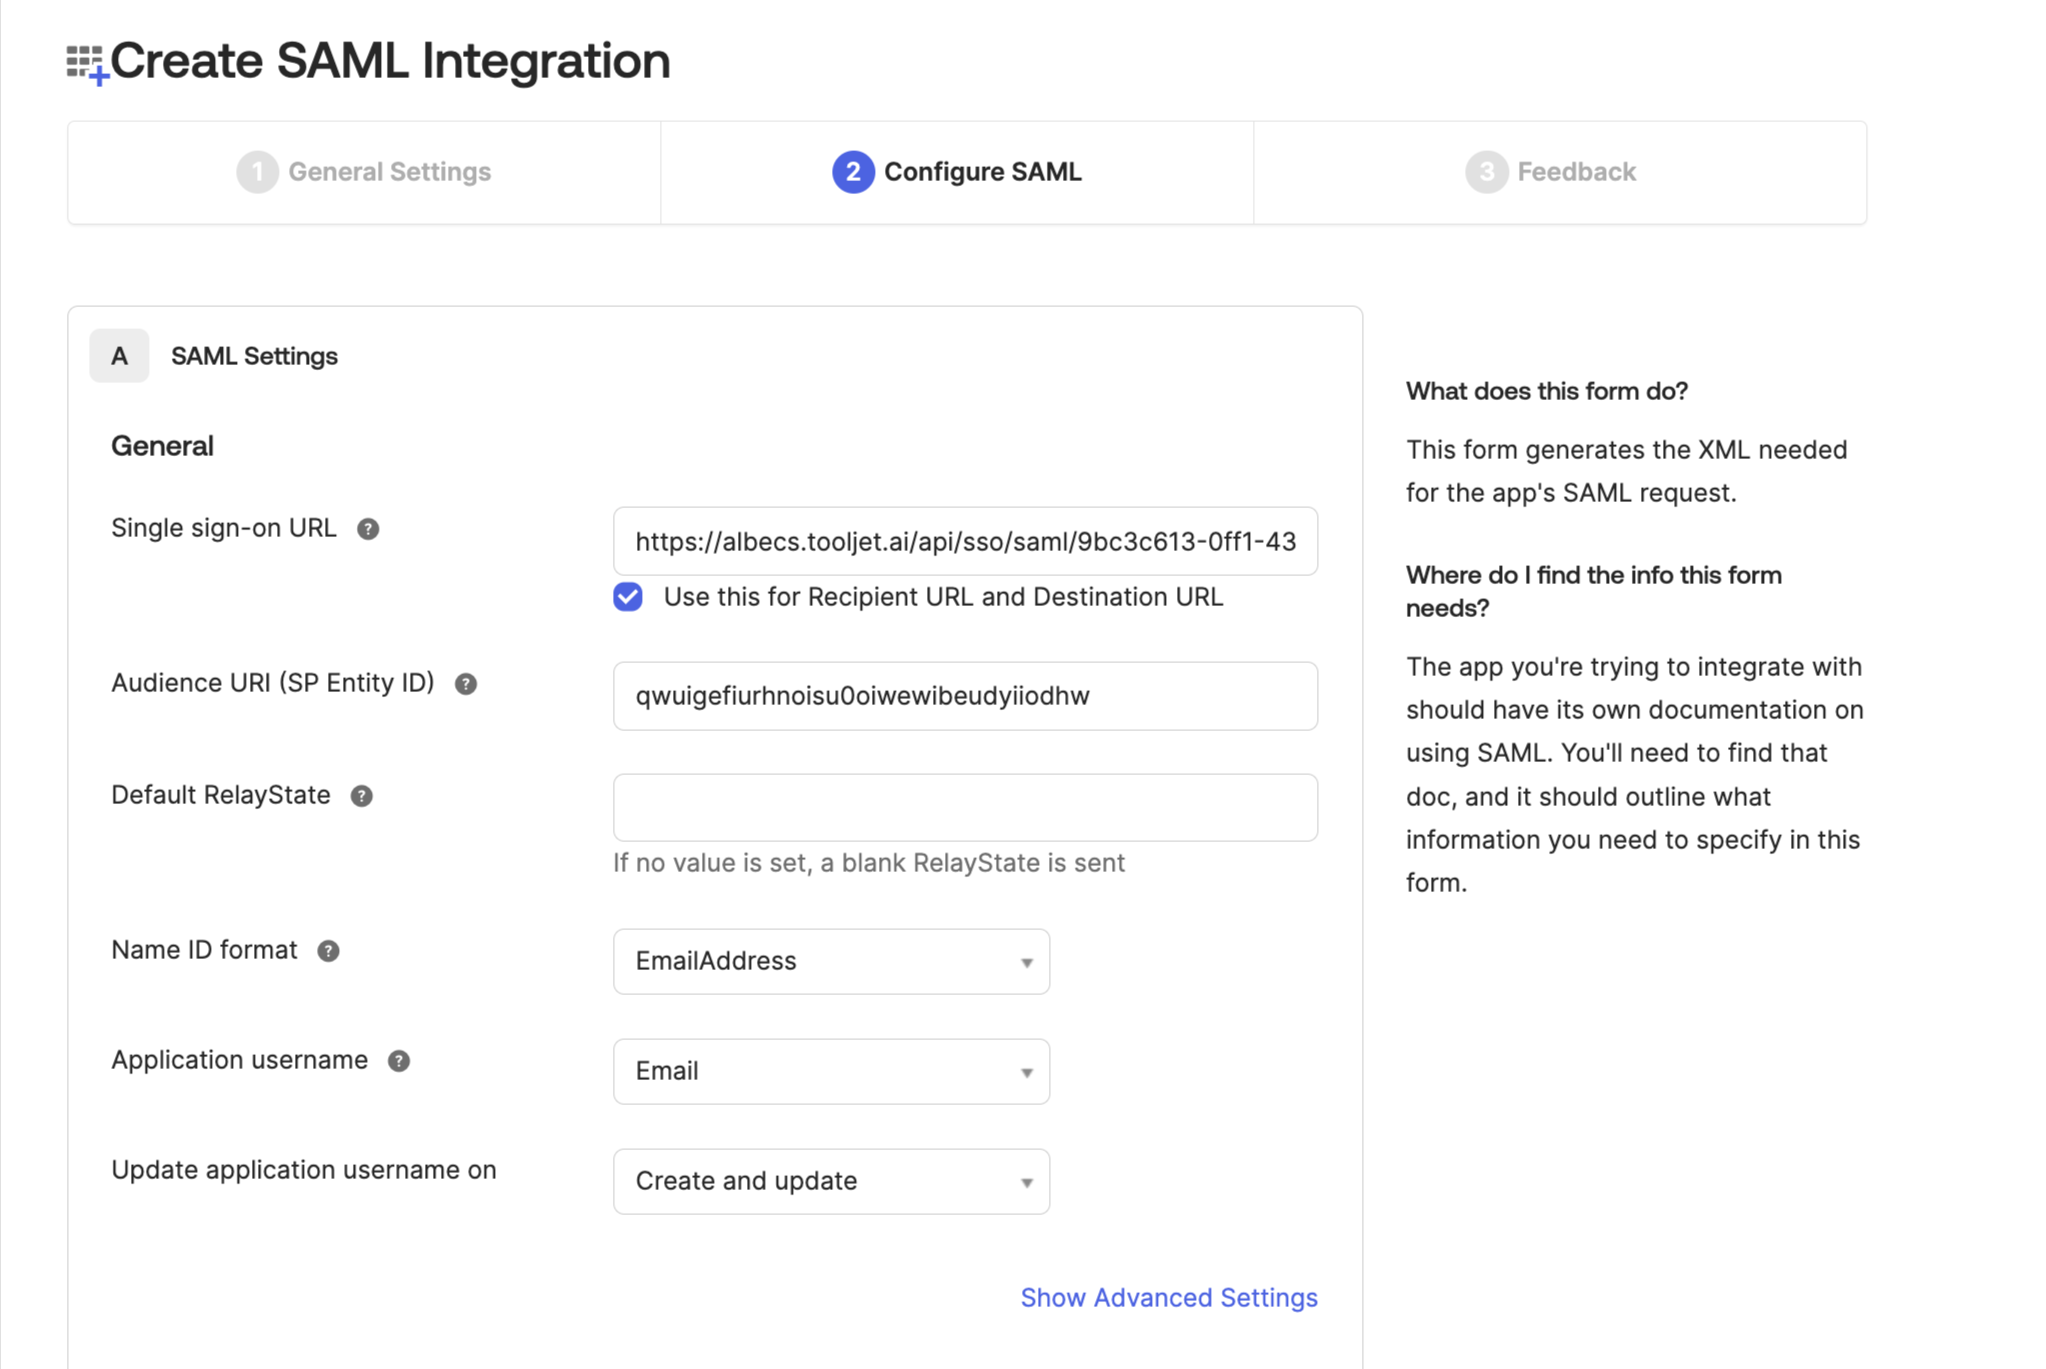
In the Configure SAML tab, configure the following fields:
General:- Single sign-on URL: Redirect URL copied from the SAML configuration page in ToolJet.
- Audience URI (SP Entity ID): entityID present in XML file.
- Default RelayState: Leave this field blank.
- Name ID format: EmailAddress.
- Application username: Email.
- Update application username on: Create and update.
Attribute Statements:
Name Name format Value email Unspecified user.email name Unspecified user.firstName 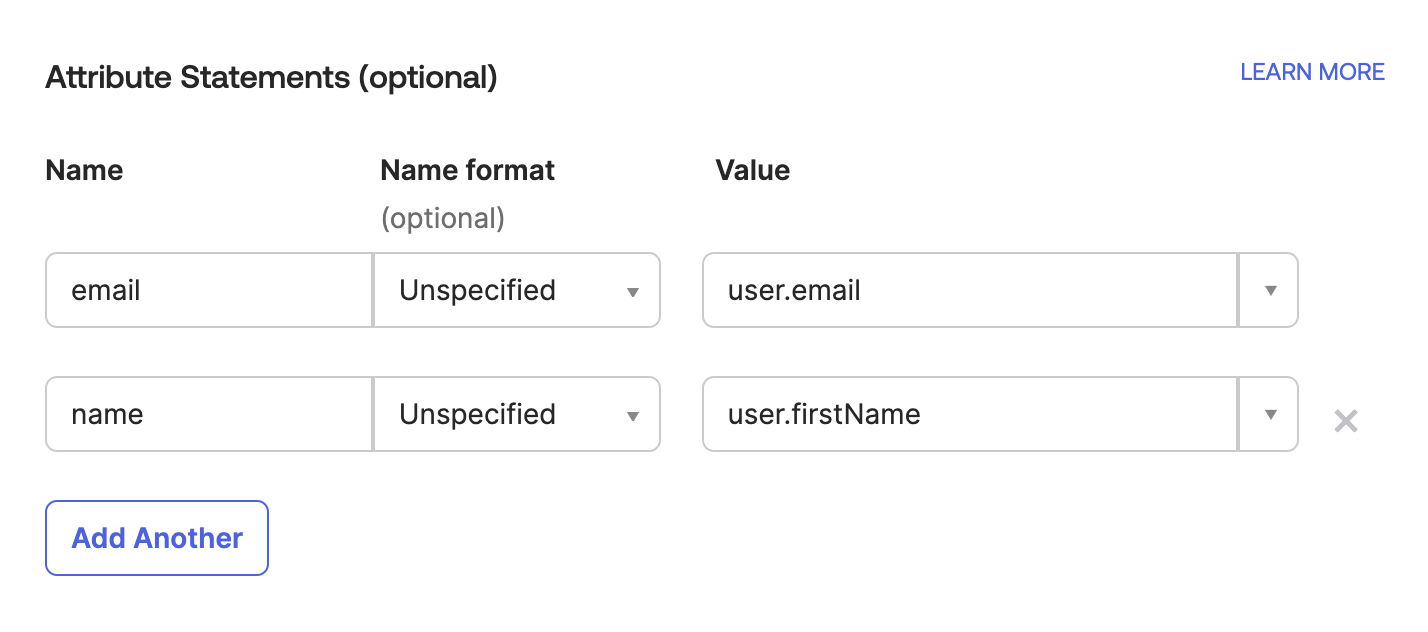
Group Attribute Statements:
Name Name format Filter Value groups Unspecified Matches regex ".*" 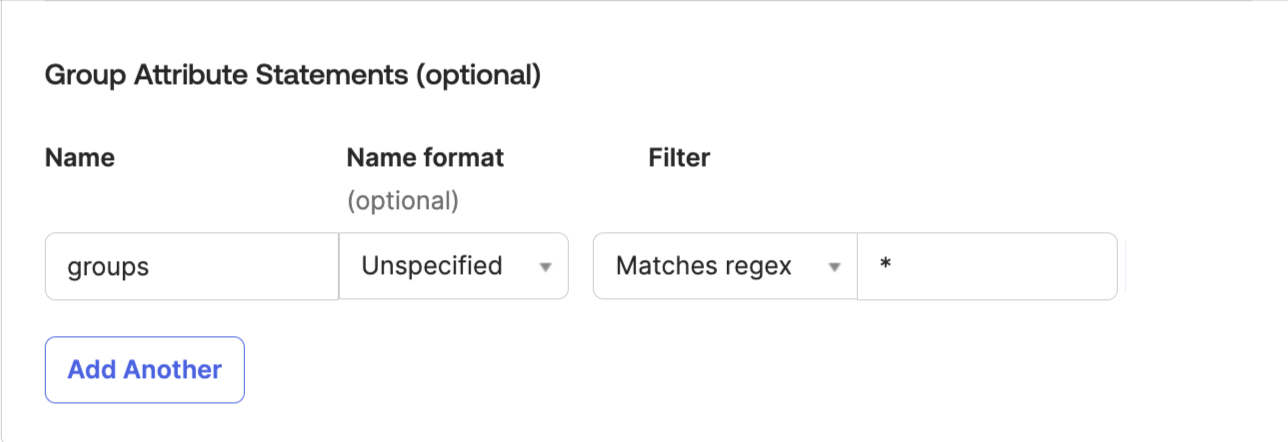
-
Review and click on the Next button.
-
Click on the Finish button to complete the Okta application configuration.
-
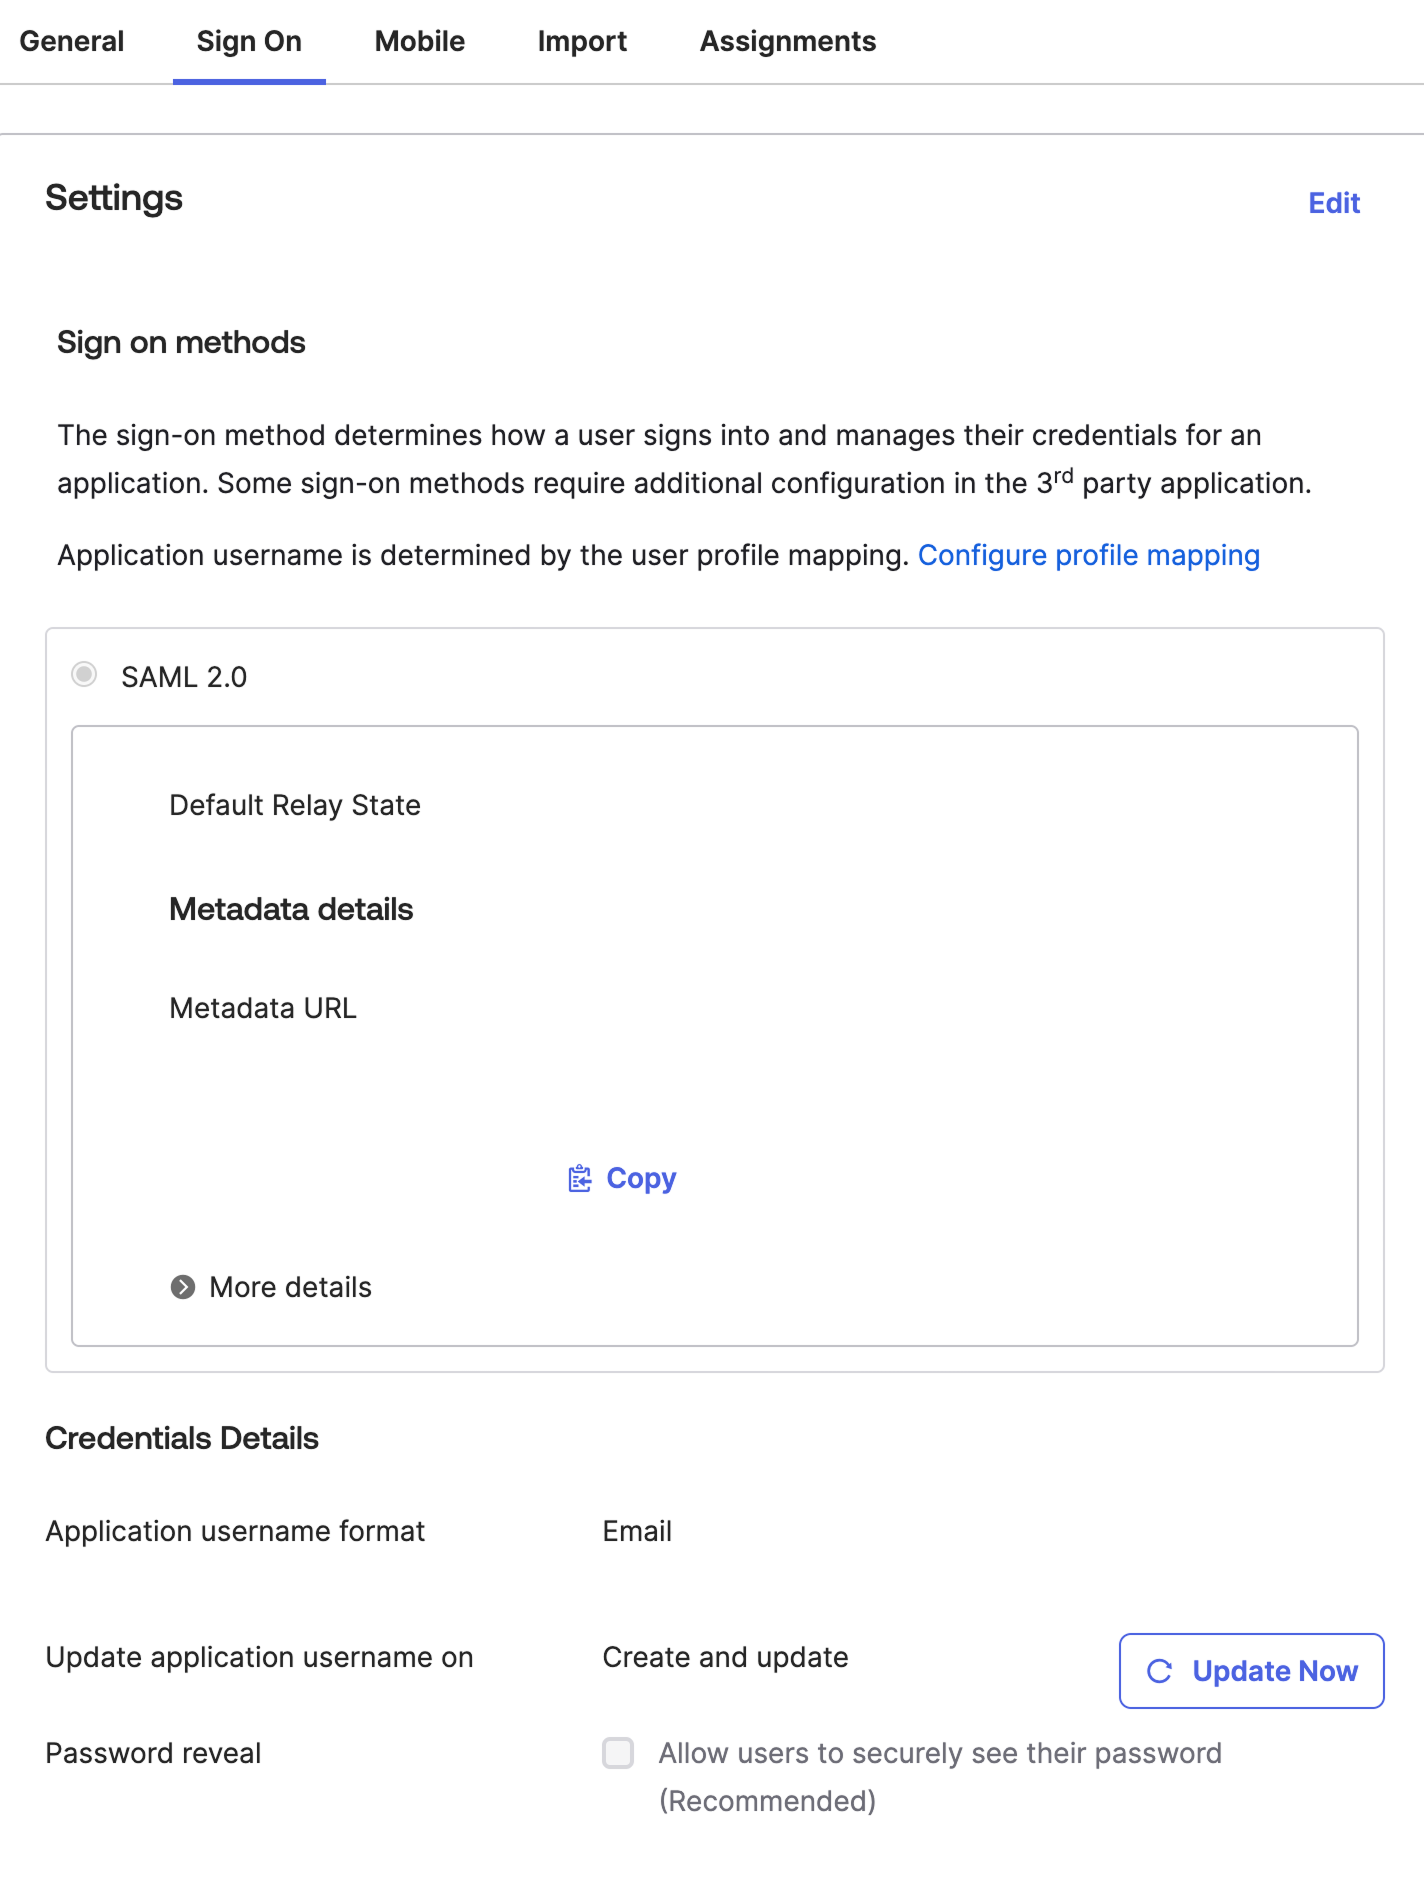
Navigate to the Sign On tab and make sure Application username format is set to Email, otherwise click on the Edit button and update.
-
Copy the Metadata URL. This URL will retrieve the XML metadata file for the Okta application.
-
Paste the metadata URL into the Identity provider metadata field in the ToolJet SAML configuration.
-
Ensure that Audience URI (SP Entity ID) from the XML file is added to the Configure SAML tab in the Okta application configuration.
-
Test the SAML configuration by logging in to ToolJet using the Login URL.
