Trigger Workflows Using Webhooks
Self Hosted
This guide demonstrates how to trigger workflows using webhooks.
Creating a Workflow
To create a workflow follow the following steps:
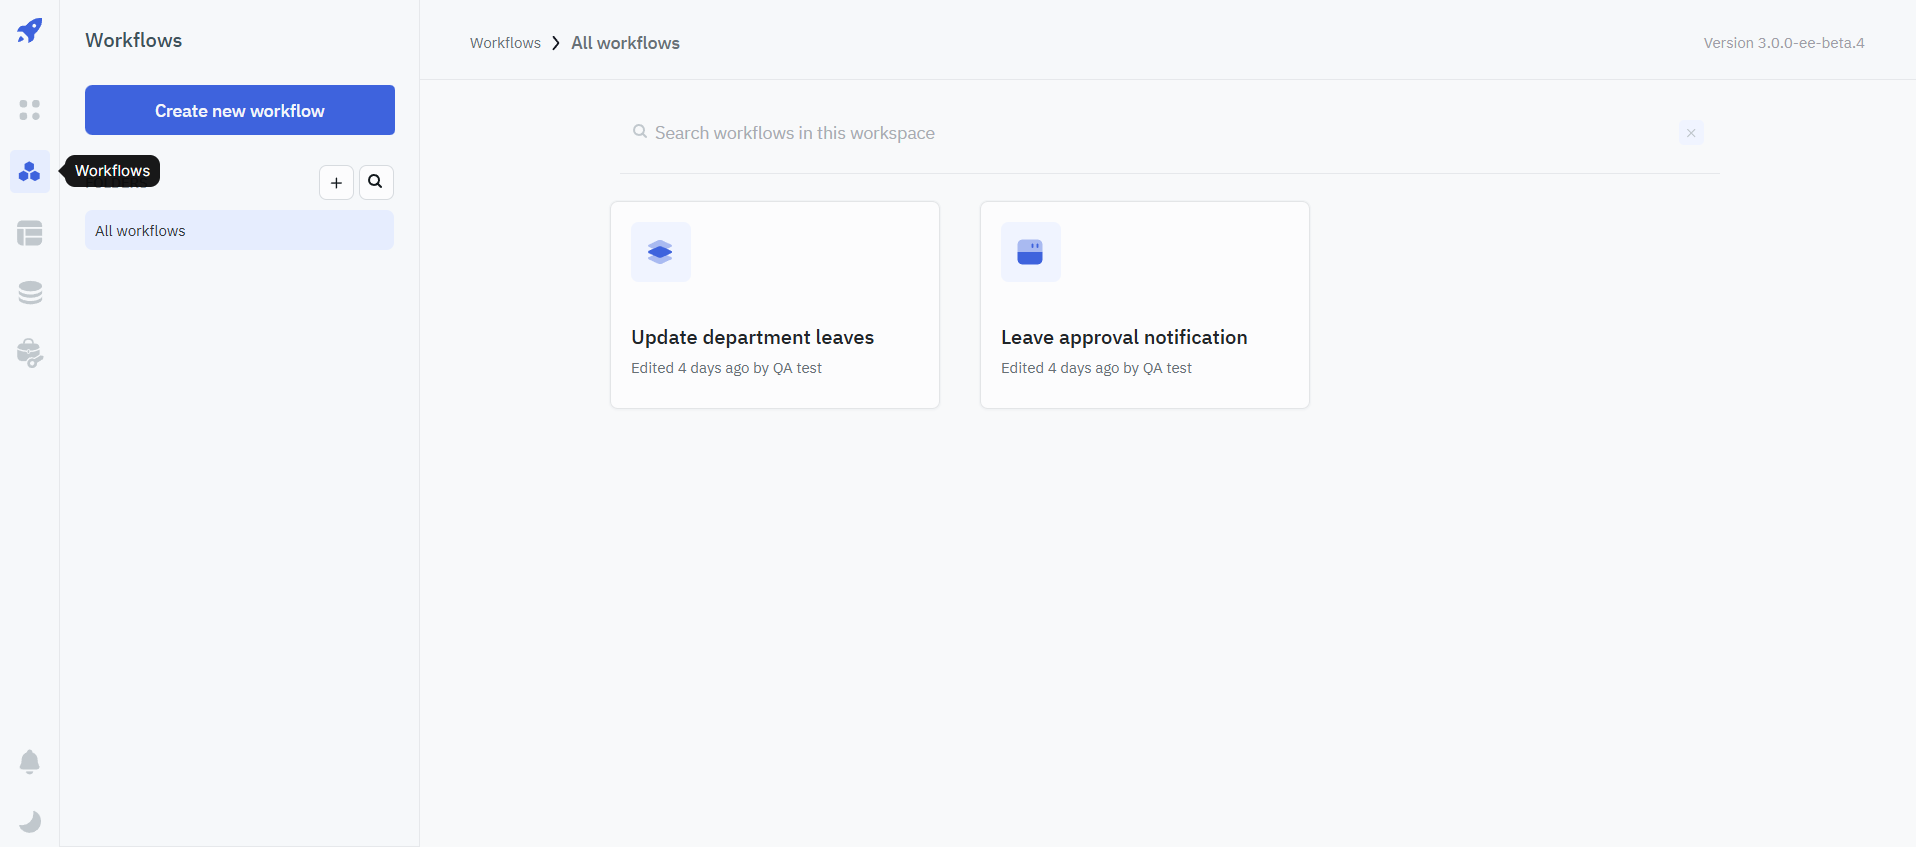
- Navigate to the Workflows Section on the dashboard.
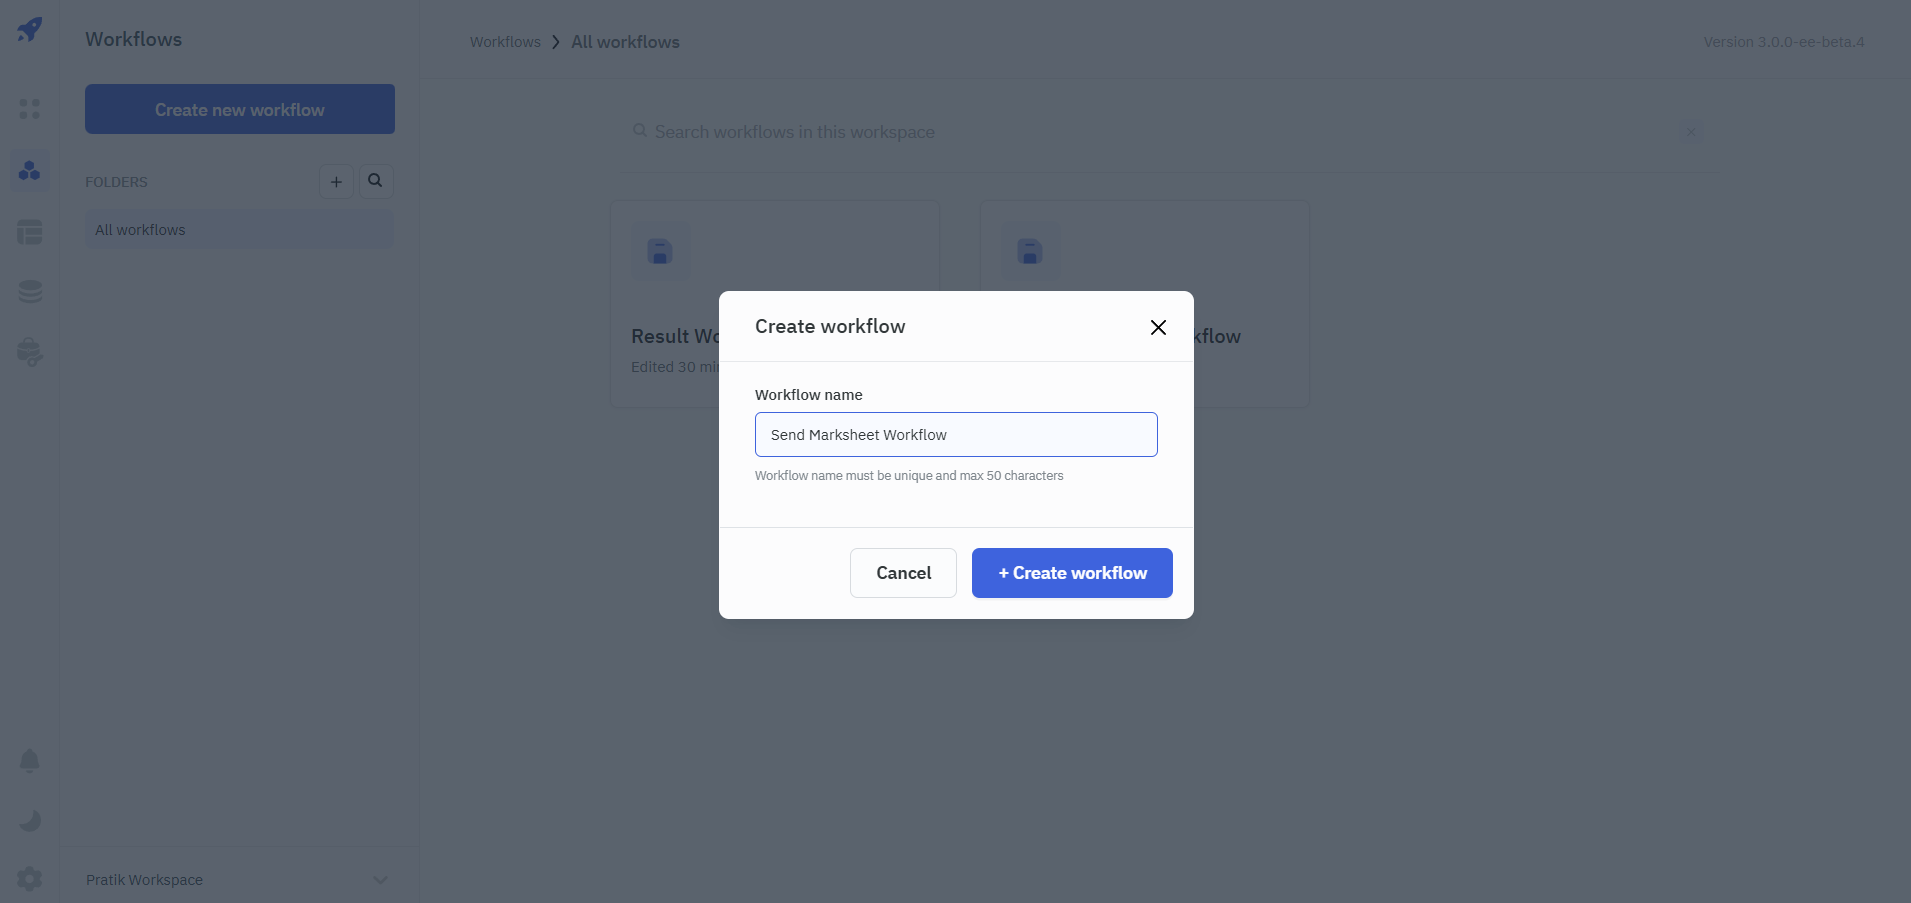
- Click on Create new workflow, enter a unique name for your workflow and click on + Create workflow to create the workflow.
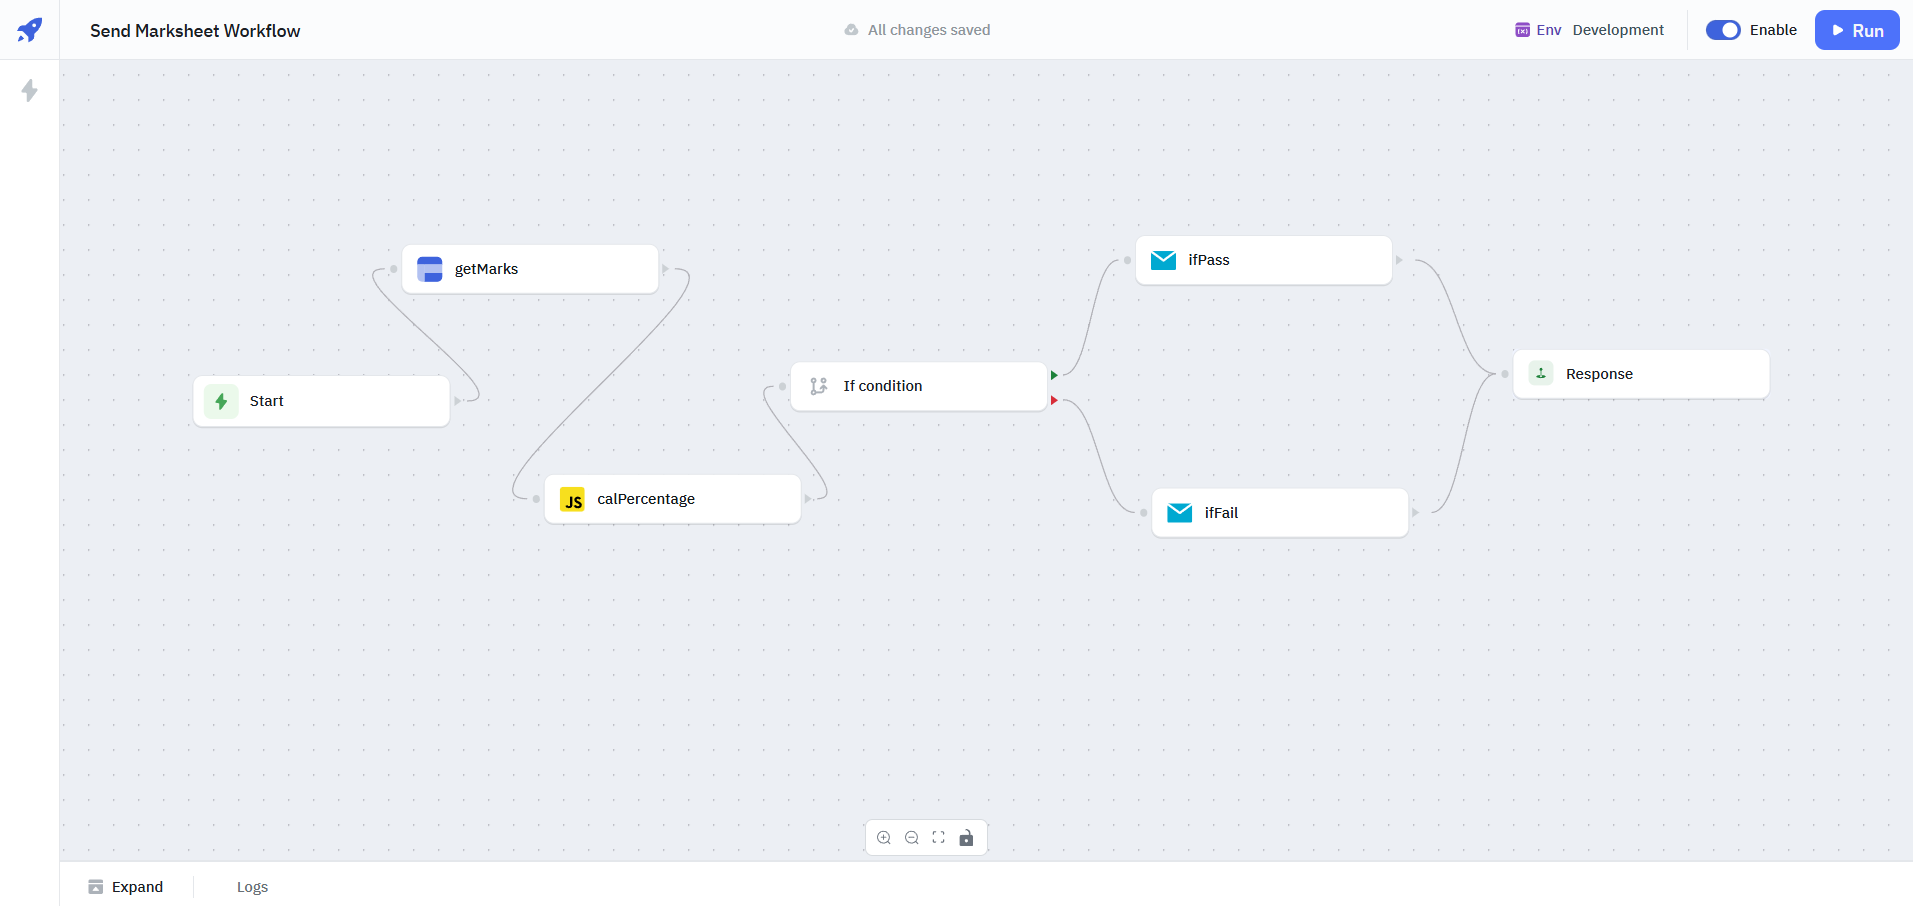
- Configure your workflow. You can refer to the workflow overview documentation to learn how you can configure a workflow.
- Navigate to the Triggers section.
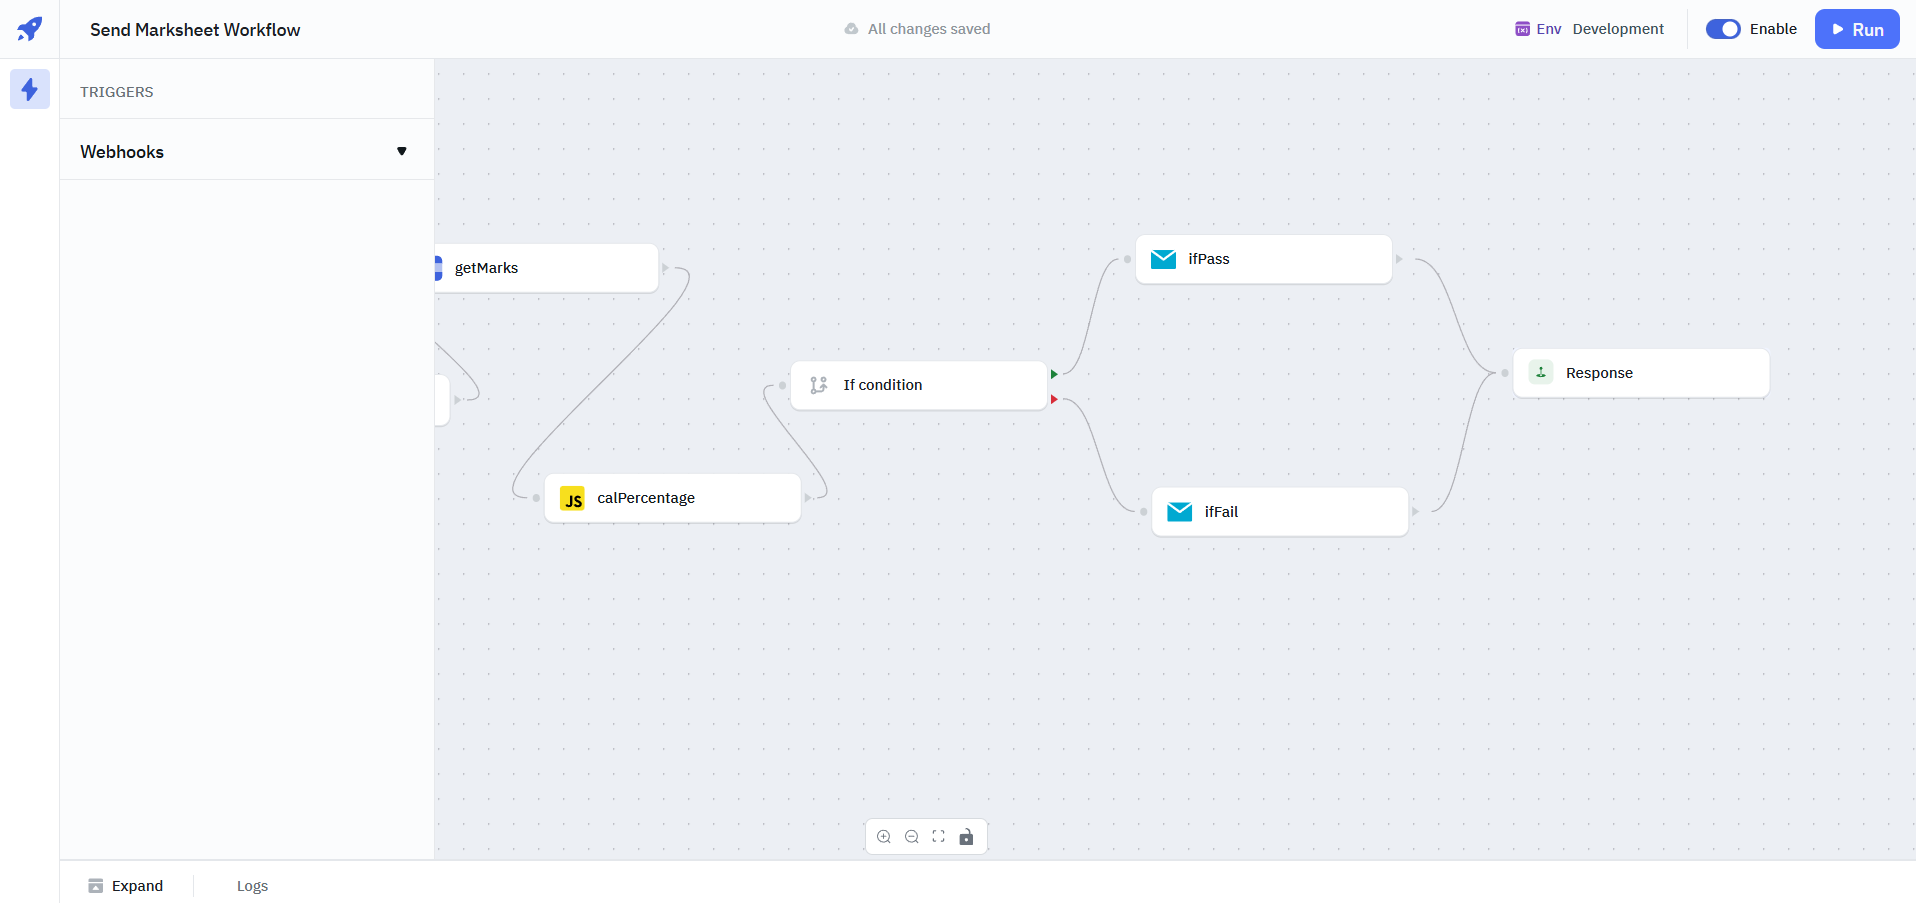
- Click on Webhooks. By default, the webhook trigger is disabled. Toggle the switch to enable the webhook trigger. Refer to the trigger documentation for more information.
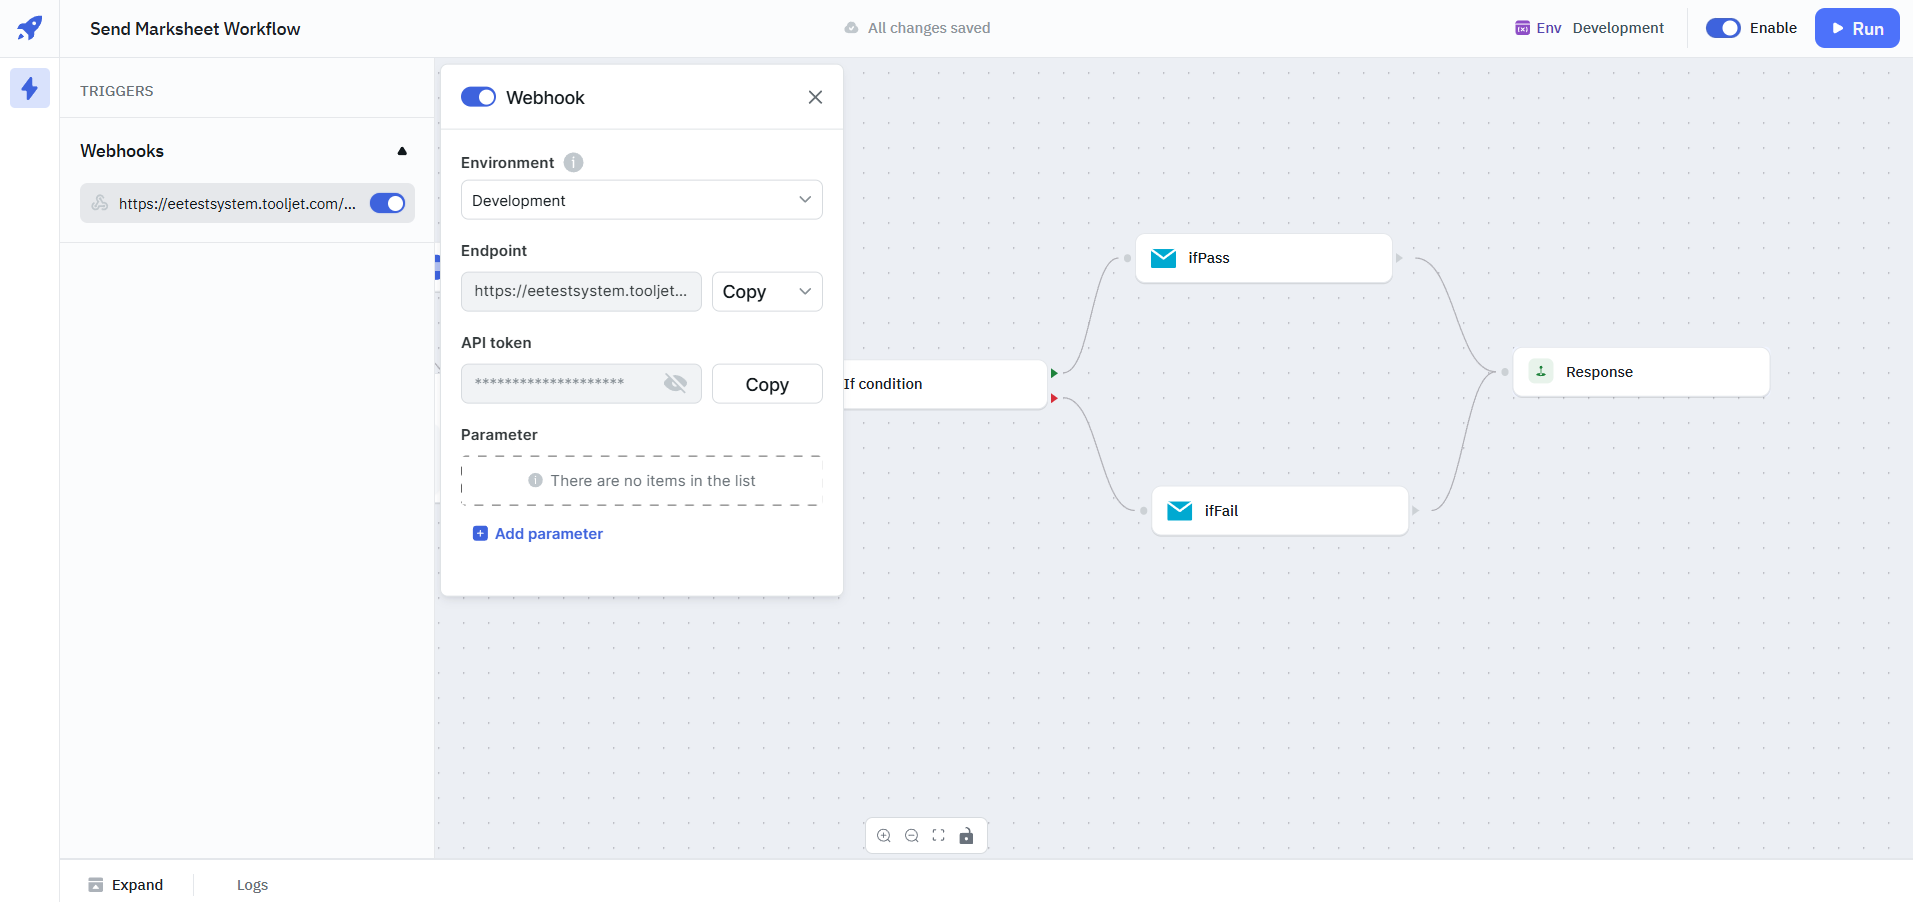
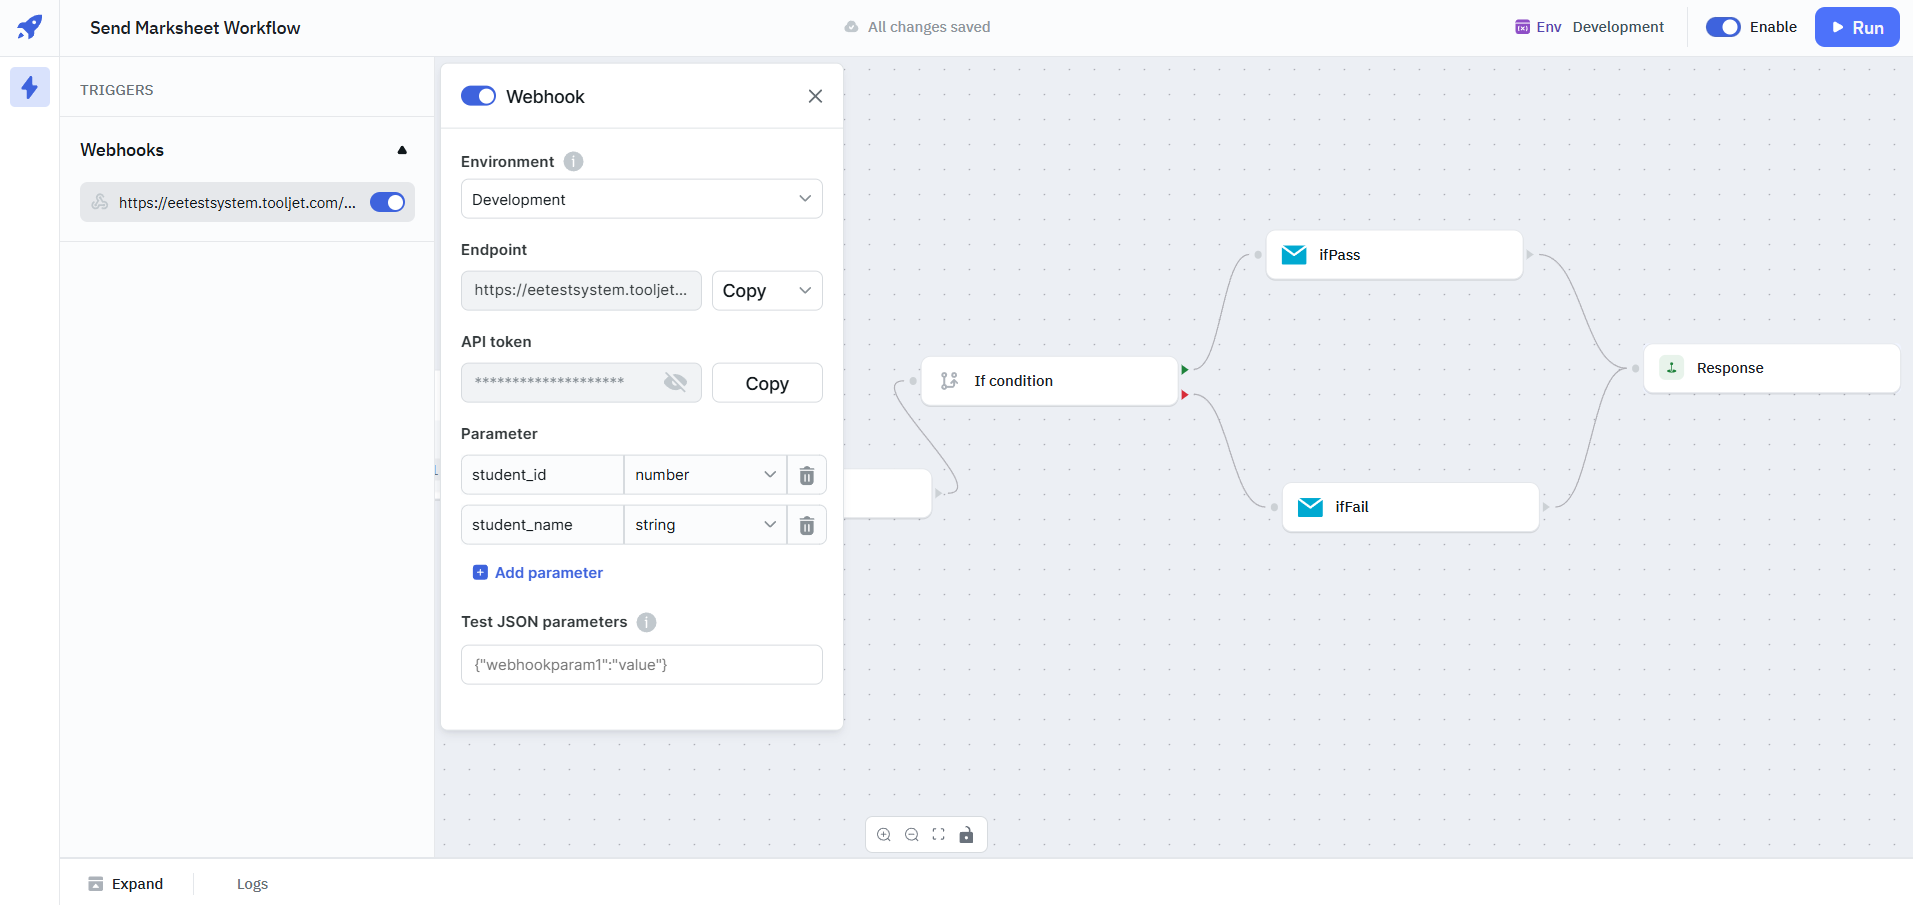
- Add Parameters to the workflow by clicking the + Add parameter button.
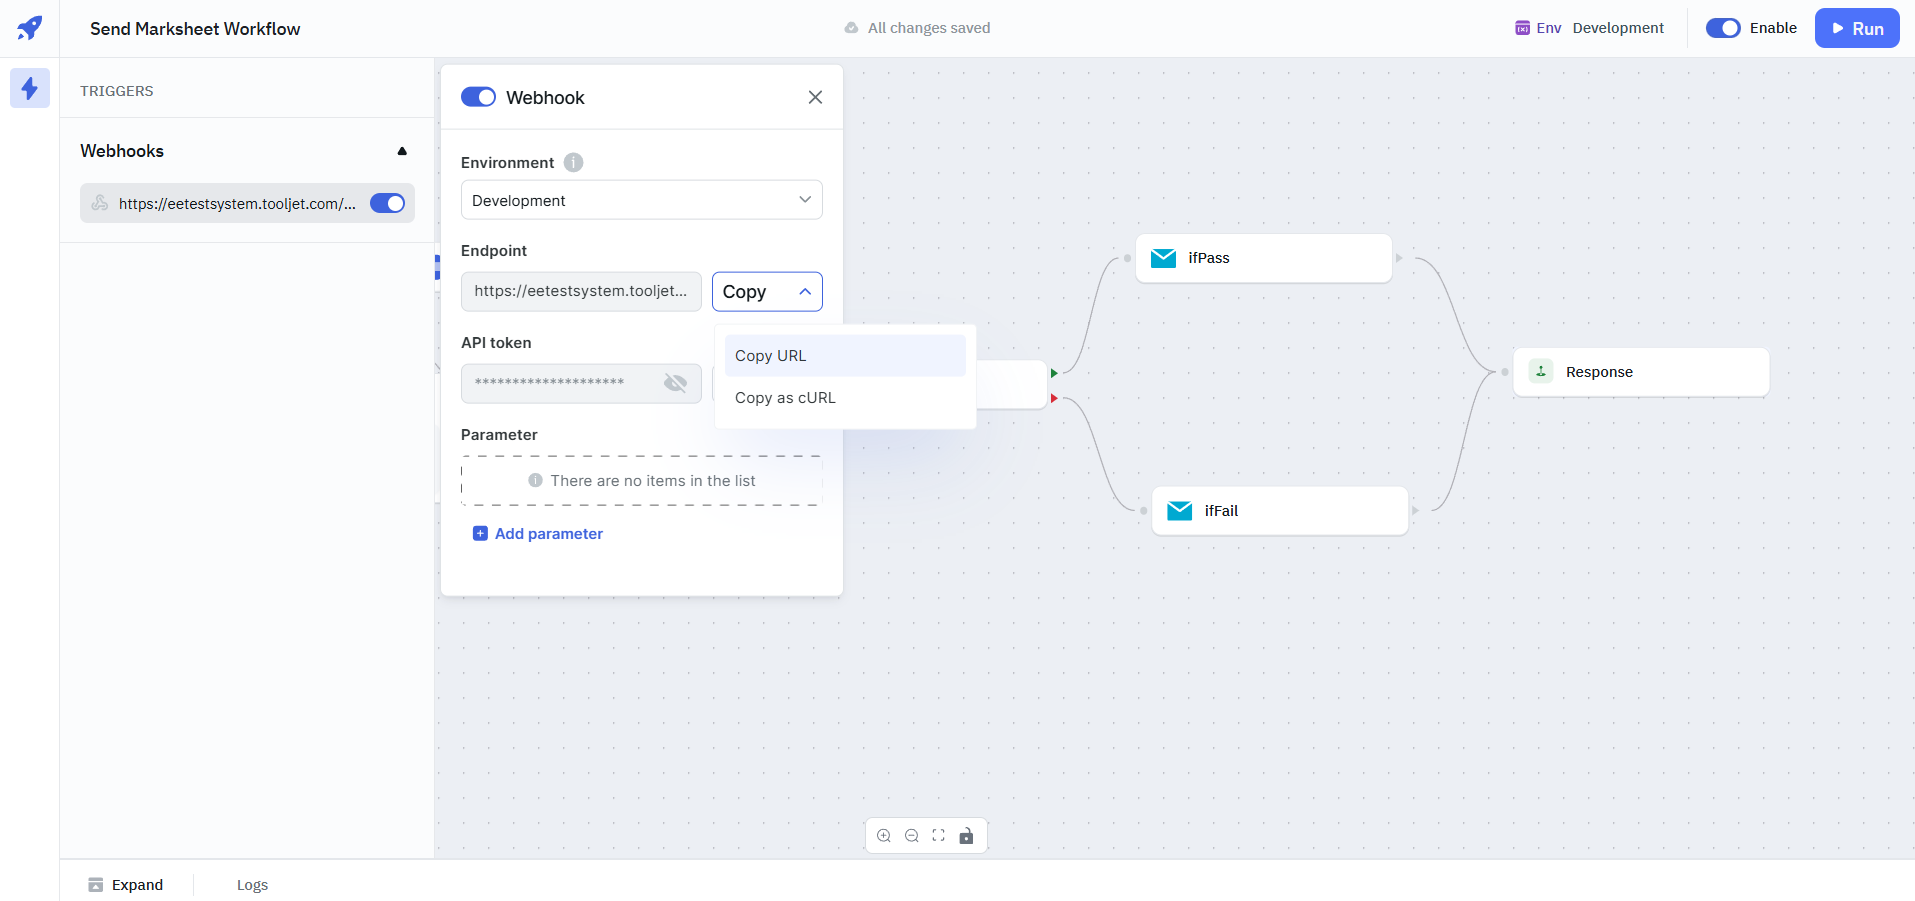
- Copy the Endpoint URL and API token.
Triggering a Webhook
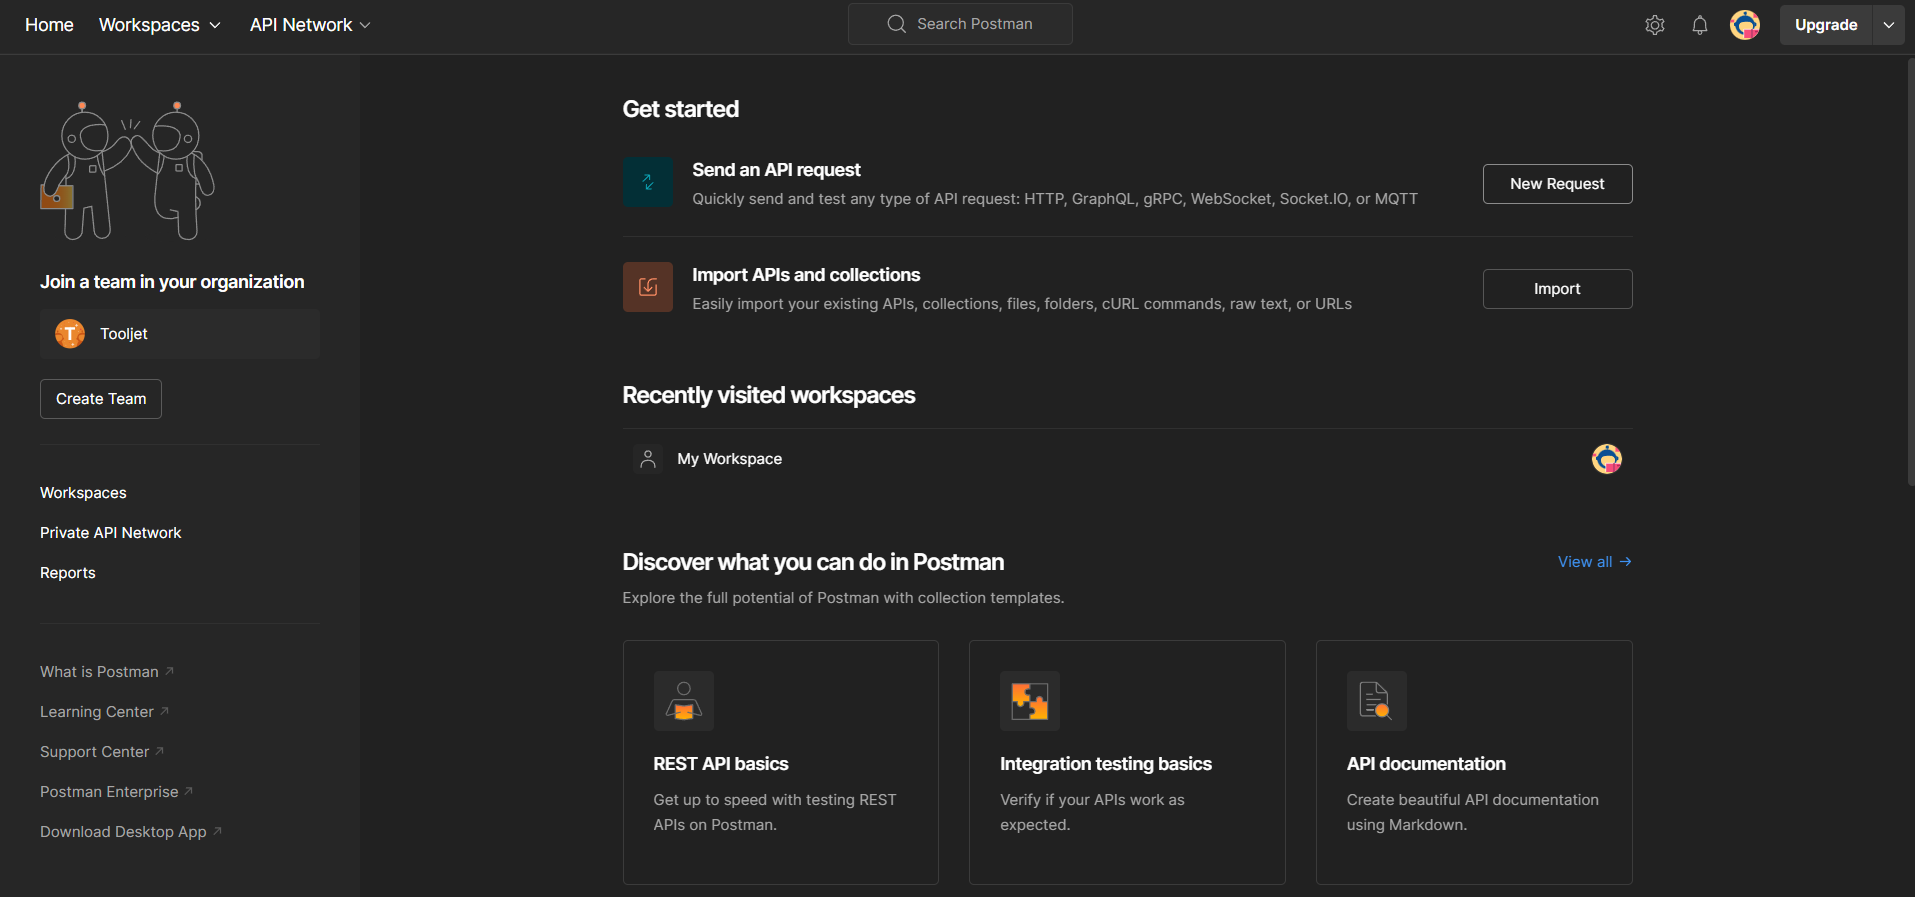
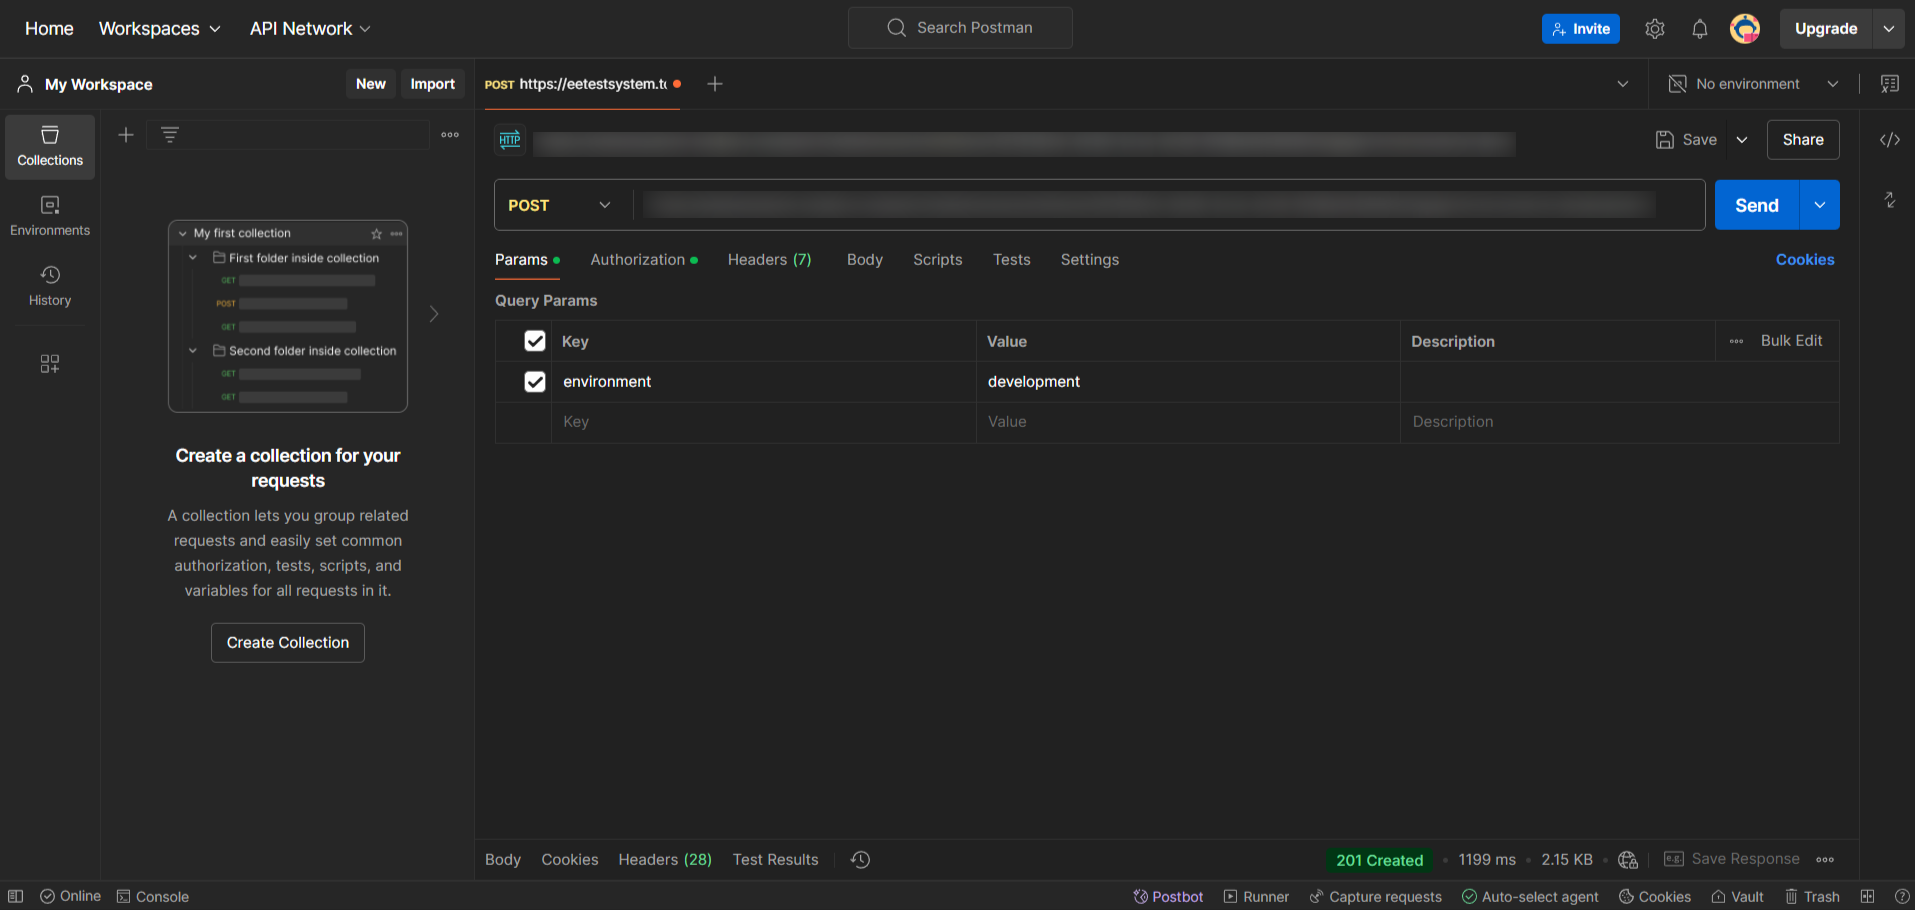
Let's take a look at an example of triggering a webhook using Postman.
- Visit Postman, and click New Request.
- Select the POST Method and paste the Endpoint URL that was copied earlier.
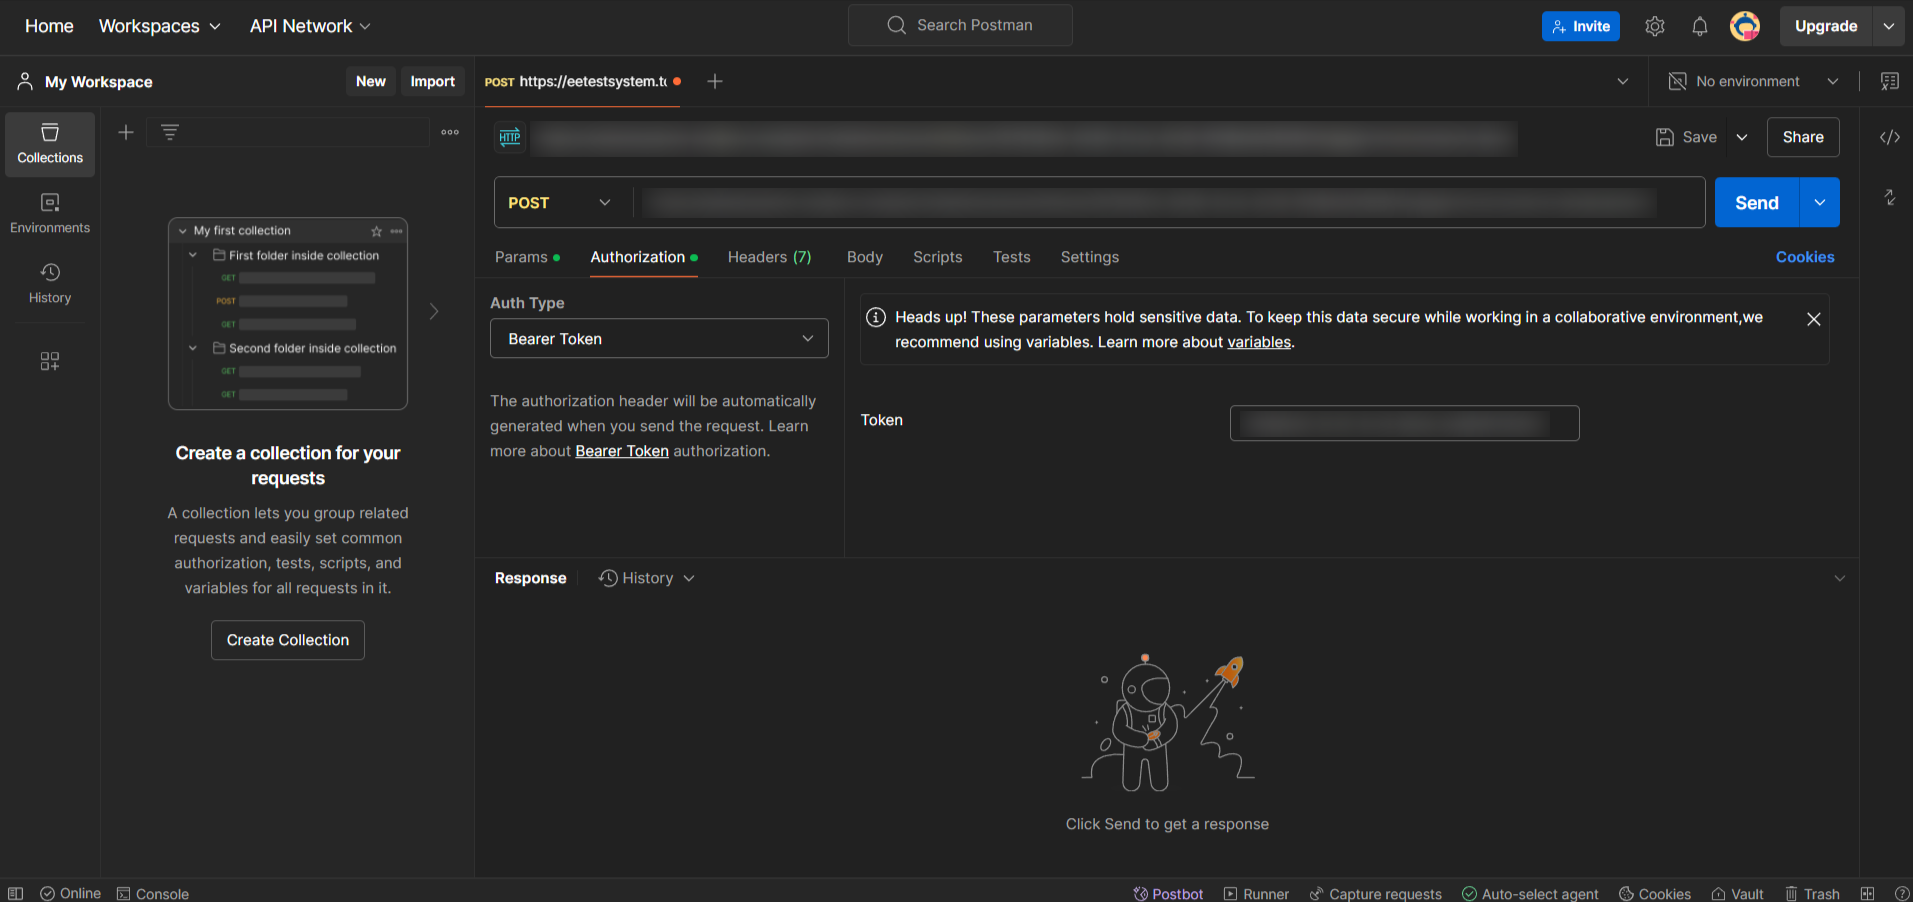
- Navigate to the Authorization tab, select Bearer Token as the Auth Type, and enter the API token.
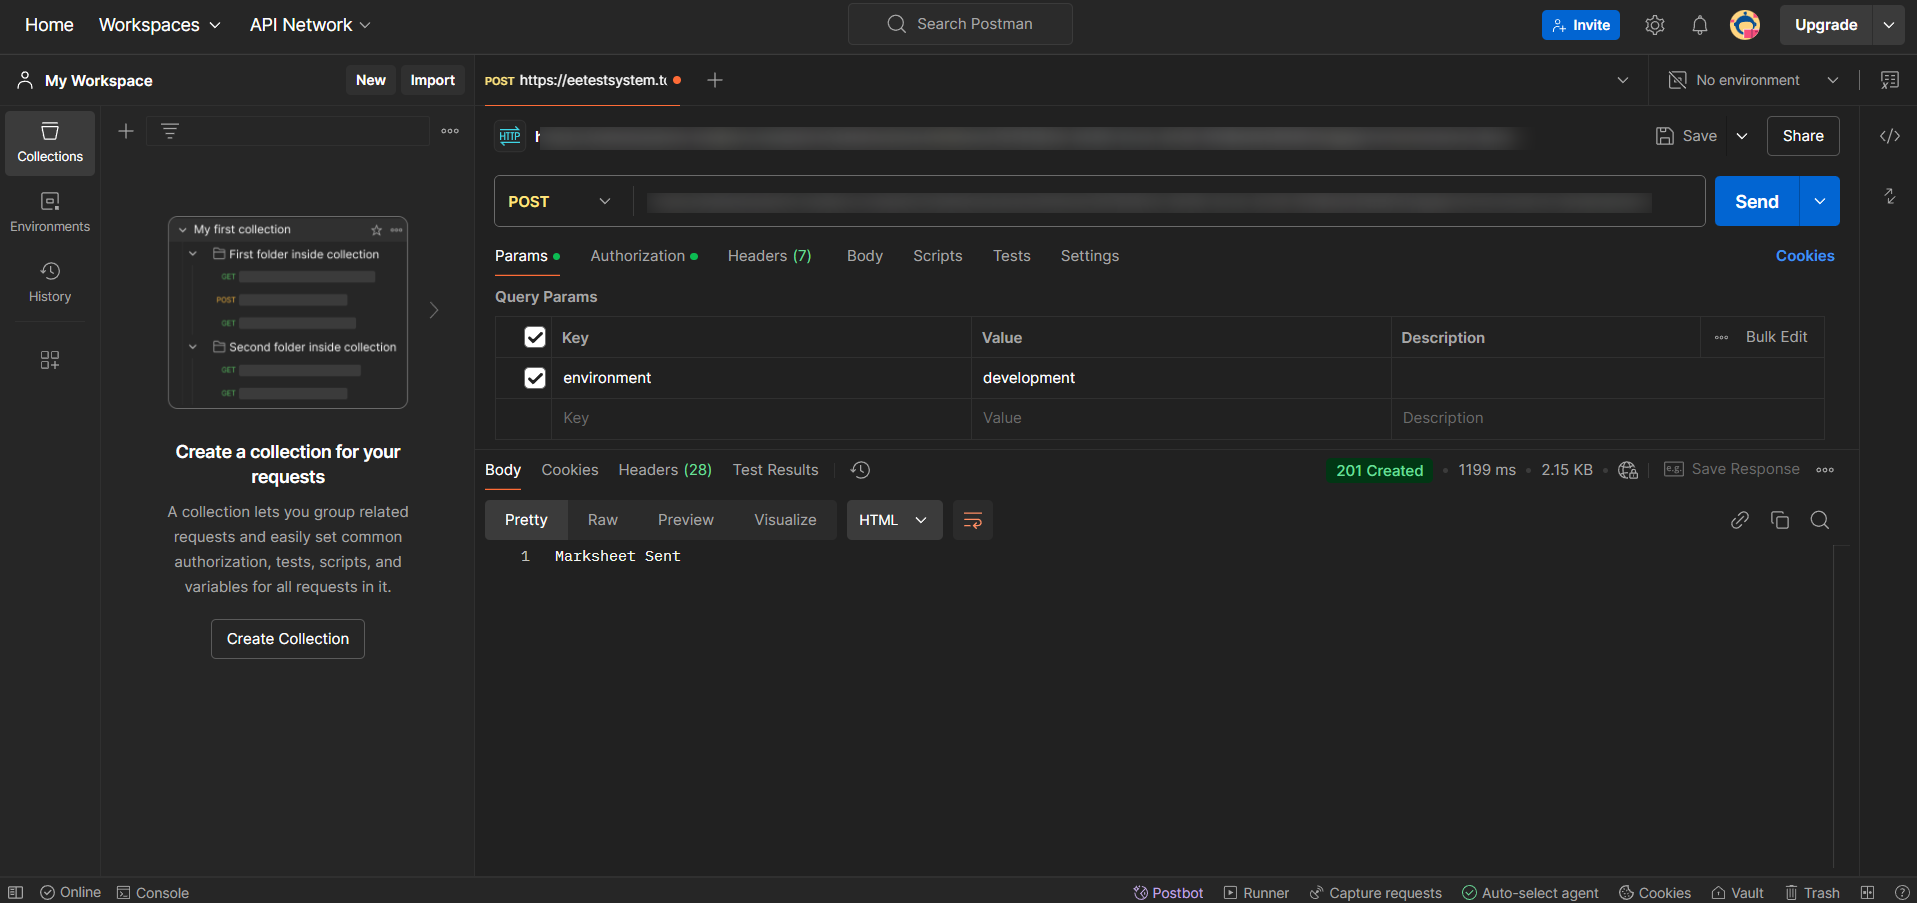
- Go to the Body tab, select Raw, and enter the required parameters in JSON format.

- Click on Send to trigger the webhook. It will fetch the response from the created workflow.
This was a basic example of how you can trigger workflows using webhooks. You can use webhooks to connect ToolJet to external applications and services for advanced use-cases and event-driven automation.
If you want to learn how to trigger workflows withing ToolJet, refer to this guide.