Understanding Logs
Debugging is a critical part of building applications, and ToolJet makes it easier with a built-in Debugger that tracks and displays logs in real time. Whether it’s a query success or failure, or a component malfunction, the debugger logs will help you get to the root of the problem quickly.
This guide walks you through making the most of ToolJet’s logs, with practical examples that explain why they matter and how to use them effectively.
How Logs Work
ToolJet captures real-time events and organizes them in the debugger panel.
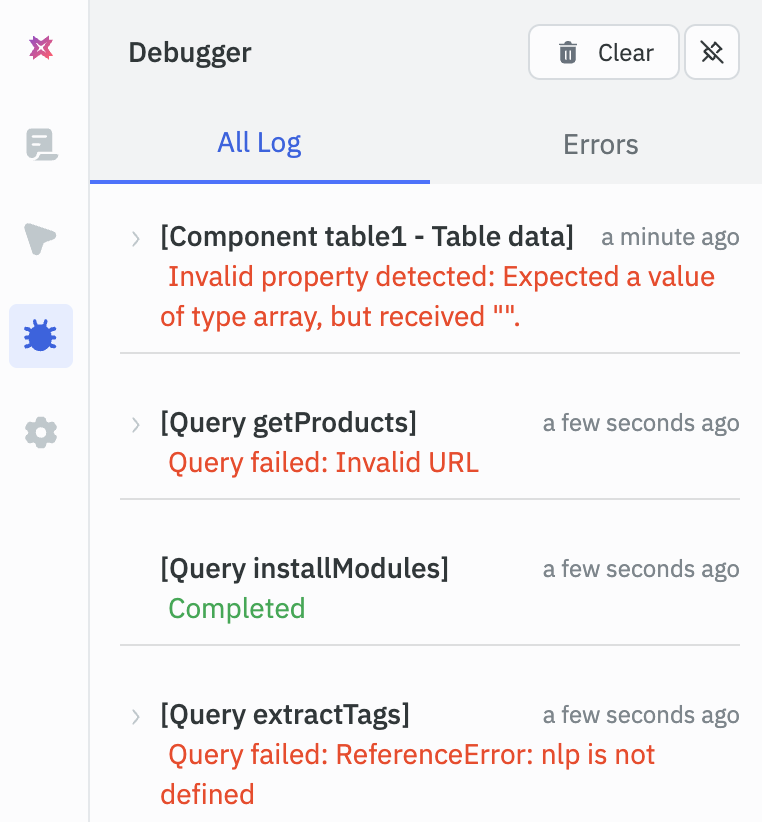
When you’re in the app-builder, you can look for the Debugger icon on the left sidebar. Click it to open the debugger panel. This panel becomes your main console for inspecting the query execution results (success/failure) and component-level issues.
Use Case
Debugging Queries
Let’s say you’re building an app and have integrated a REST API to fetch products. You’ve connected this query to a Table component, but when you run it, the data doesn’t show up. To troubleshoot this, open the debugger and navigate to the Logs tab. There, you’ll find detailed information about the query execution, including:
- Whether the query succeeded or failed
- Any error messages returned
- The request payload and response body
- The status code returned by the server
This information helps you identify what went wrong and where to start troubleshooting.
Troubleshooting Component Related Issues
Let’s say you’ve fetched user data from a database using a query, and connected it to a table component. The query runs without errors, but the table still appears empty. To investigate this, open the debugger and head to the Error Logs tab. Here, you’ll find error logs related to the component’s behavior, including:
- Errors related to misconfigured properties
- Invalid expressions used in bindings
These logs help you determine whether the issue stems from component configuration or its interaction with the query result, making it easier to fix problems and get your UI working as expected.