Creating and Managing Queries
A query is a way to interact with your data sources and acts as the link between your app’s UI and your data. Queries connect your app to configured data sources such as SQL, NoSQL, vector databases, APIs, spreadsheets, and cloud services. Whether it’s retrieving records from your MongoDB collection or updating data in a SQL database, you can use queries to interact with them.
Queries are created in the Query Panel, located at the bottom of the App Builder, where you can either use a visual form-based builder or write code/SQL manually.
Creating a New Query
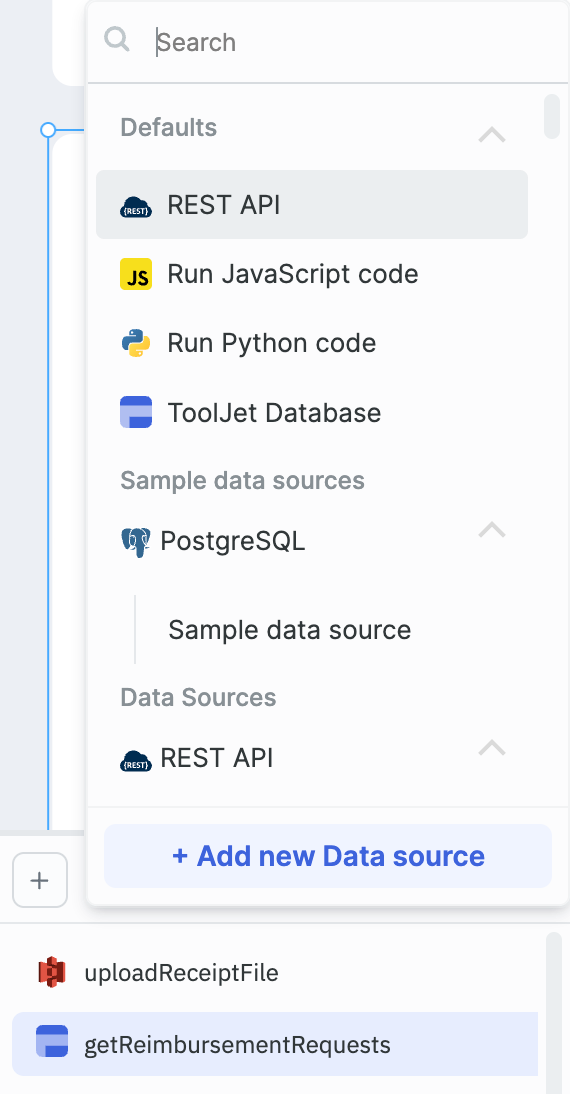
- Click on the + button in the Query Panel to open a menu listing the available data sources or you can add a new data source by clicking on + Add new Data Source button.
- Select the desired data source.
Configuring the Query
The interface for configuring queries depends on the type of data source. If you are using any SQL data source, you can configure your query using either GUI mode or SQL mode. Rest of the data sources can be configured using form-based GUI.
GUI mode
-
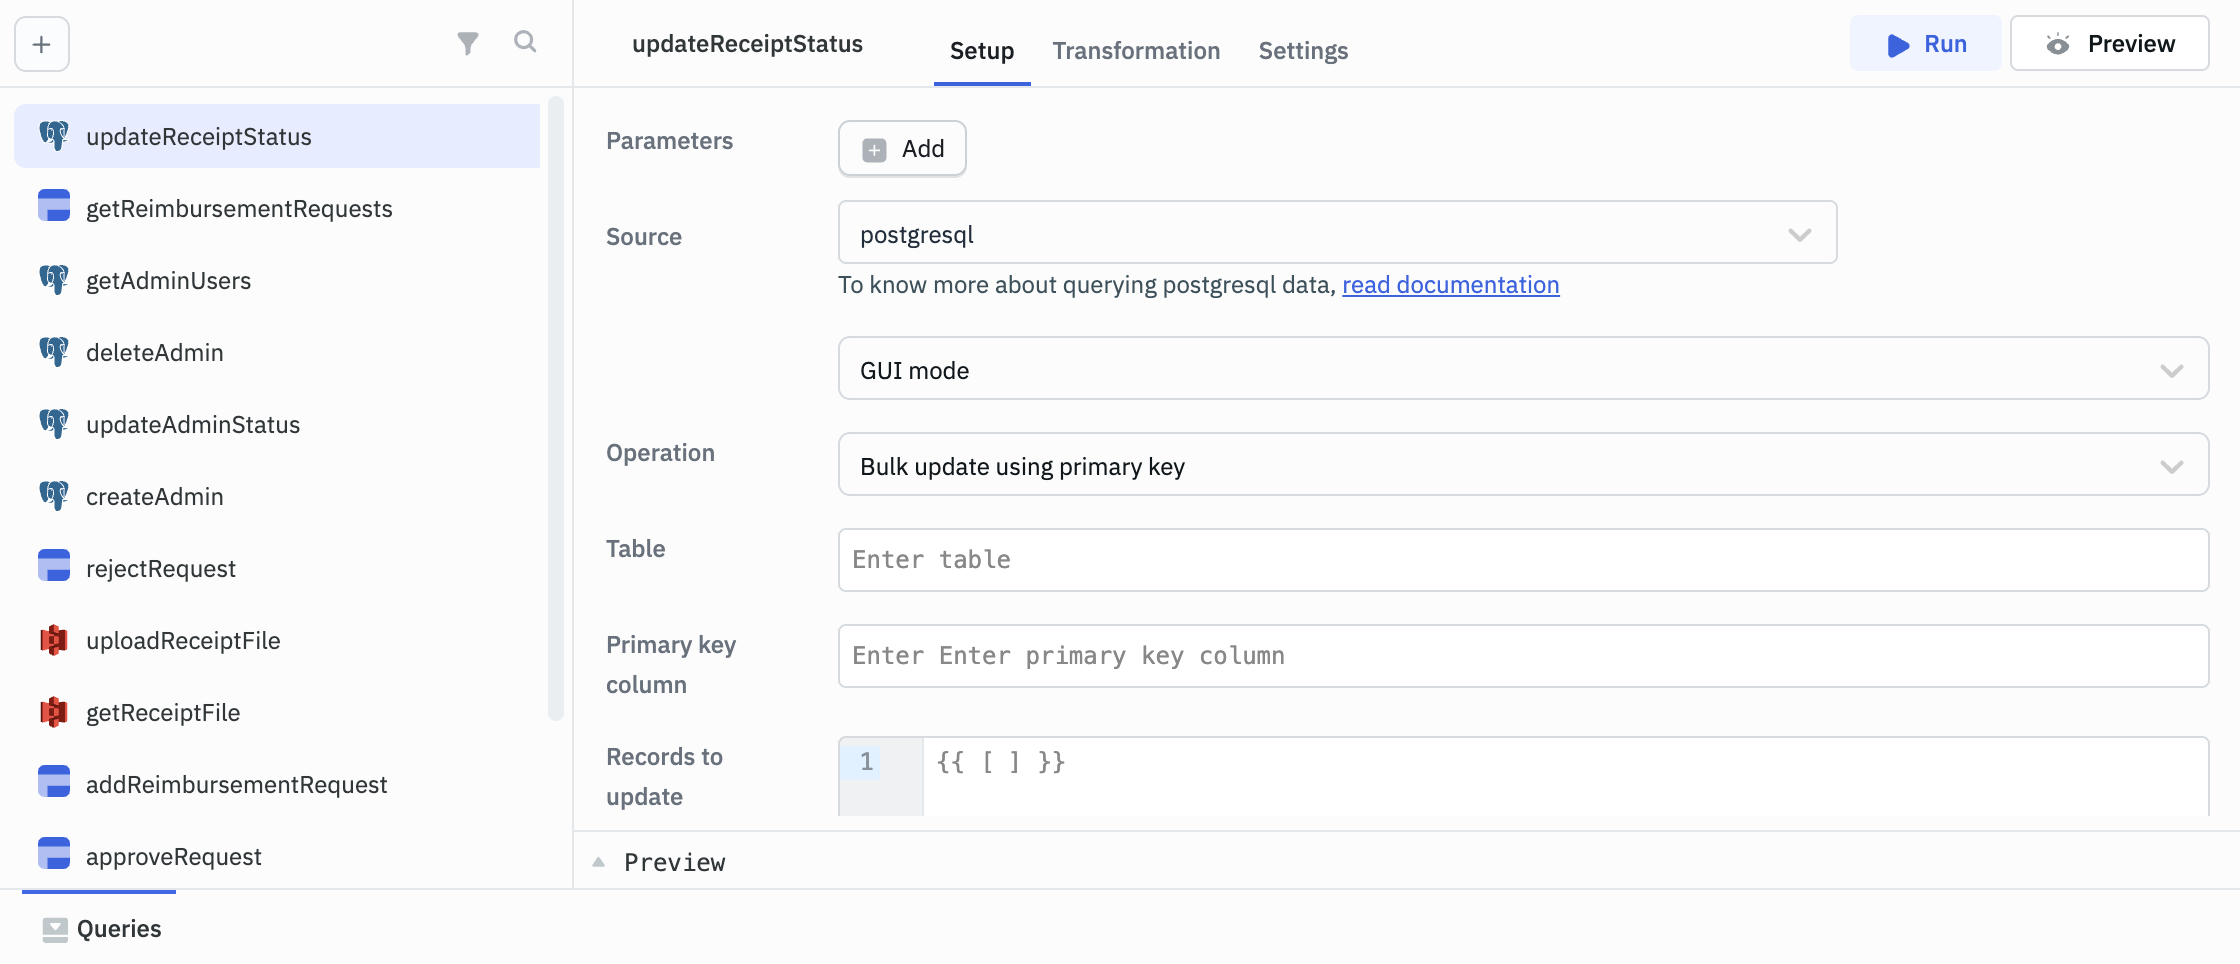
For the Postgres data source, when using GUI mode (as shown in the image below), you’ll need to select the operations you want to perform and then fill out the required fields.
-
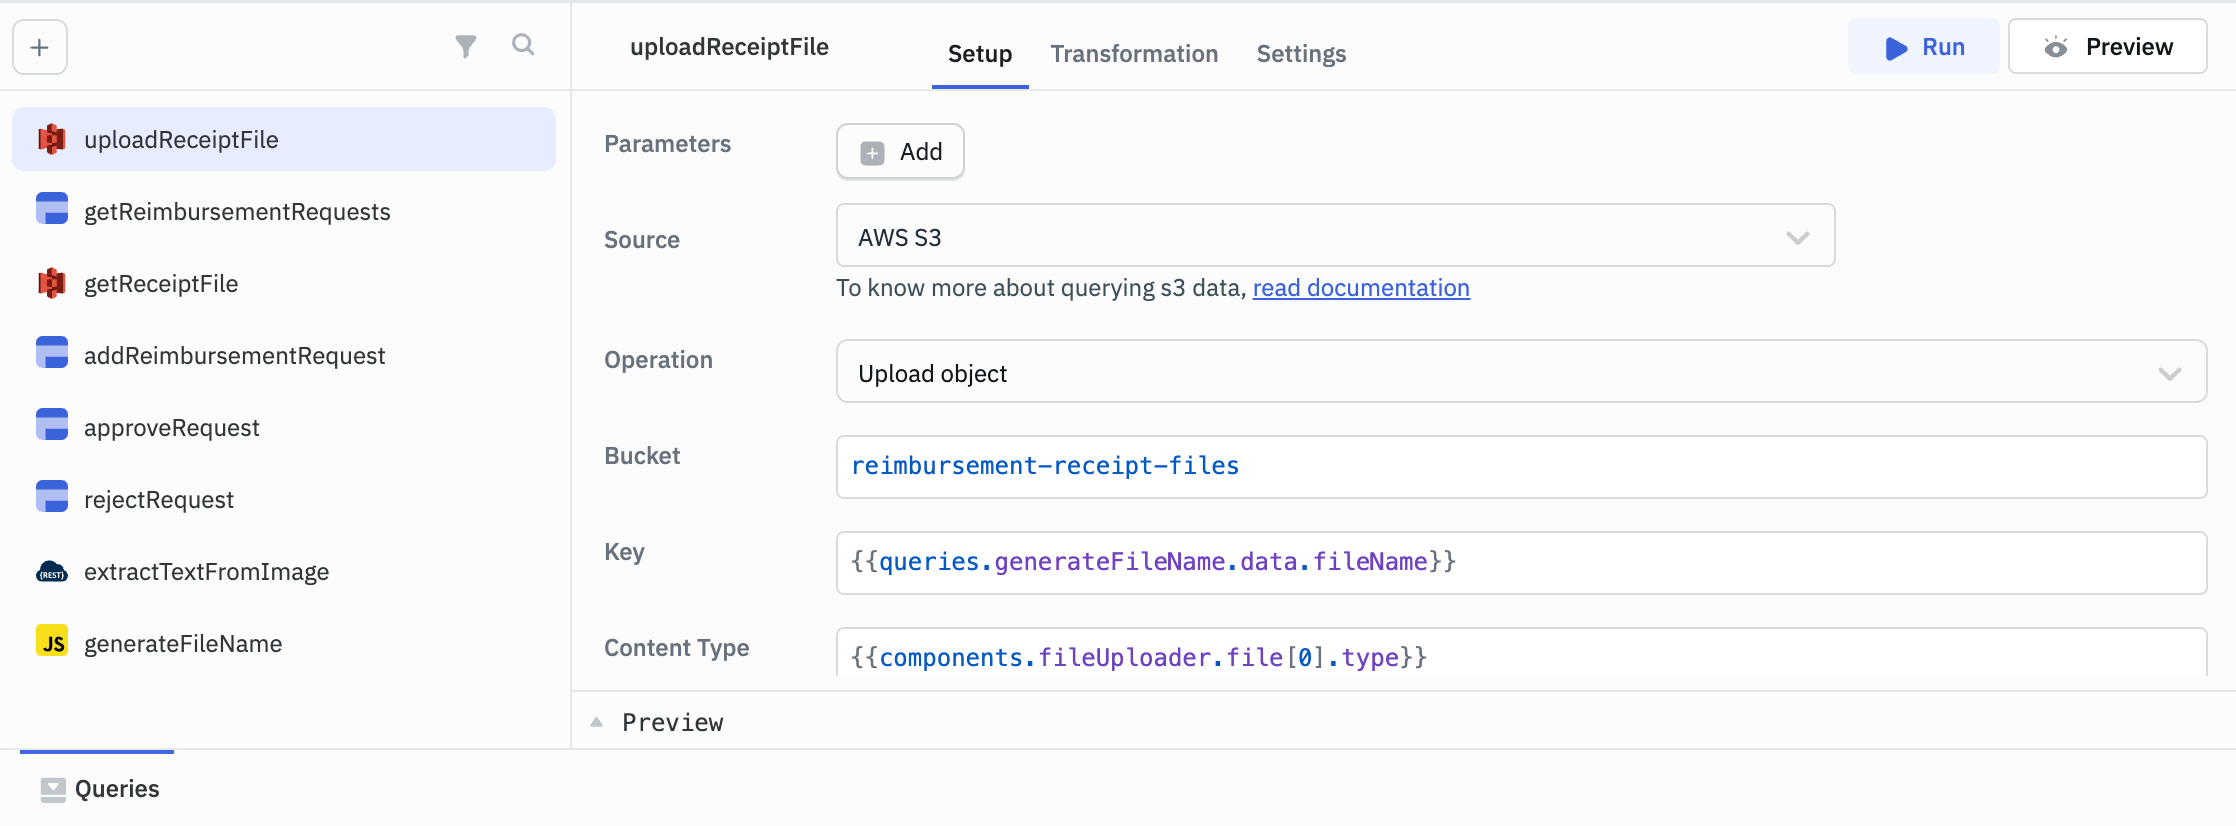
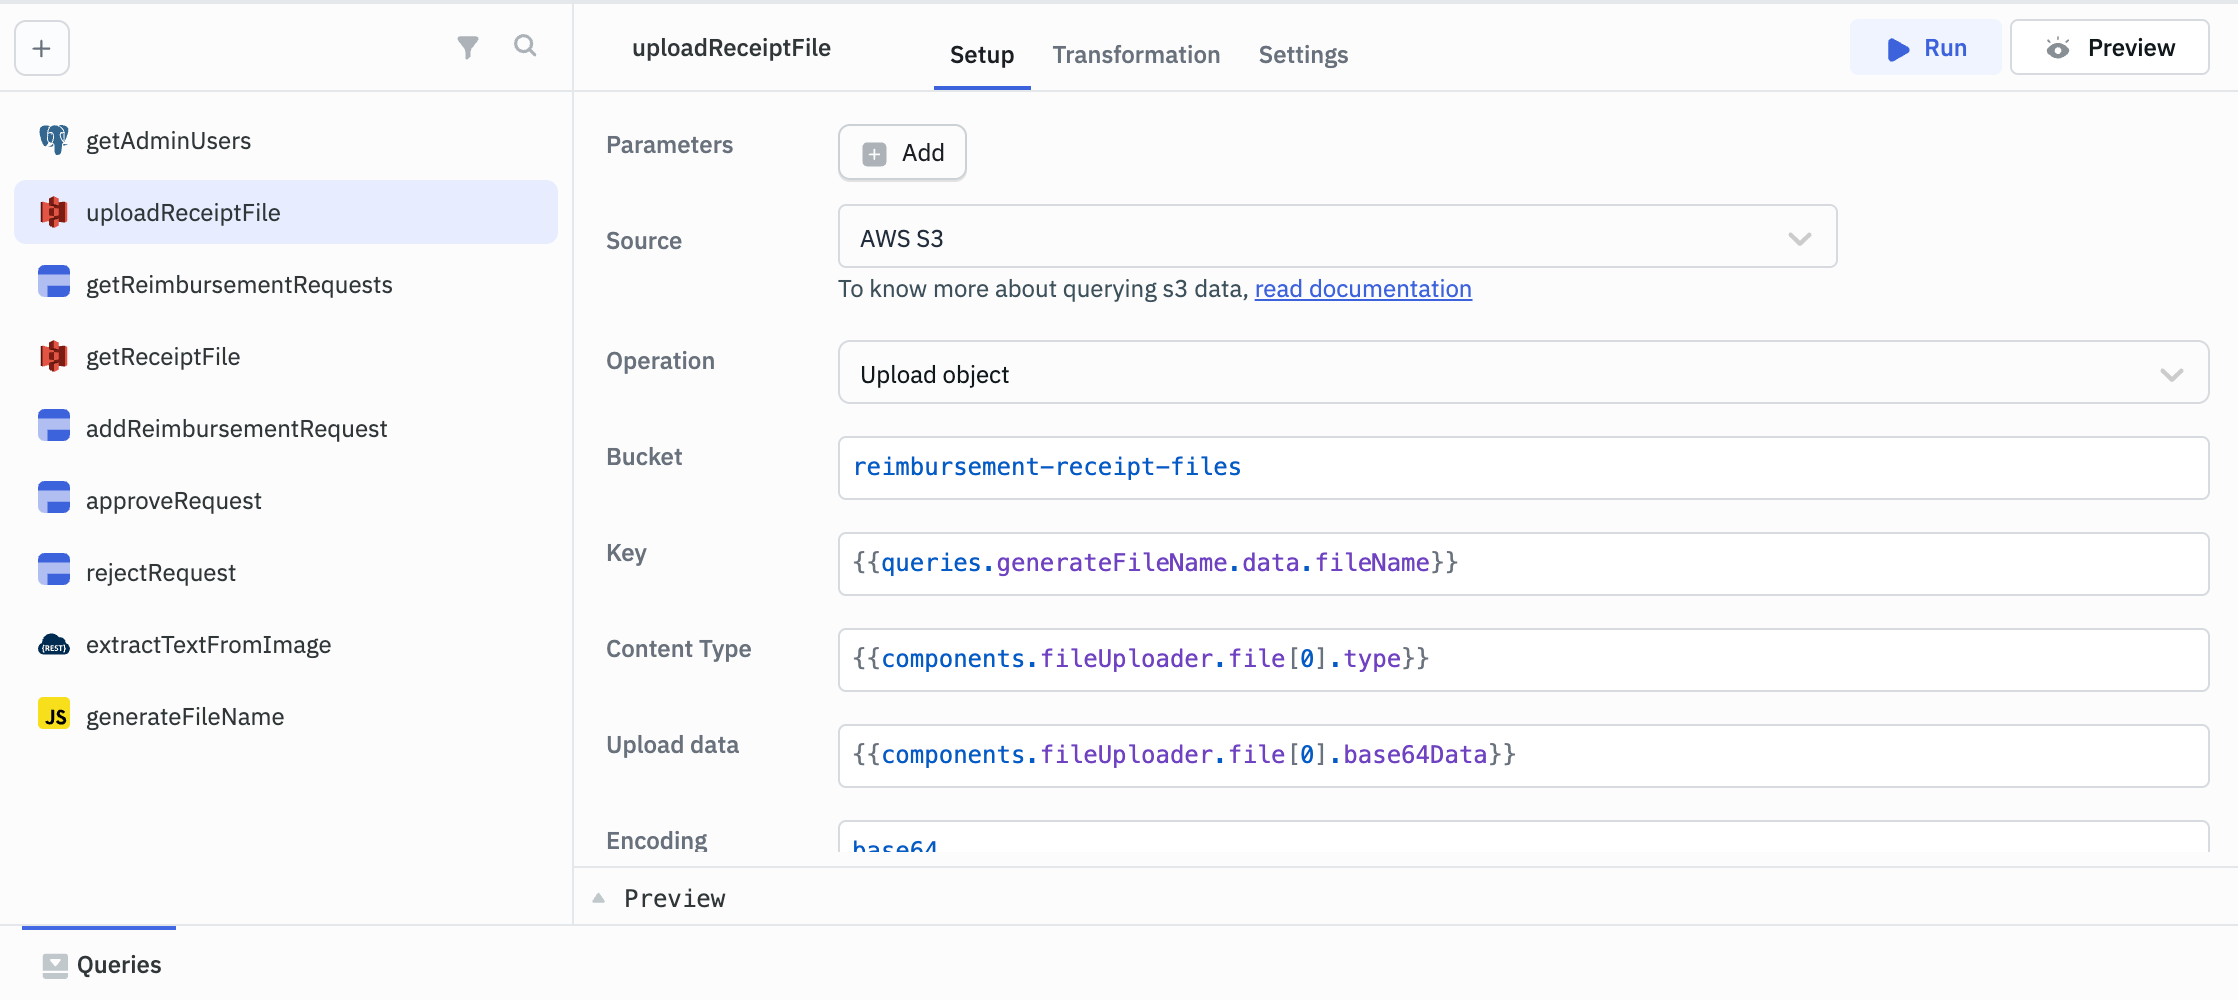
In this example using the AWS S3 data source, you can perform the Upload object operation to upload a file to an S3 bucket. You’ll need to provide details such as the bucket name, key, and other relevant parameters based on the selected operation.
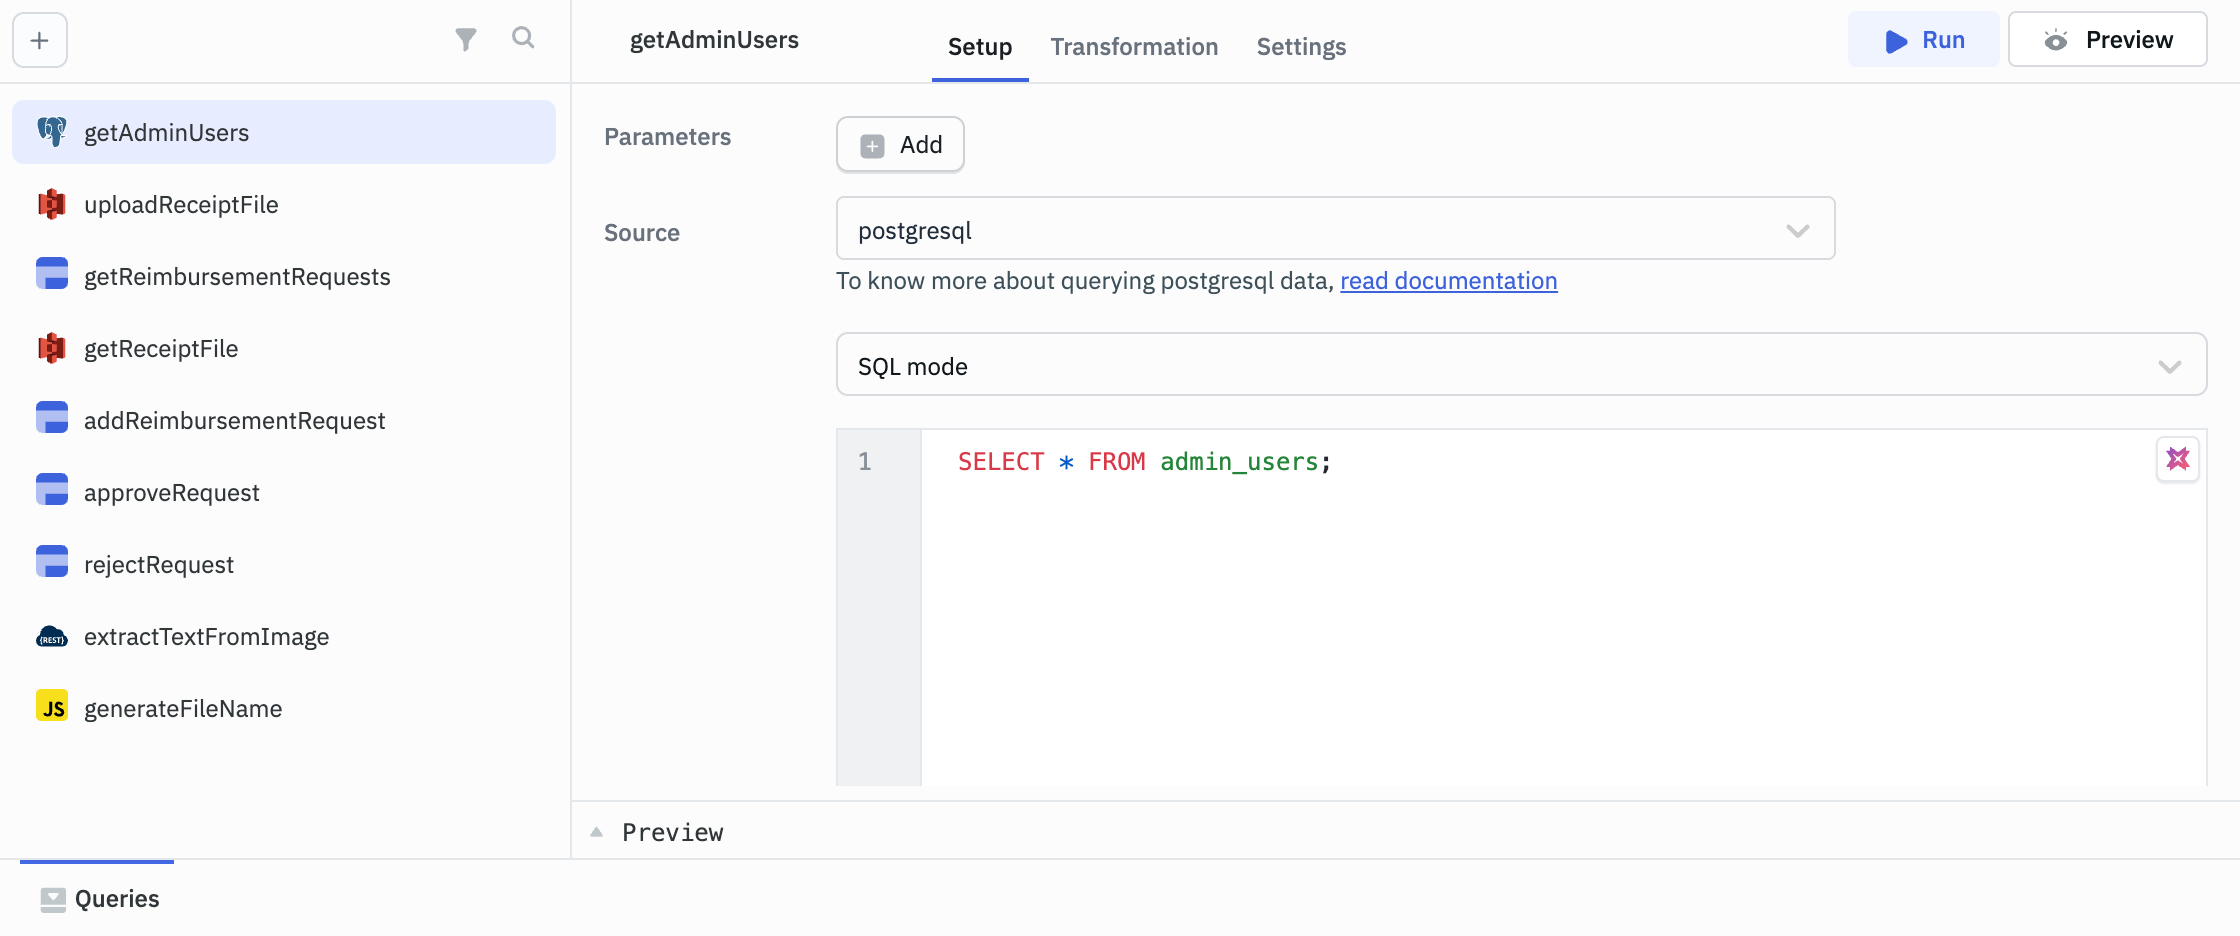
SQL mode
For data sources such as MYSQL, PostgreSQL or SQL Server, you can choose SQL mode where you can write the SQL query to perform your desired operation.
Custom Parameters
You often need a query to fetch different data based on user input, component state, or other logic. Custom parameters allow you to pass dynamic values into a query, making it reusable without hard-coding values.
Let's say you have a query that fetches employee details based on department. Instead of creating a separate query for each department, you can define a parameter like departmentName, and use it to filter results dynamically.
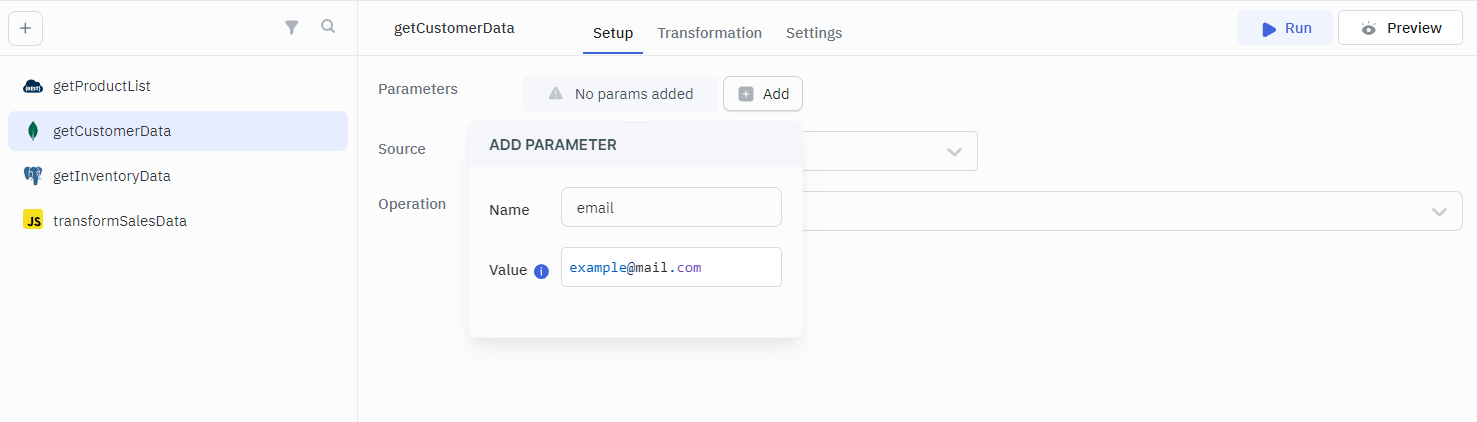
To add parameters, simply click the + Add button next to the Parameters label in the query editor.
For each parameter, you need to specify:
- Name: The identifier for the parameter.
- Default value: This value can be a constant string, number, or object.
Syntax for utilizing the parameter: Employ parameters.<identifier> in your query. It's important to note that parameters can only be utilized within the specific query where they are defined.
Learn more about Using Custom Parameters.
Preview and Run
Before connecting a query to your app’s UI, use the Preview button to check what it returns. This is especially useful when working with external APIs or complex SQL. You can inspect the raw or JSON response, debug any issues, and make sure the data matches what your components need.
Once things look good, use the Run button to execute the query and verify how it interacts with your components and other queries.
Triggers
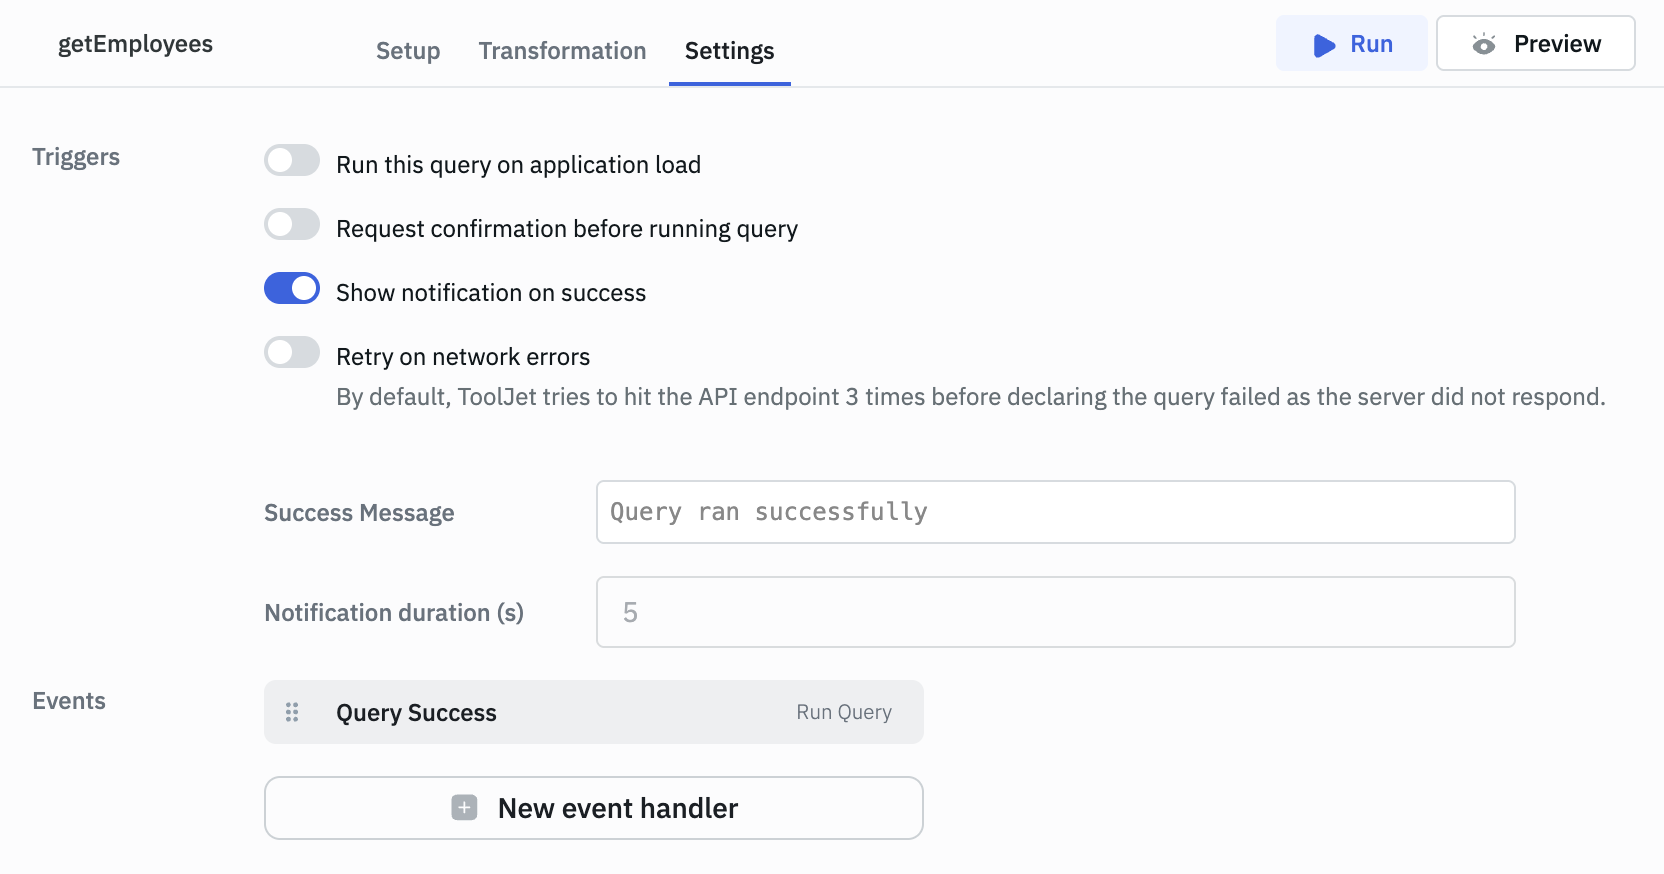
Triggers allow you to control when and how a query executes within your application. You can find them under the Settings tab in the query editor. Following are the triggers available:
Run This Query on Application Load
You can use this when you want data to be available as soon as the page loads, like auto-fetching a user’s dashboard data or populating dropdown options without requiring user input.
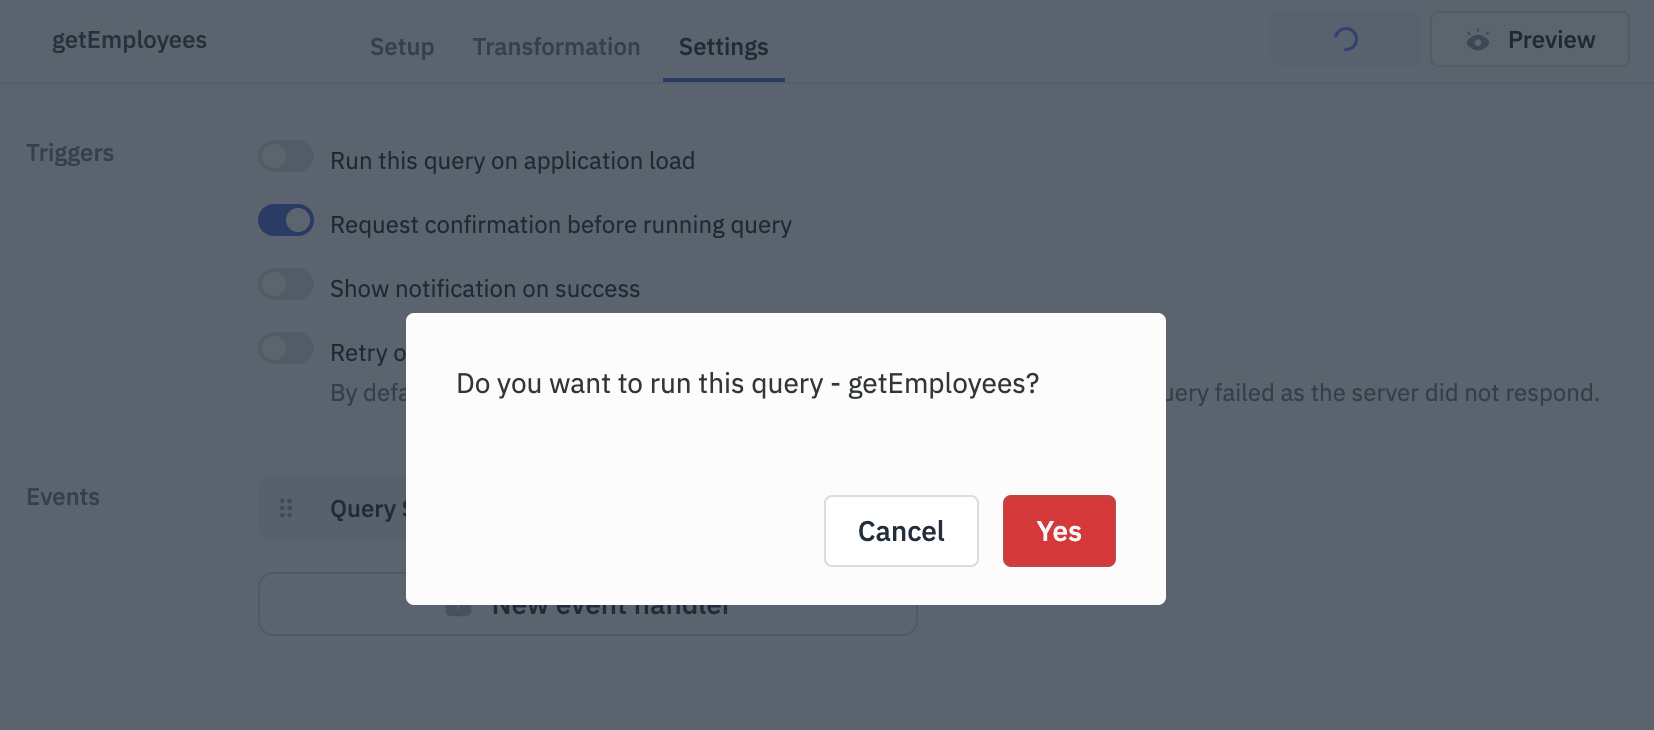
Request Confirmation Before Running Query
For actions that modify or delete data, enable this to prompt users for confirmation. It acts as a safeguard against accidental clicks that could alter critical records.
Show Notification on Success
Let users know when actions are completed successfully. This improves UX by giving real-time feedback. You can customize the message and how long it stays visible.
Retry on Network Errors
This setting is only available for REST API queries. Here, you get an option to automatically retry REST API requests in case of certain network errors or specific HTTP status codes. By default, it retries a failed API request up to 3 times before marking it as failed. Refer to REST API Documentation for more details.