Overview
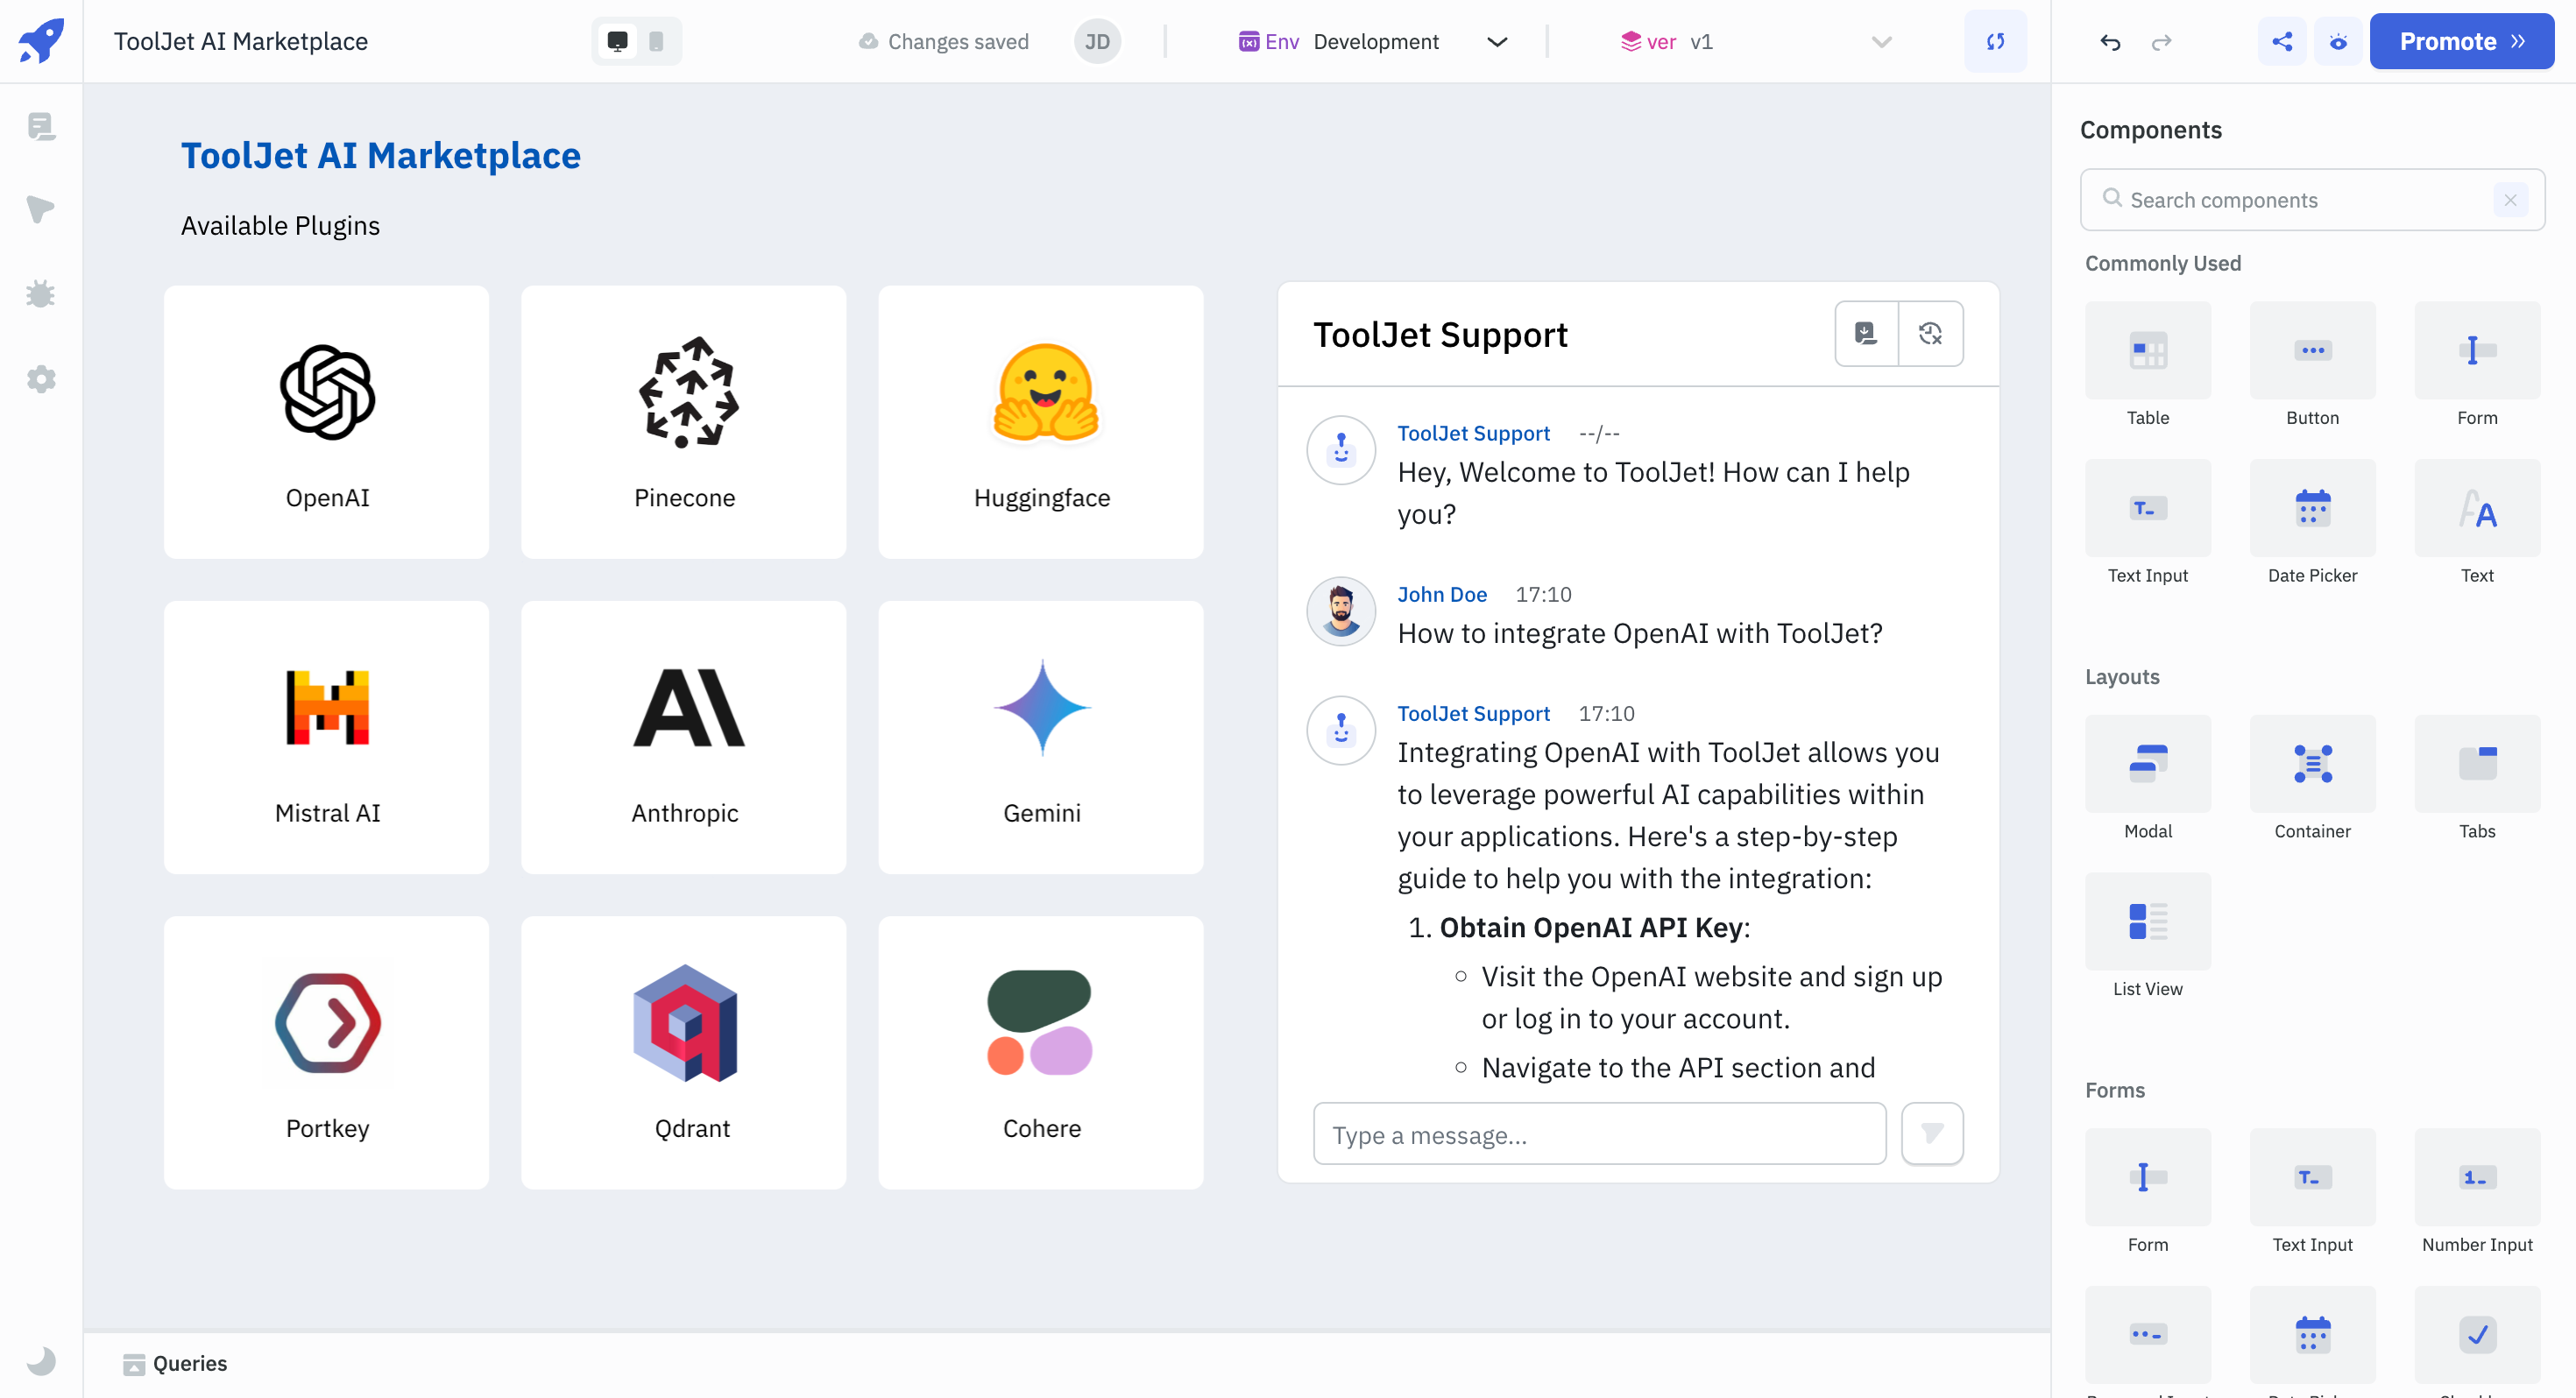
The Chat Component is used to implement a chat-based interface in an application. It can be integrated with AI plugins to build an AI-enabled chatbot or used for traditional chat functionalities, making it suitable for both AI-powered and human-to-human conversations.
This guide explains how to build an AI-enabled support chatbot using the Chat Component. For more details, refer to the following guides:
Building AI Enabled Chatbot
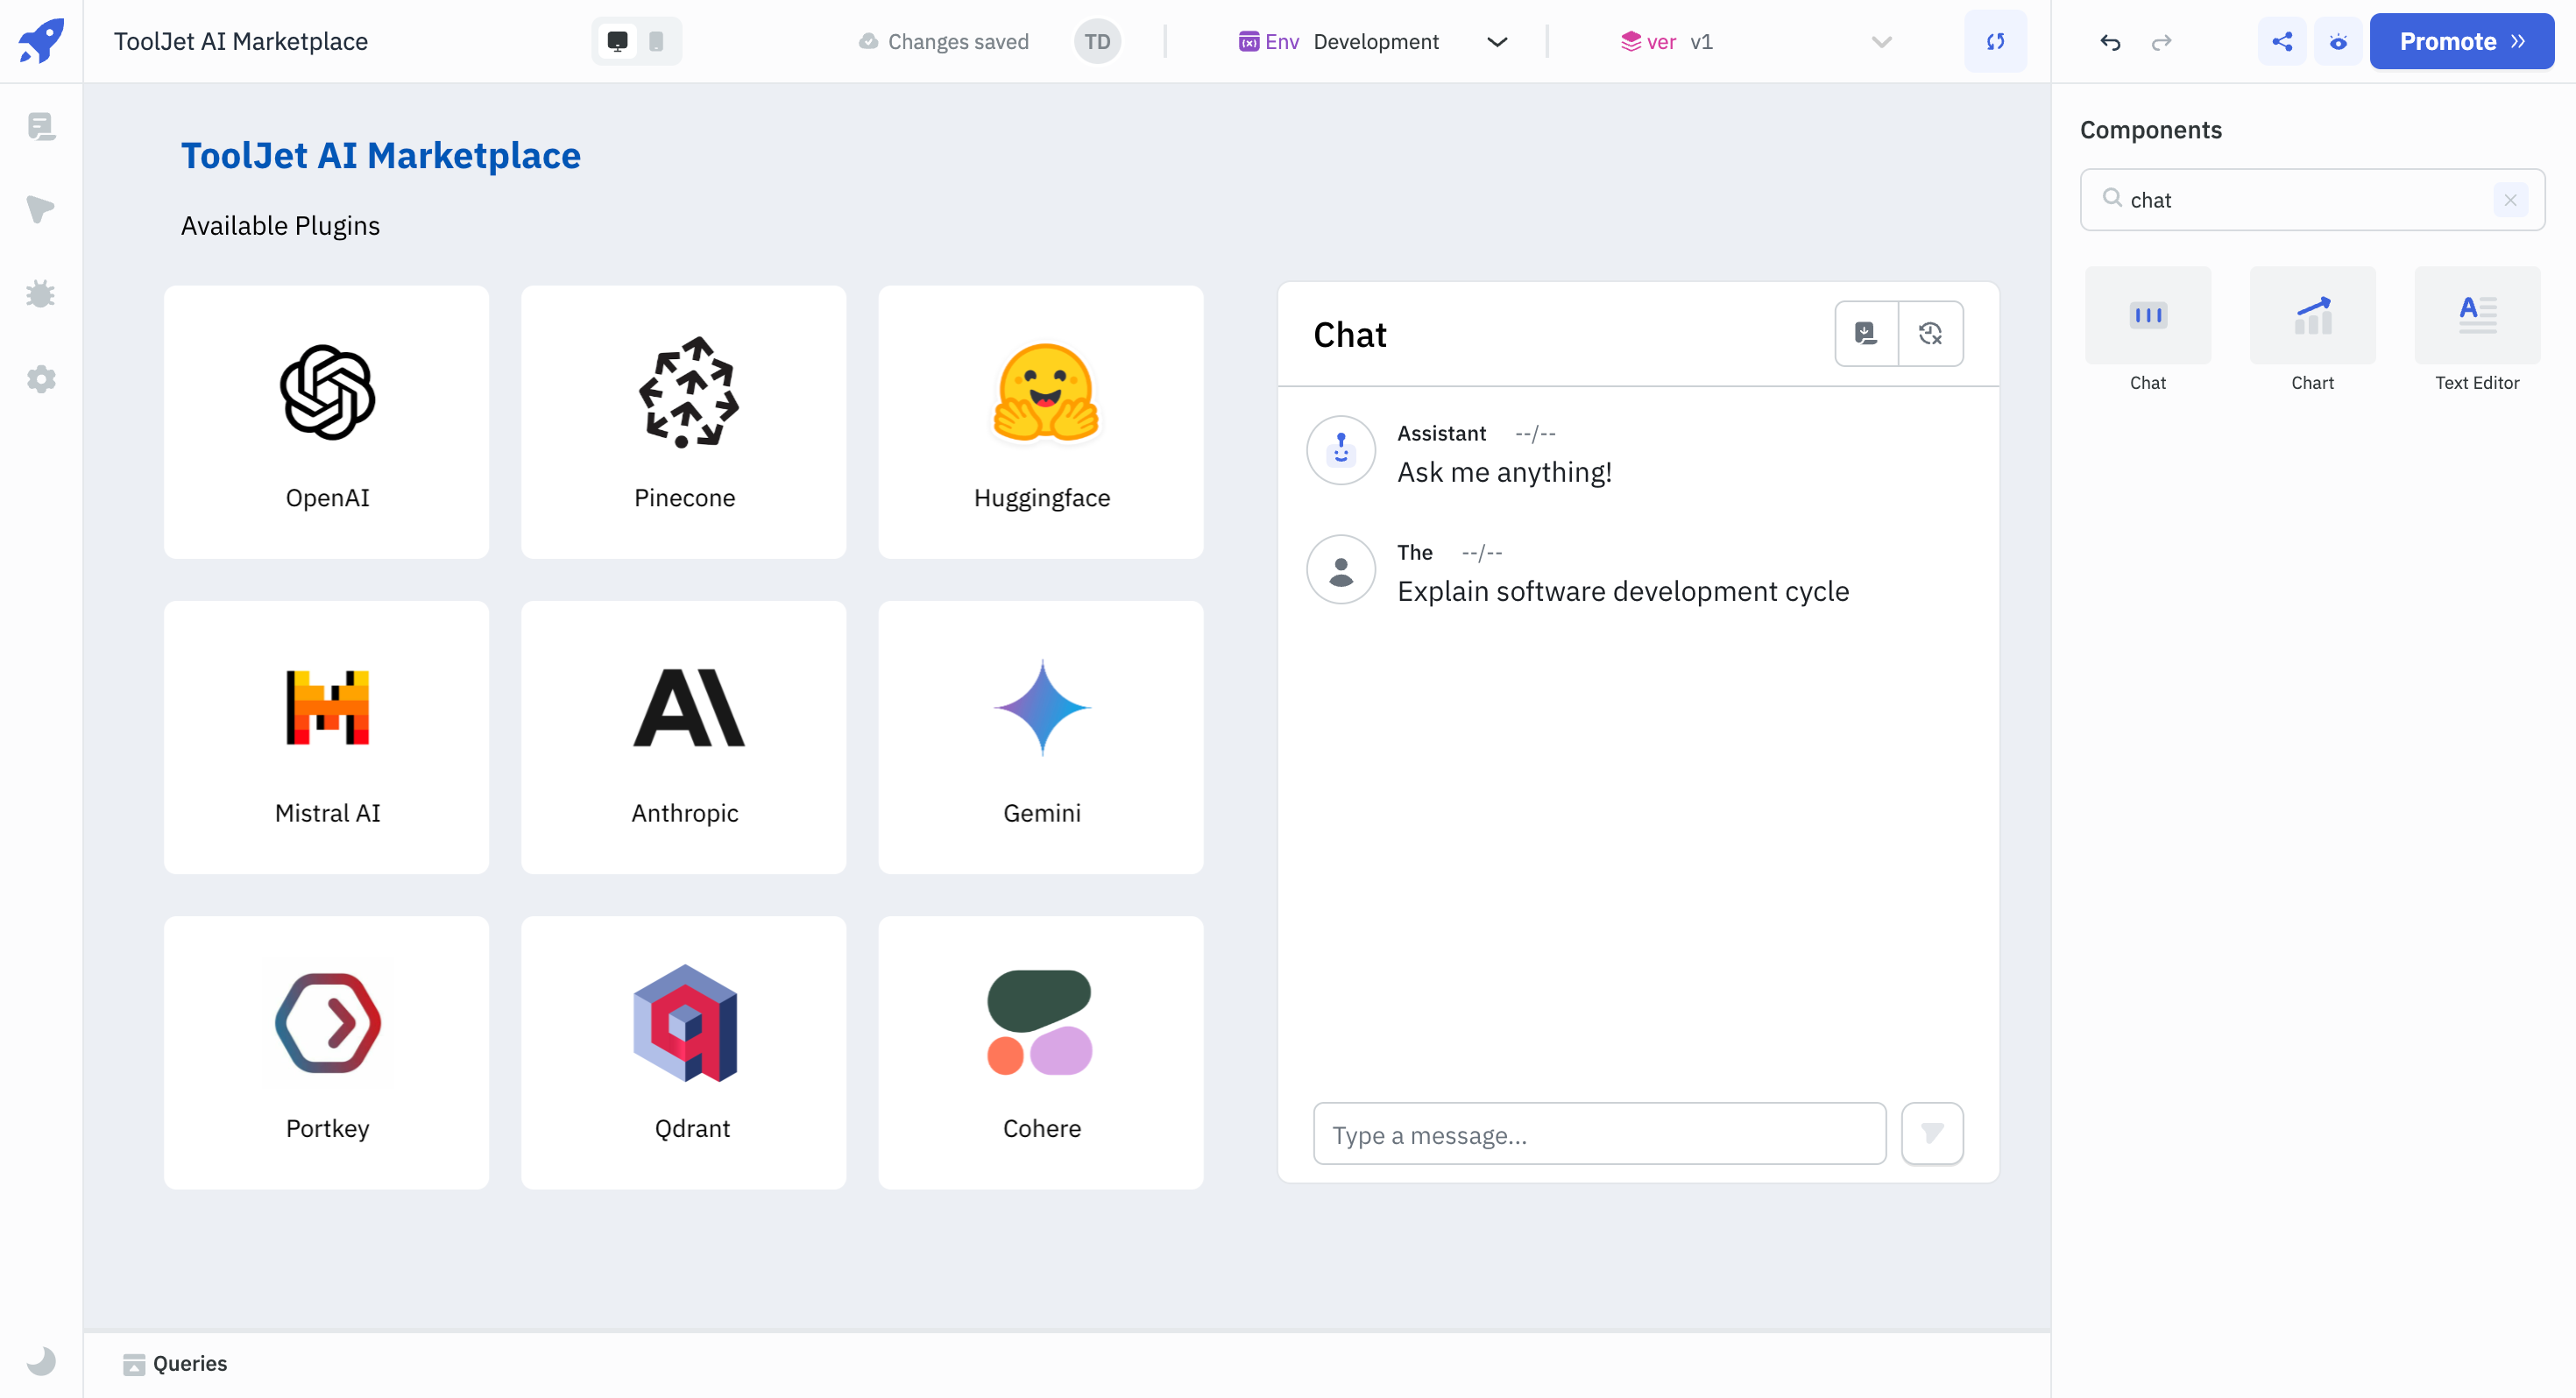
- Drag a Chat Component on the canvas.
-
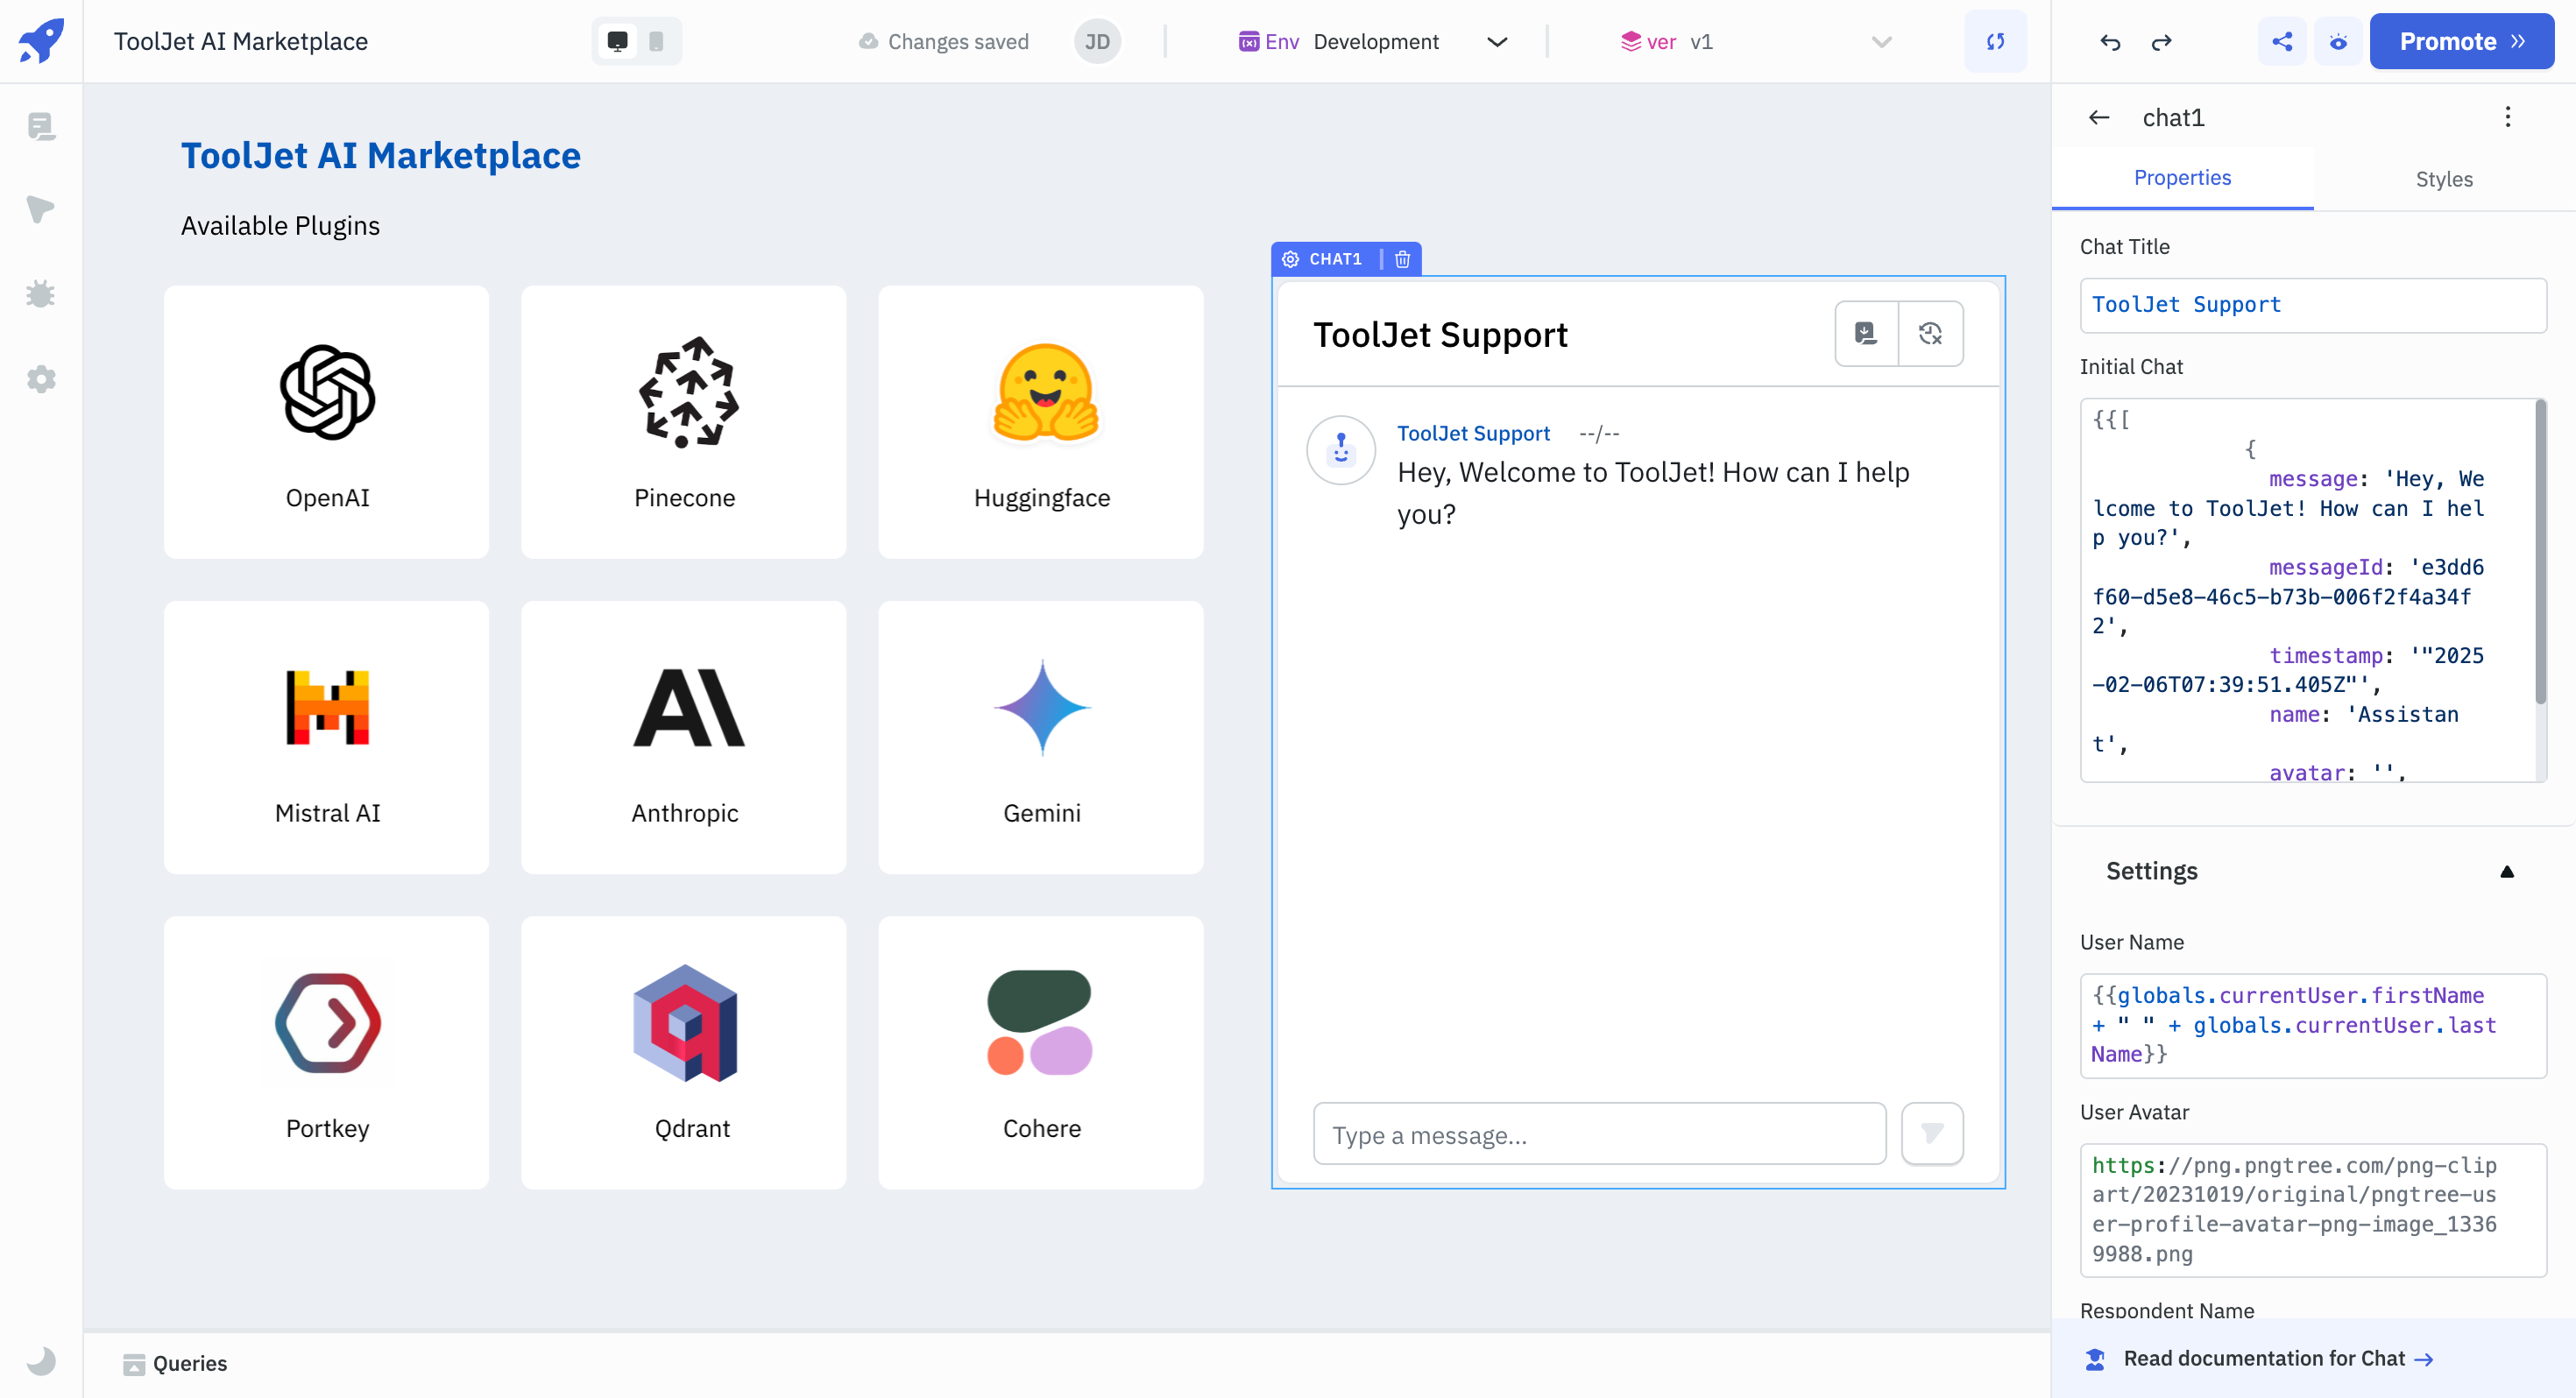
Customize the Chat Component.
a. Enter a Chat Title.
b. Set Initial Chat.
c. Configure User Name and Avatar.
d. Configure Respondent Name and Avatar.
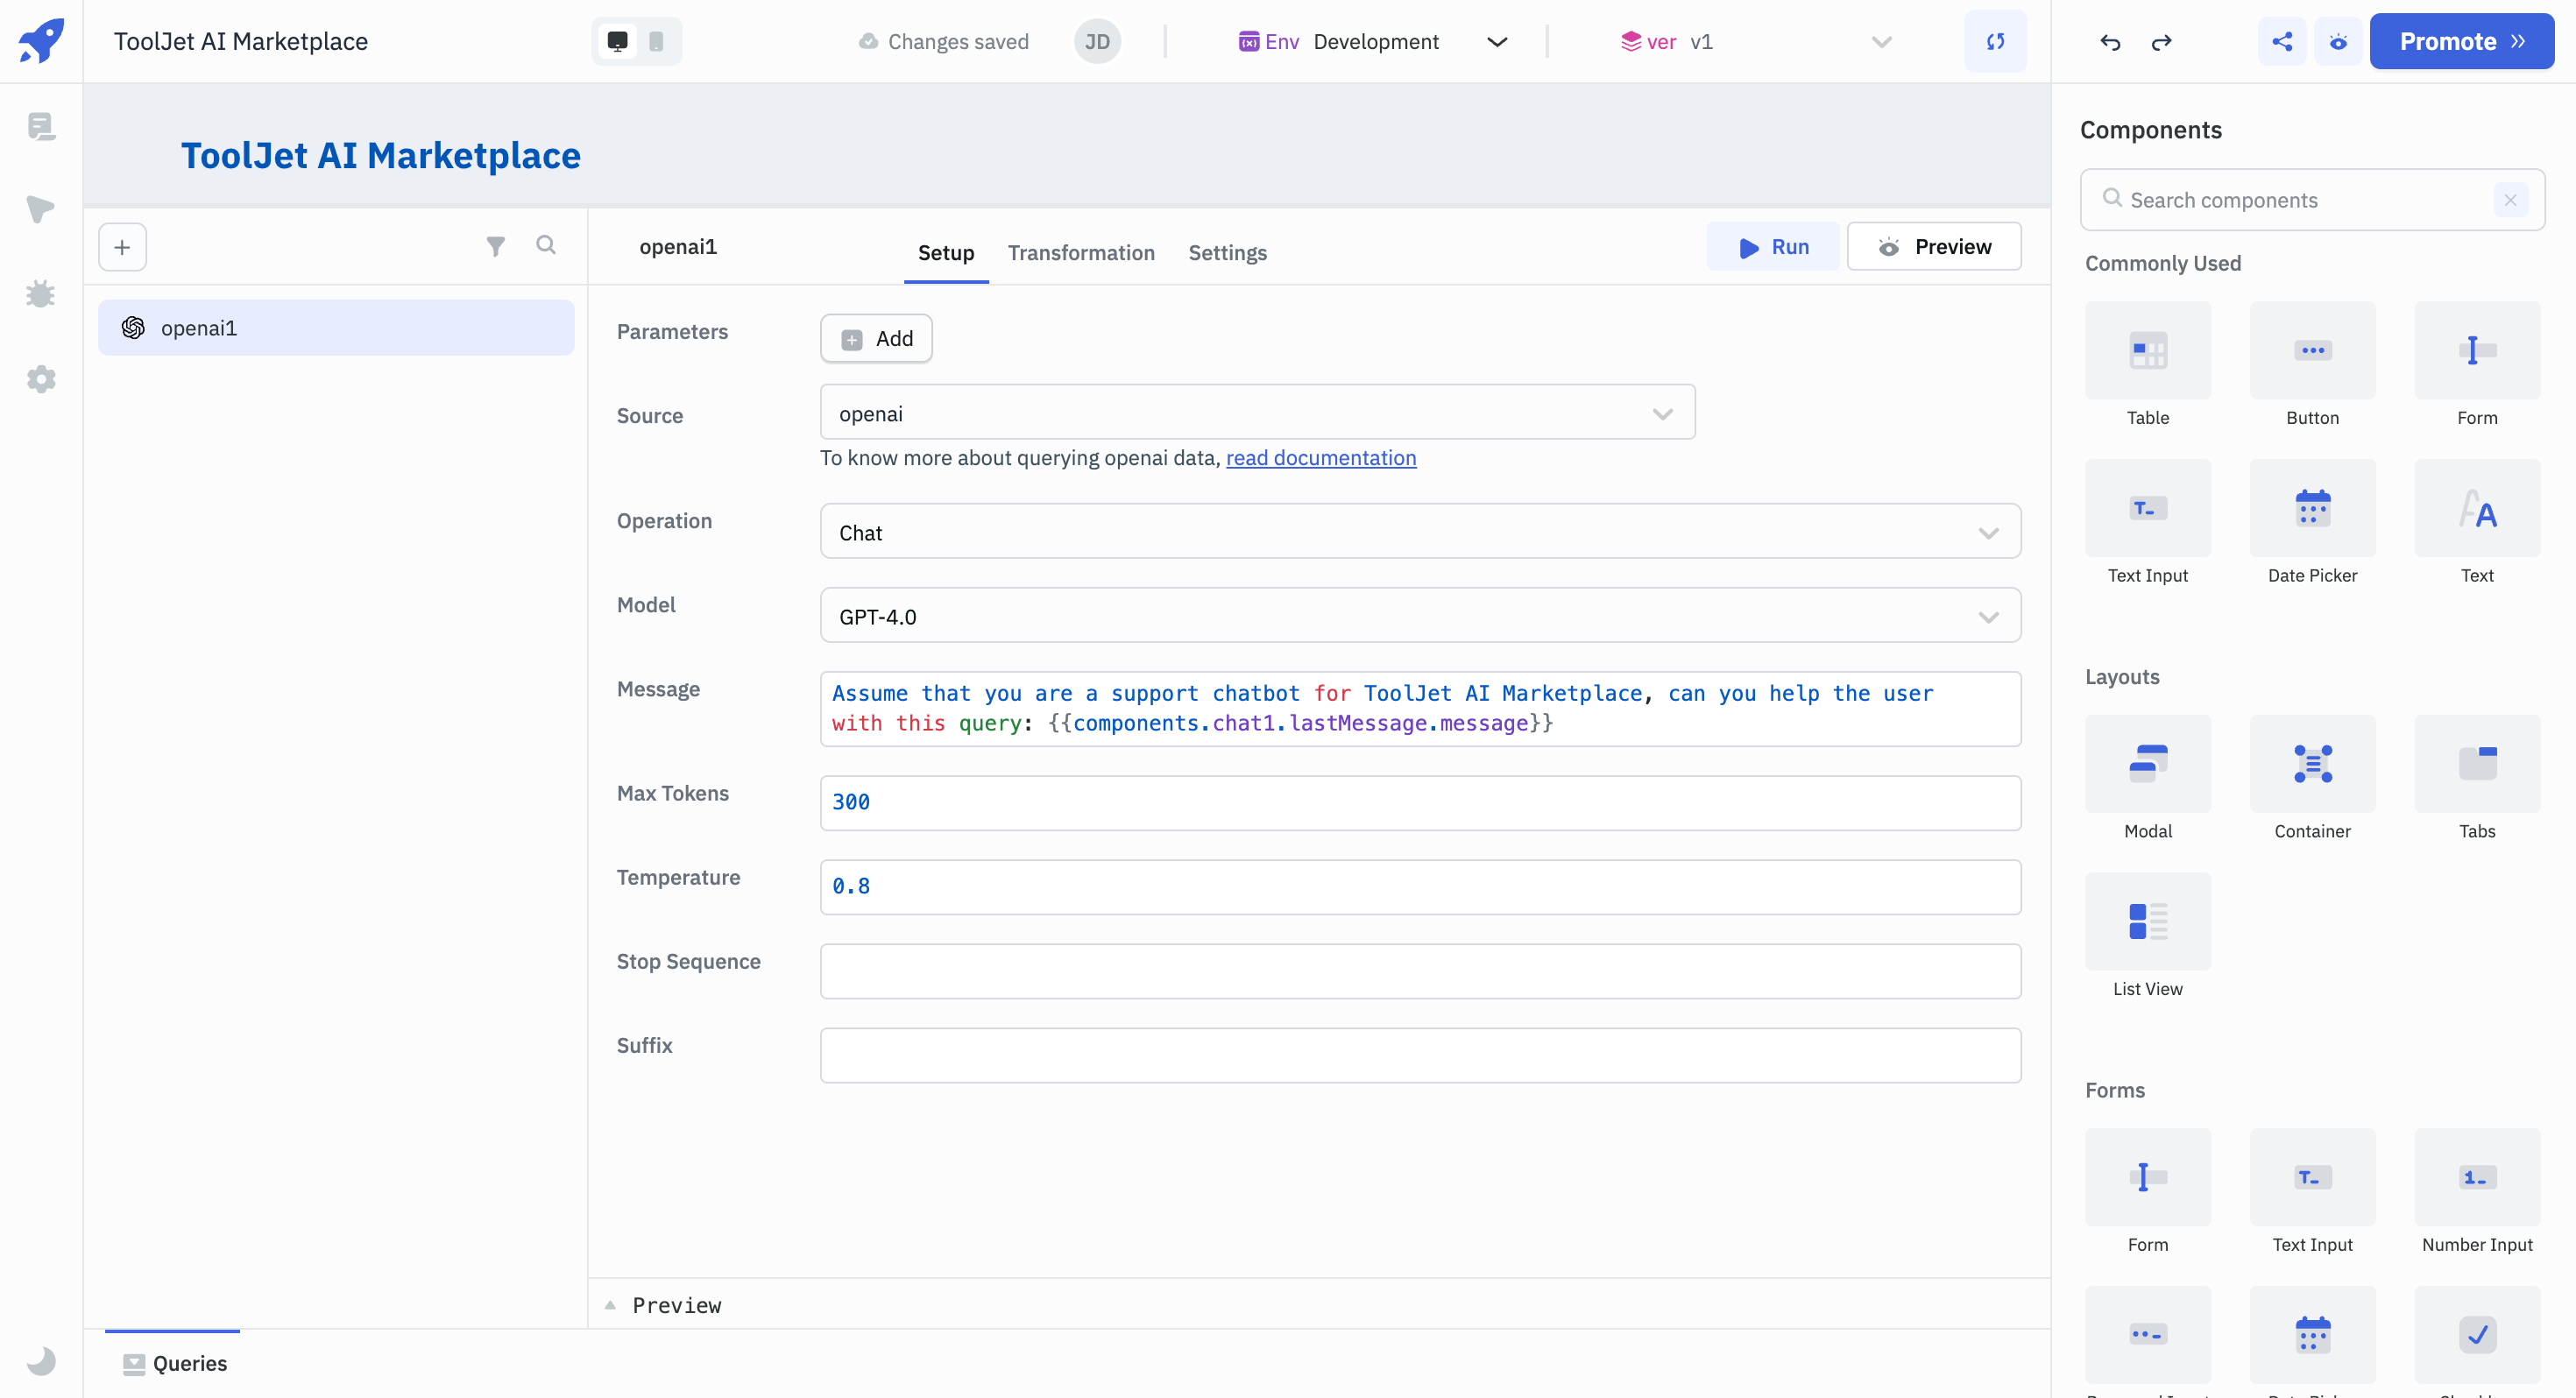
- Setup an AI query to generate responses. Check out marketplace for all the available plugins. Alternatively, you can configure it with any data source or use it as a chat between multiple users. To do this, specify the type 'response' in the message object.
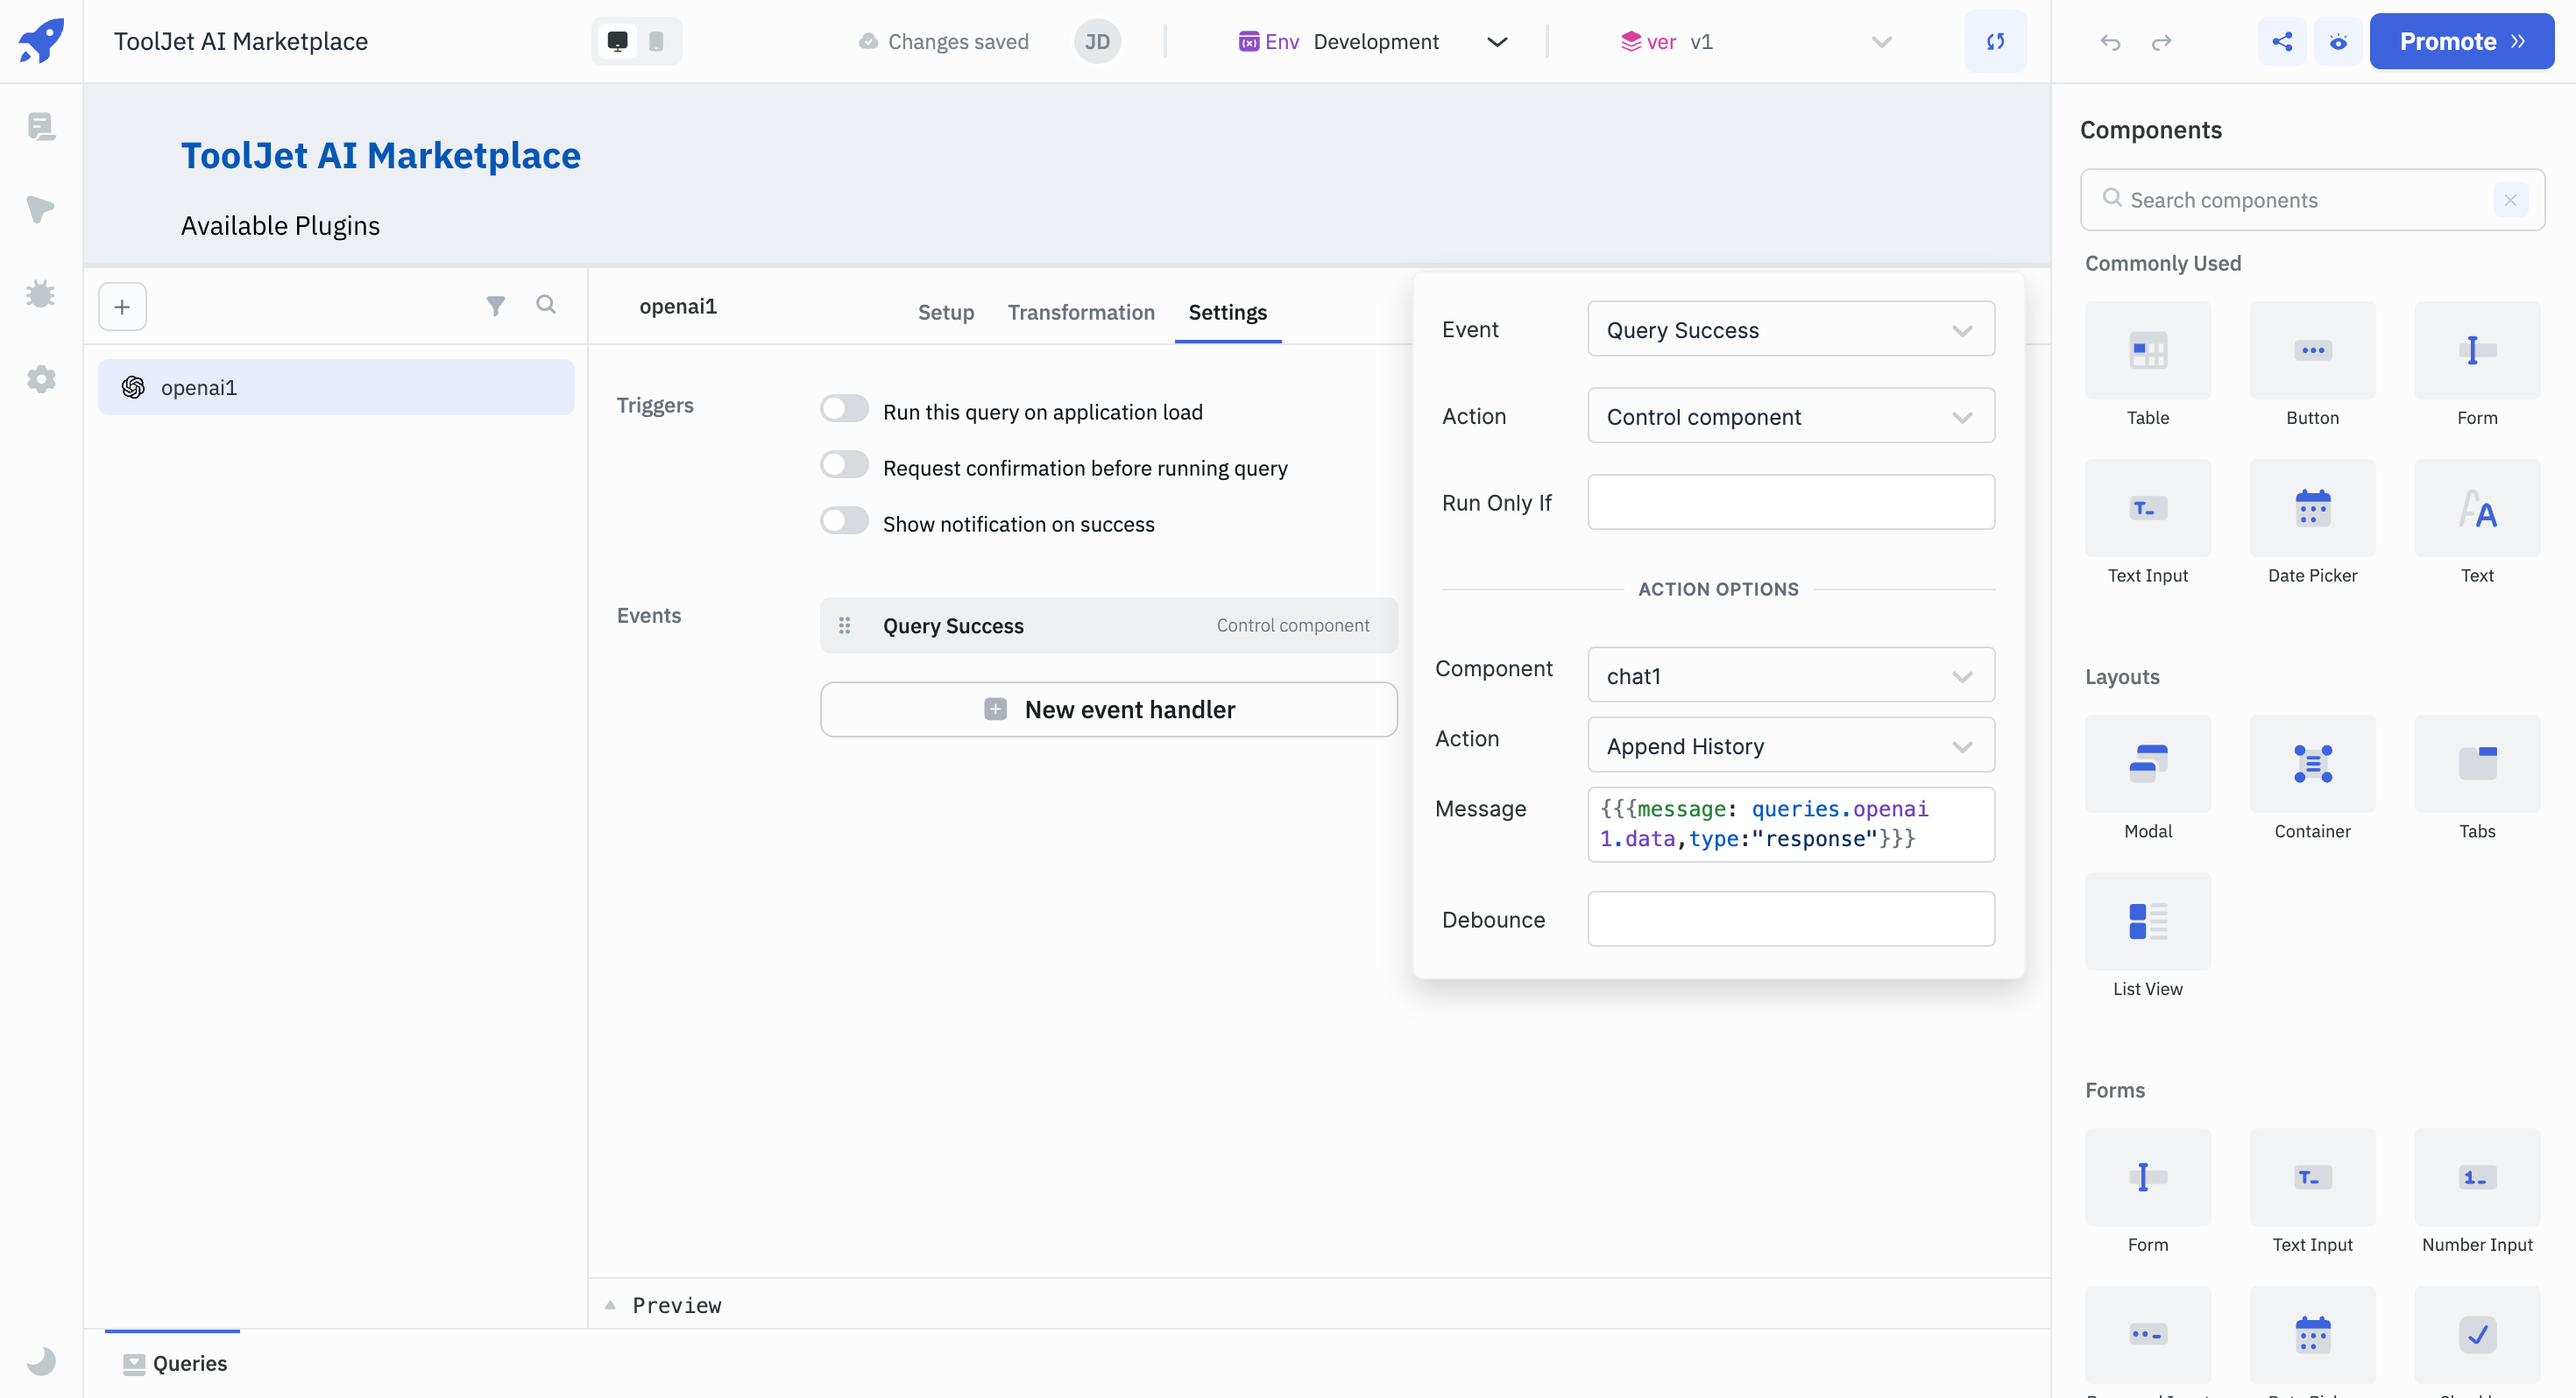
- Add a new event handler for the query with the following configurations:
- Event: Query Success
- Action: Control Component
- Component: chat1 (Select your chat component name from the dropdown.)
- Action: Append History
- Message:
{{{message: queries.openai1.data, type:"response"}}}
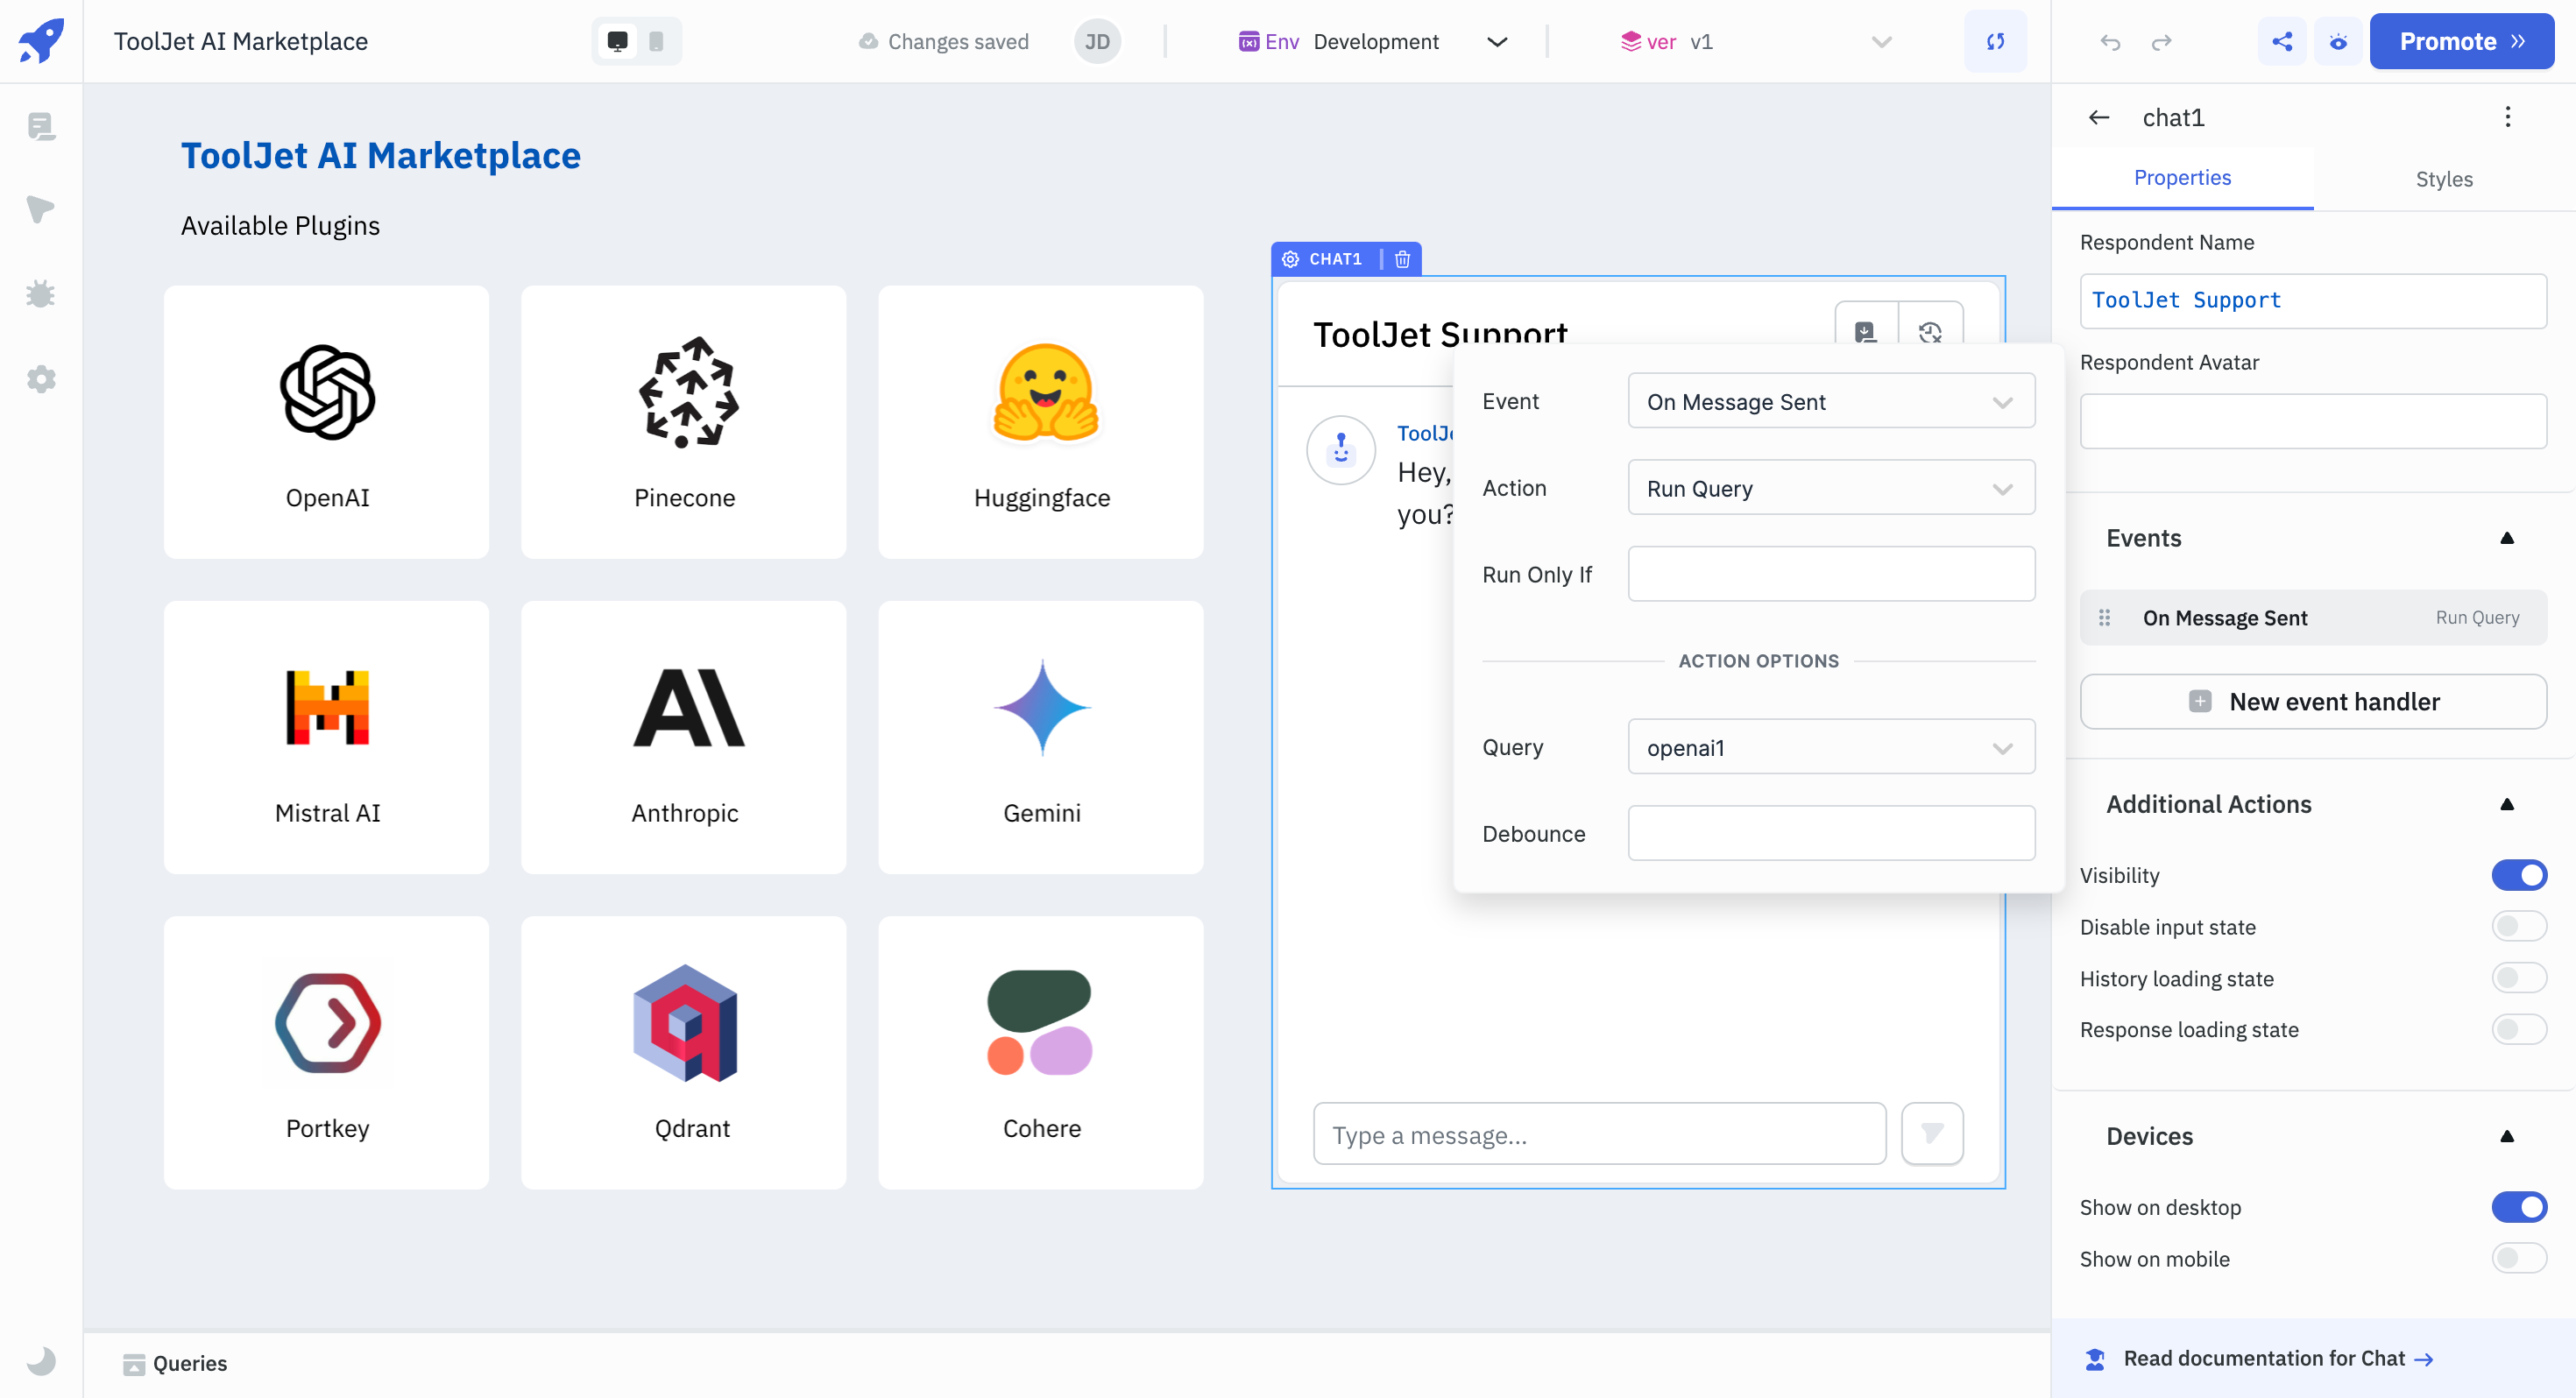
- Now add a new event handler for the Chat Component, with the following configuration:
- Event: On Message Sent
- Action: Run Query
- Query: openai1 (Select your AI query name from the dropdown.)
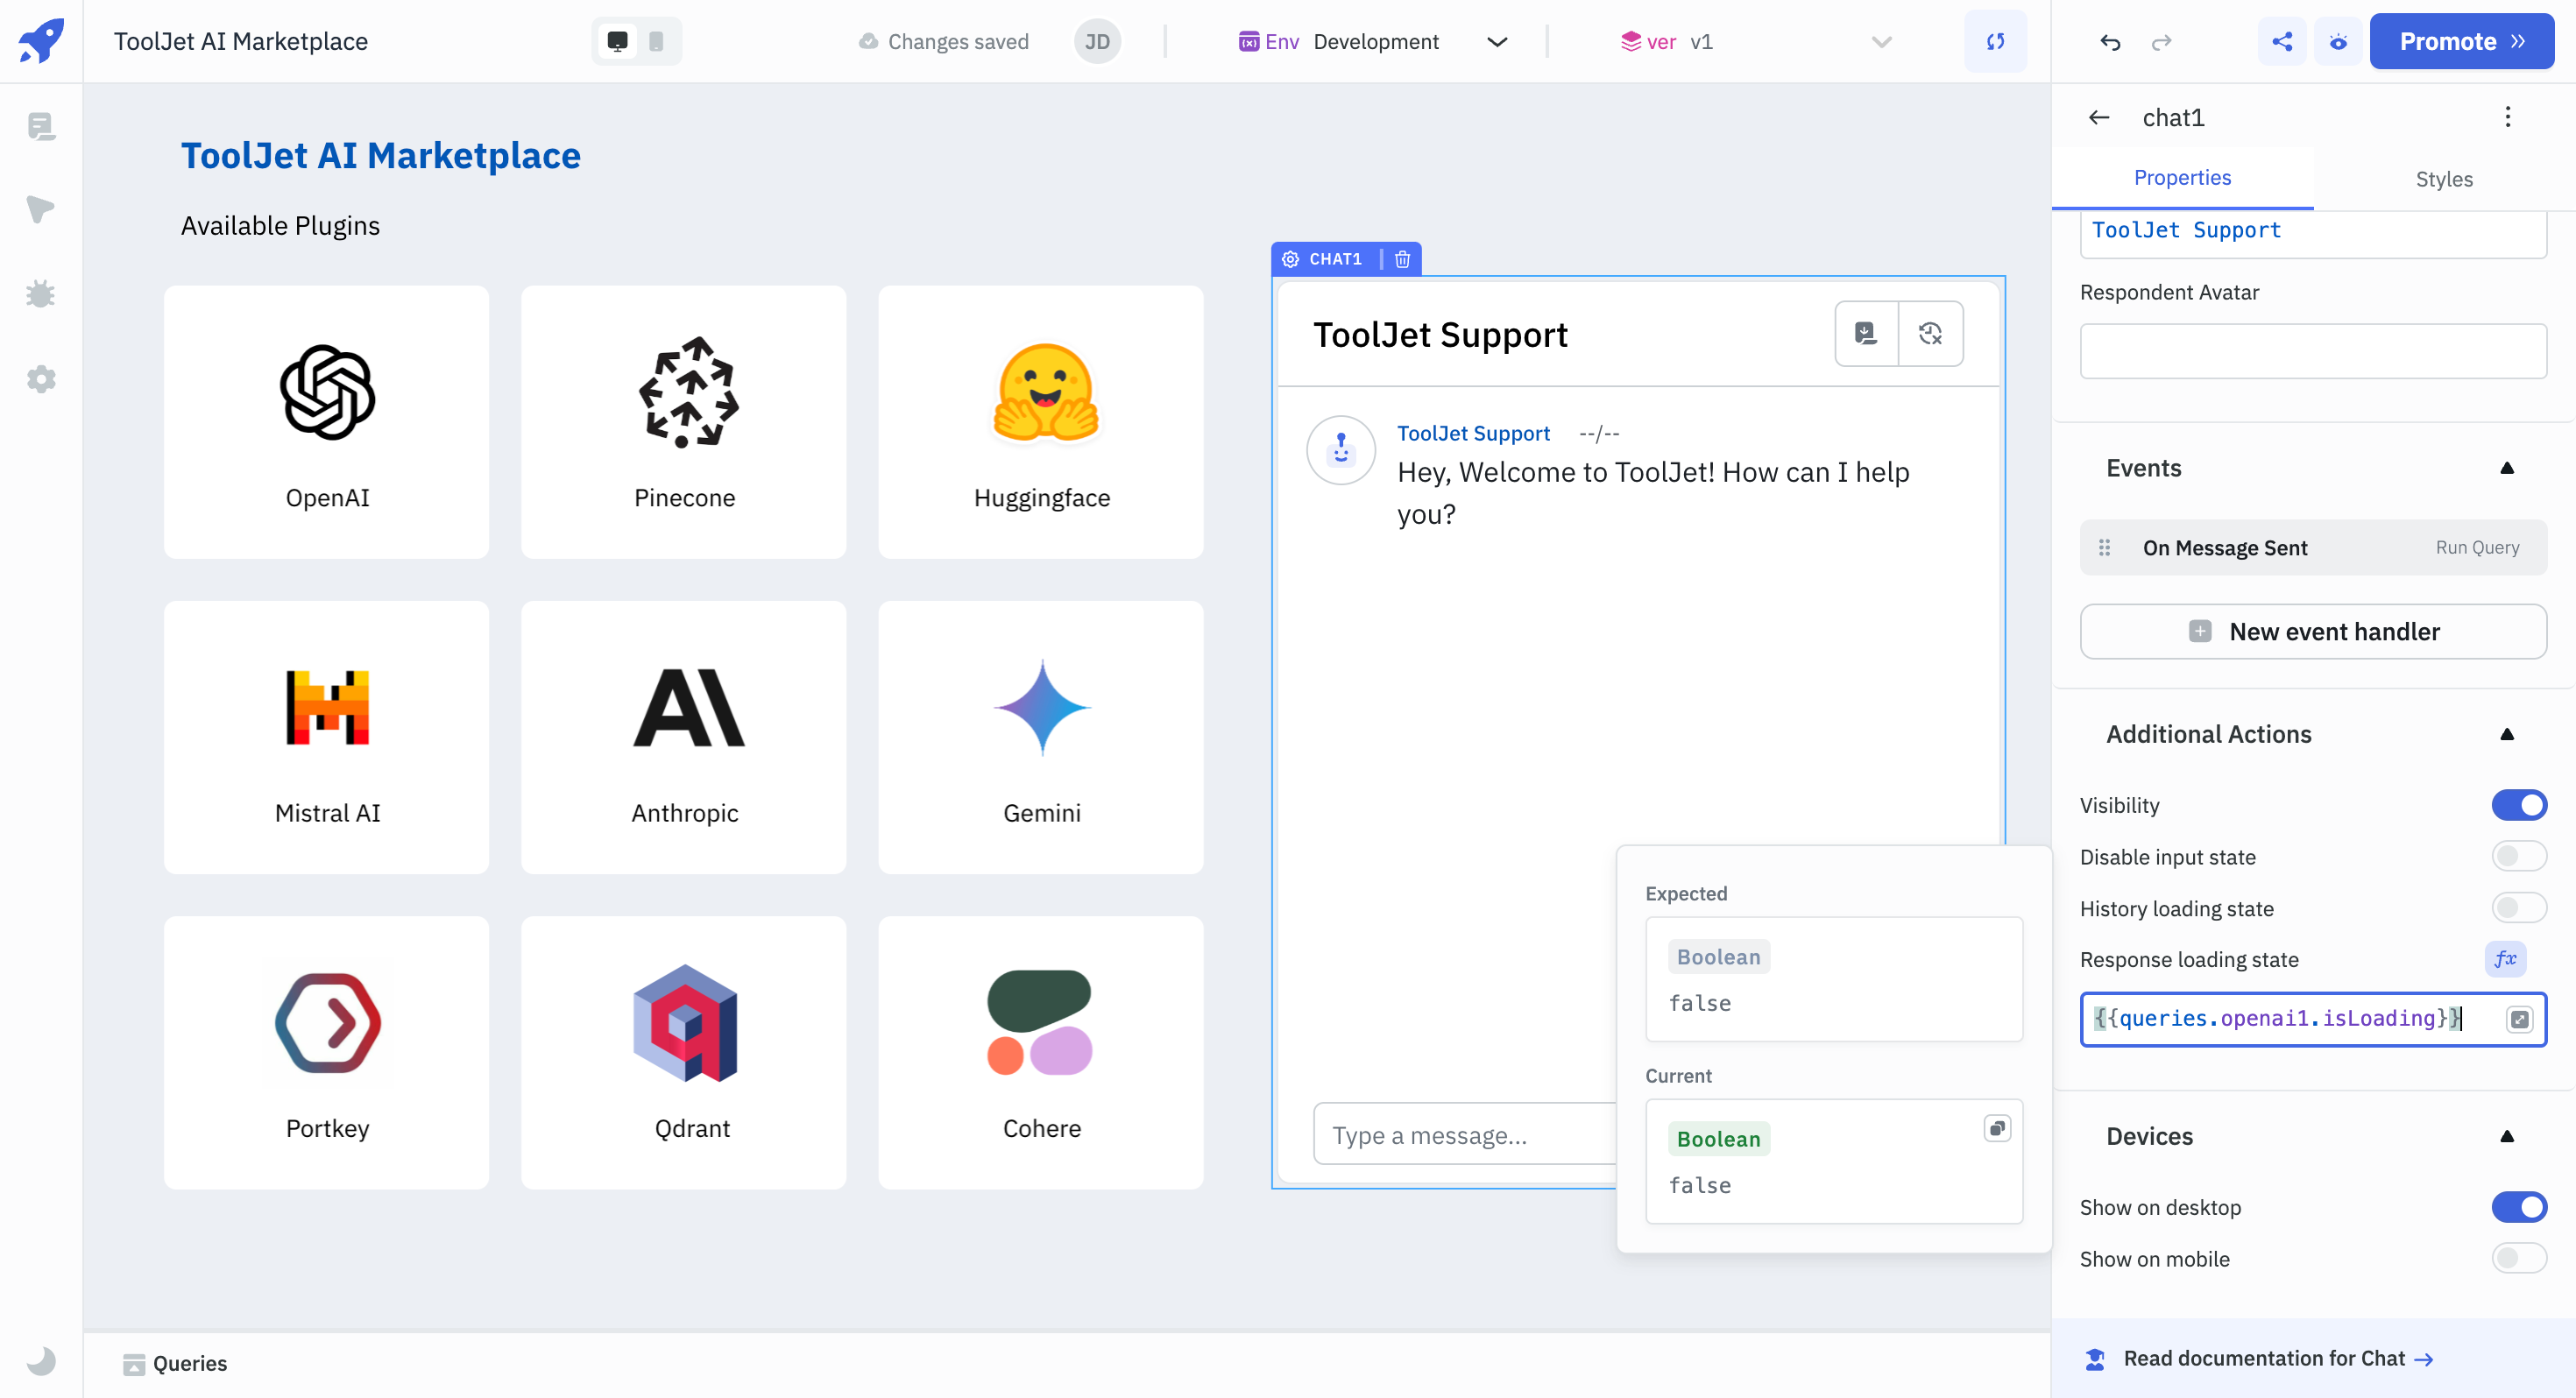
- To add Response loading state, click on fx in front of Response loading state option and configure it with
{{queries.openai1.isLoading}}.
By following the above steps, your AI Enabled Chatbot will be ready.