Deploying ToolJet on Azure container apps
Please note that you need to set up a PostgreSQL database manually to be used by ToolJet. Additionally, you must set up a Redis service through Azure Cache for Redis. We've provided detailed configuration steps in the Redis Setup section.
Deploying ToolJet application
-
Open the Azure dashboard and navigate to Container Apps, then click on Create container app.
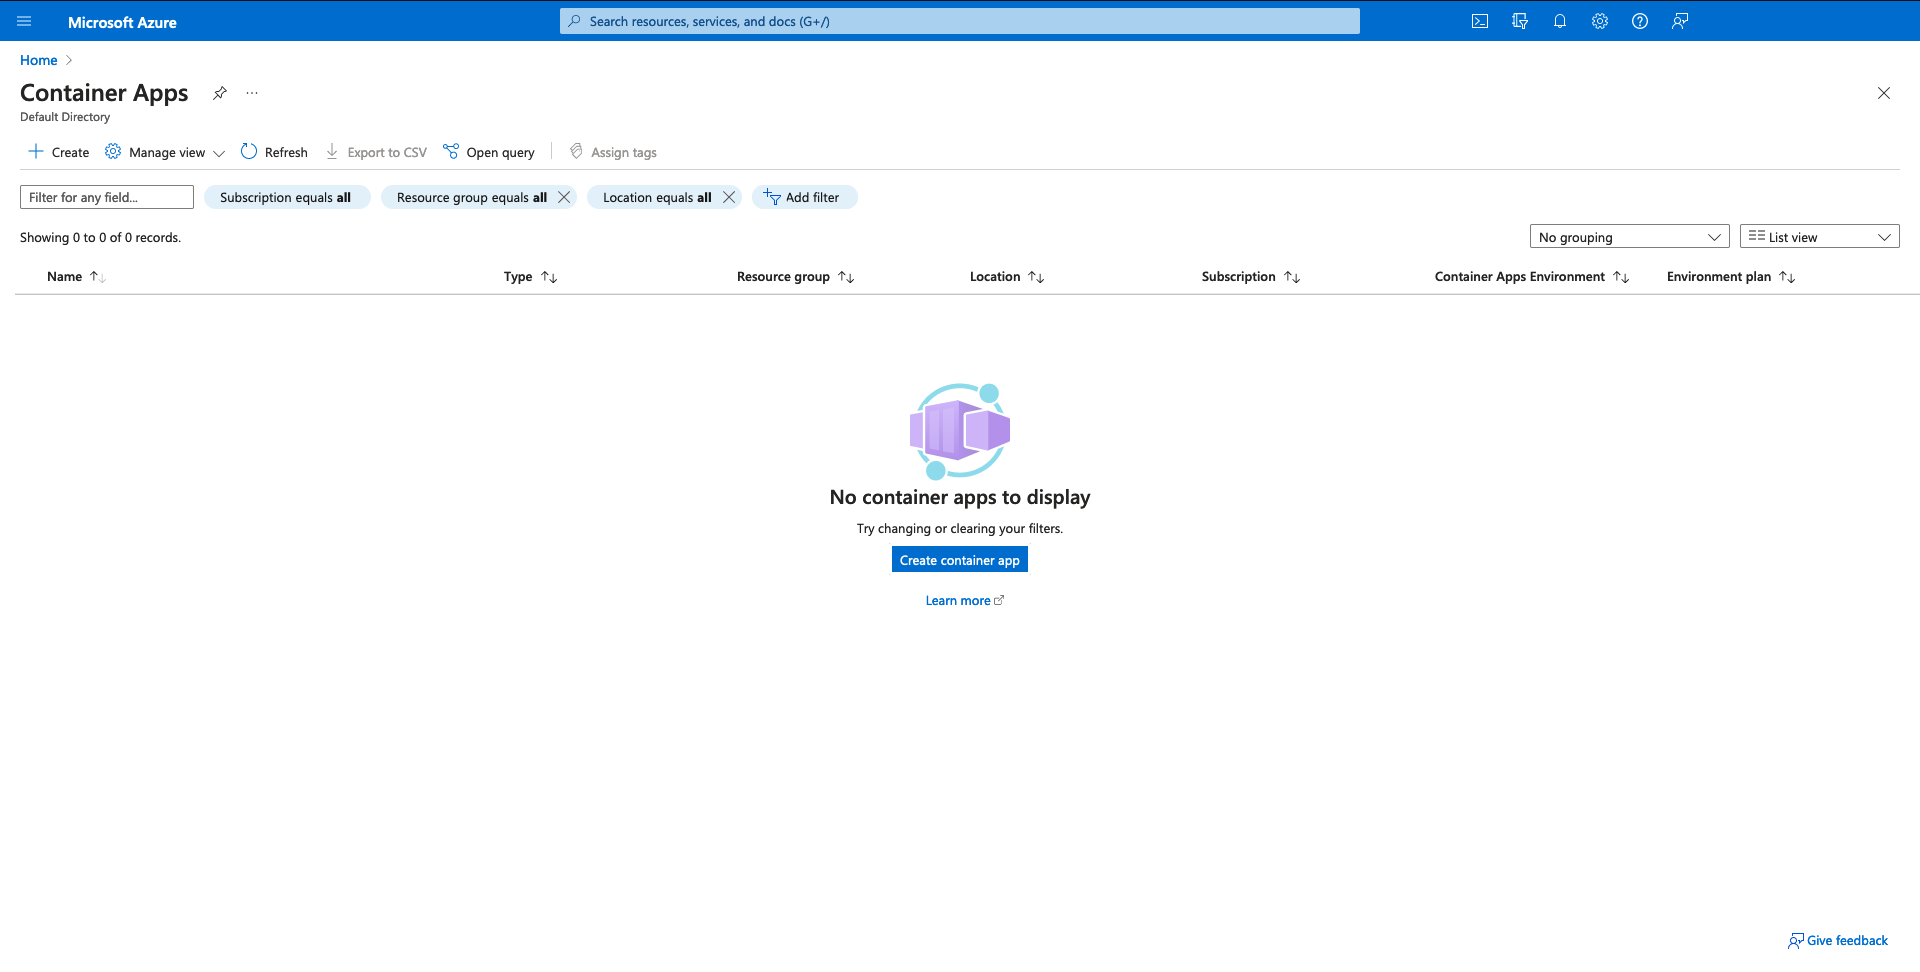
-
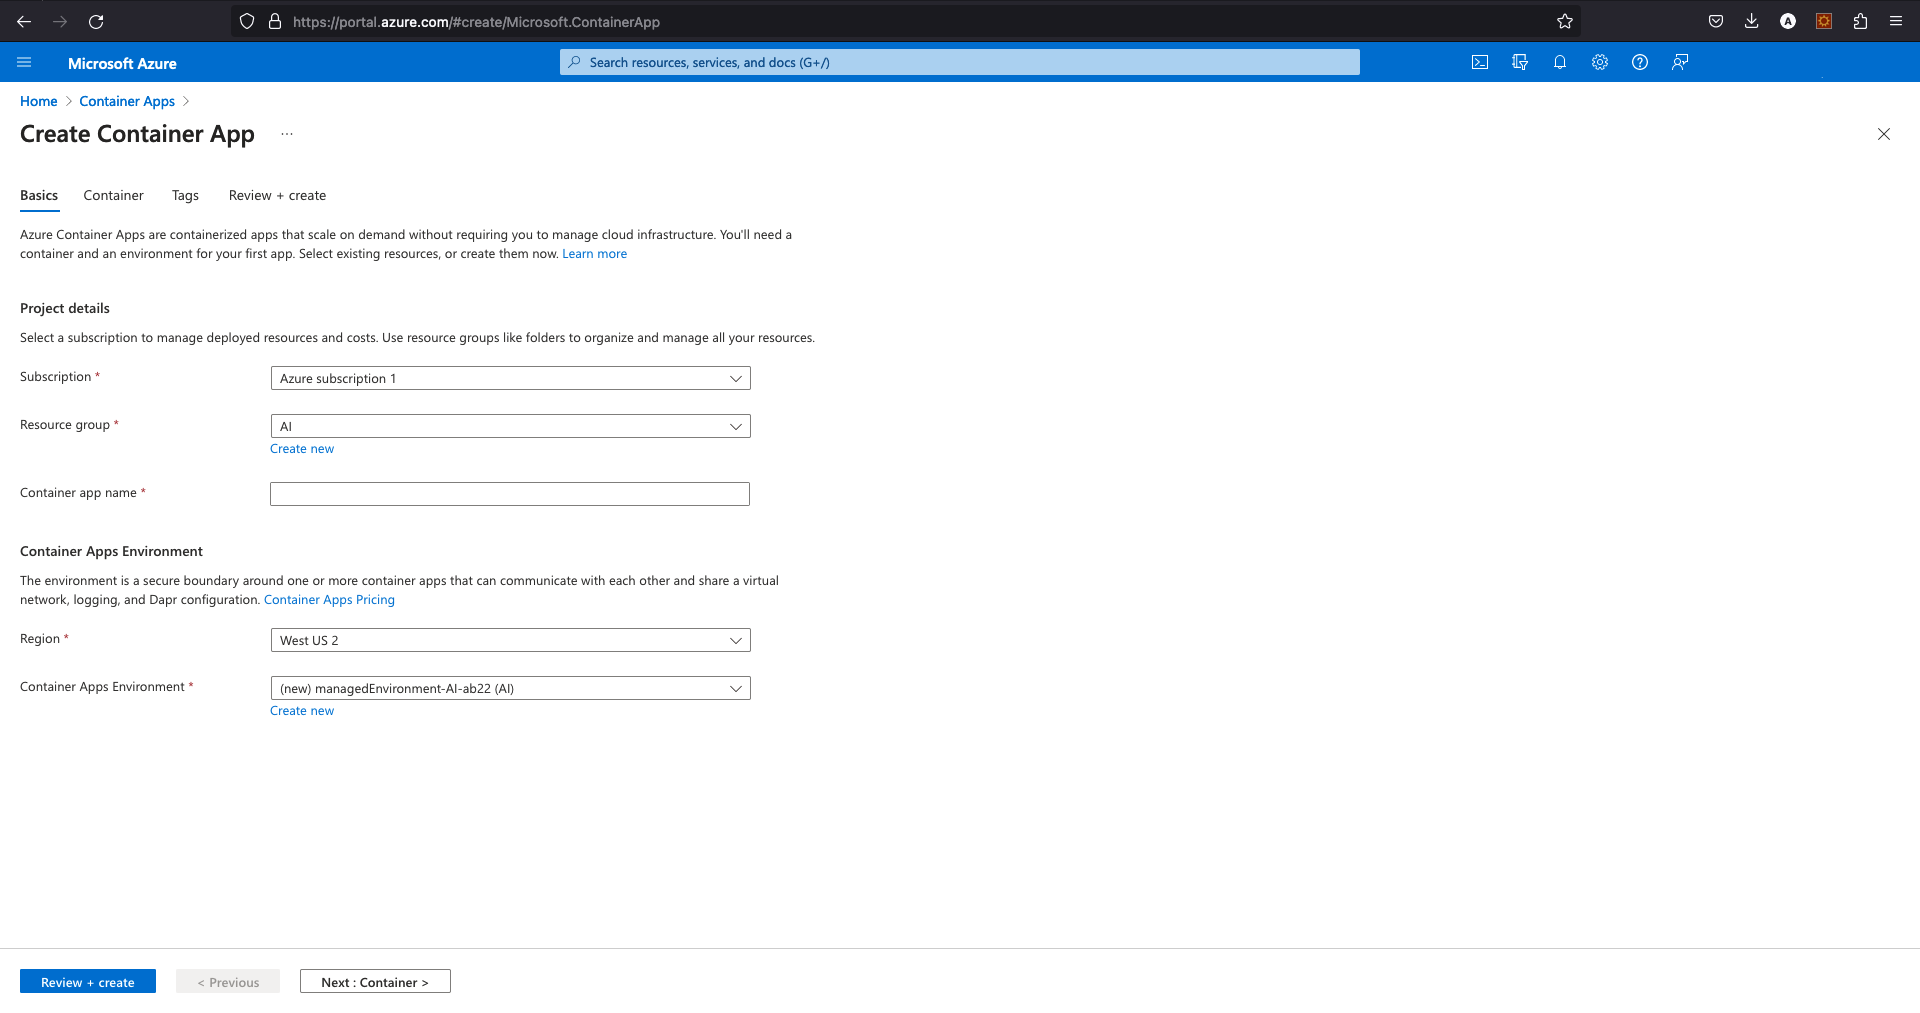
Select the appropriate subscription and provide basic details such as the container name and then click on the Create new environment button below "Container Apps environment" to configure the networking setup.
-
Select "Create new environment" in
Container Apps environmentto configure the basic networking setup. -
Configure the basic settings as shown in the screenshot below.

-
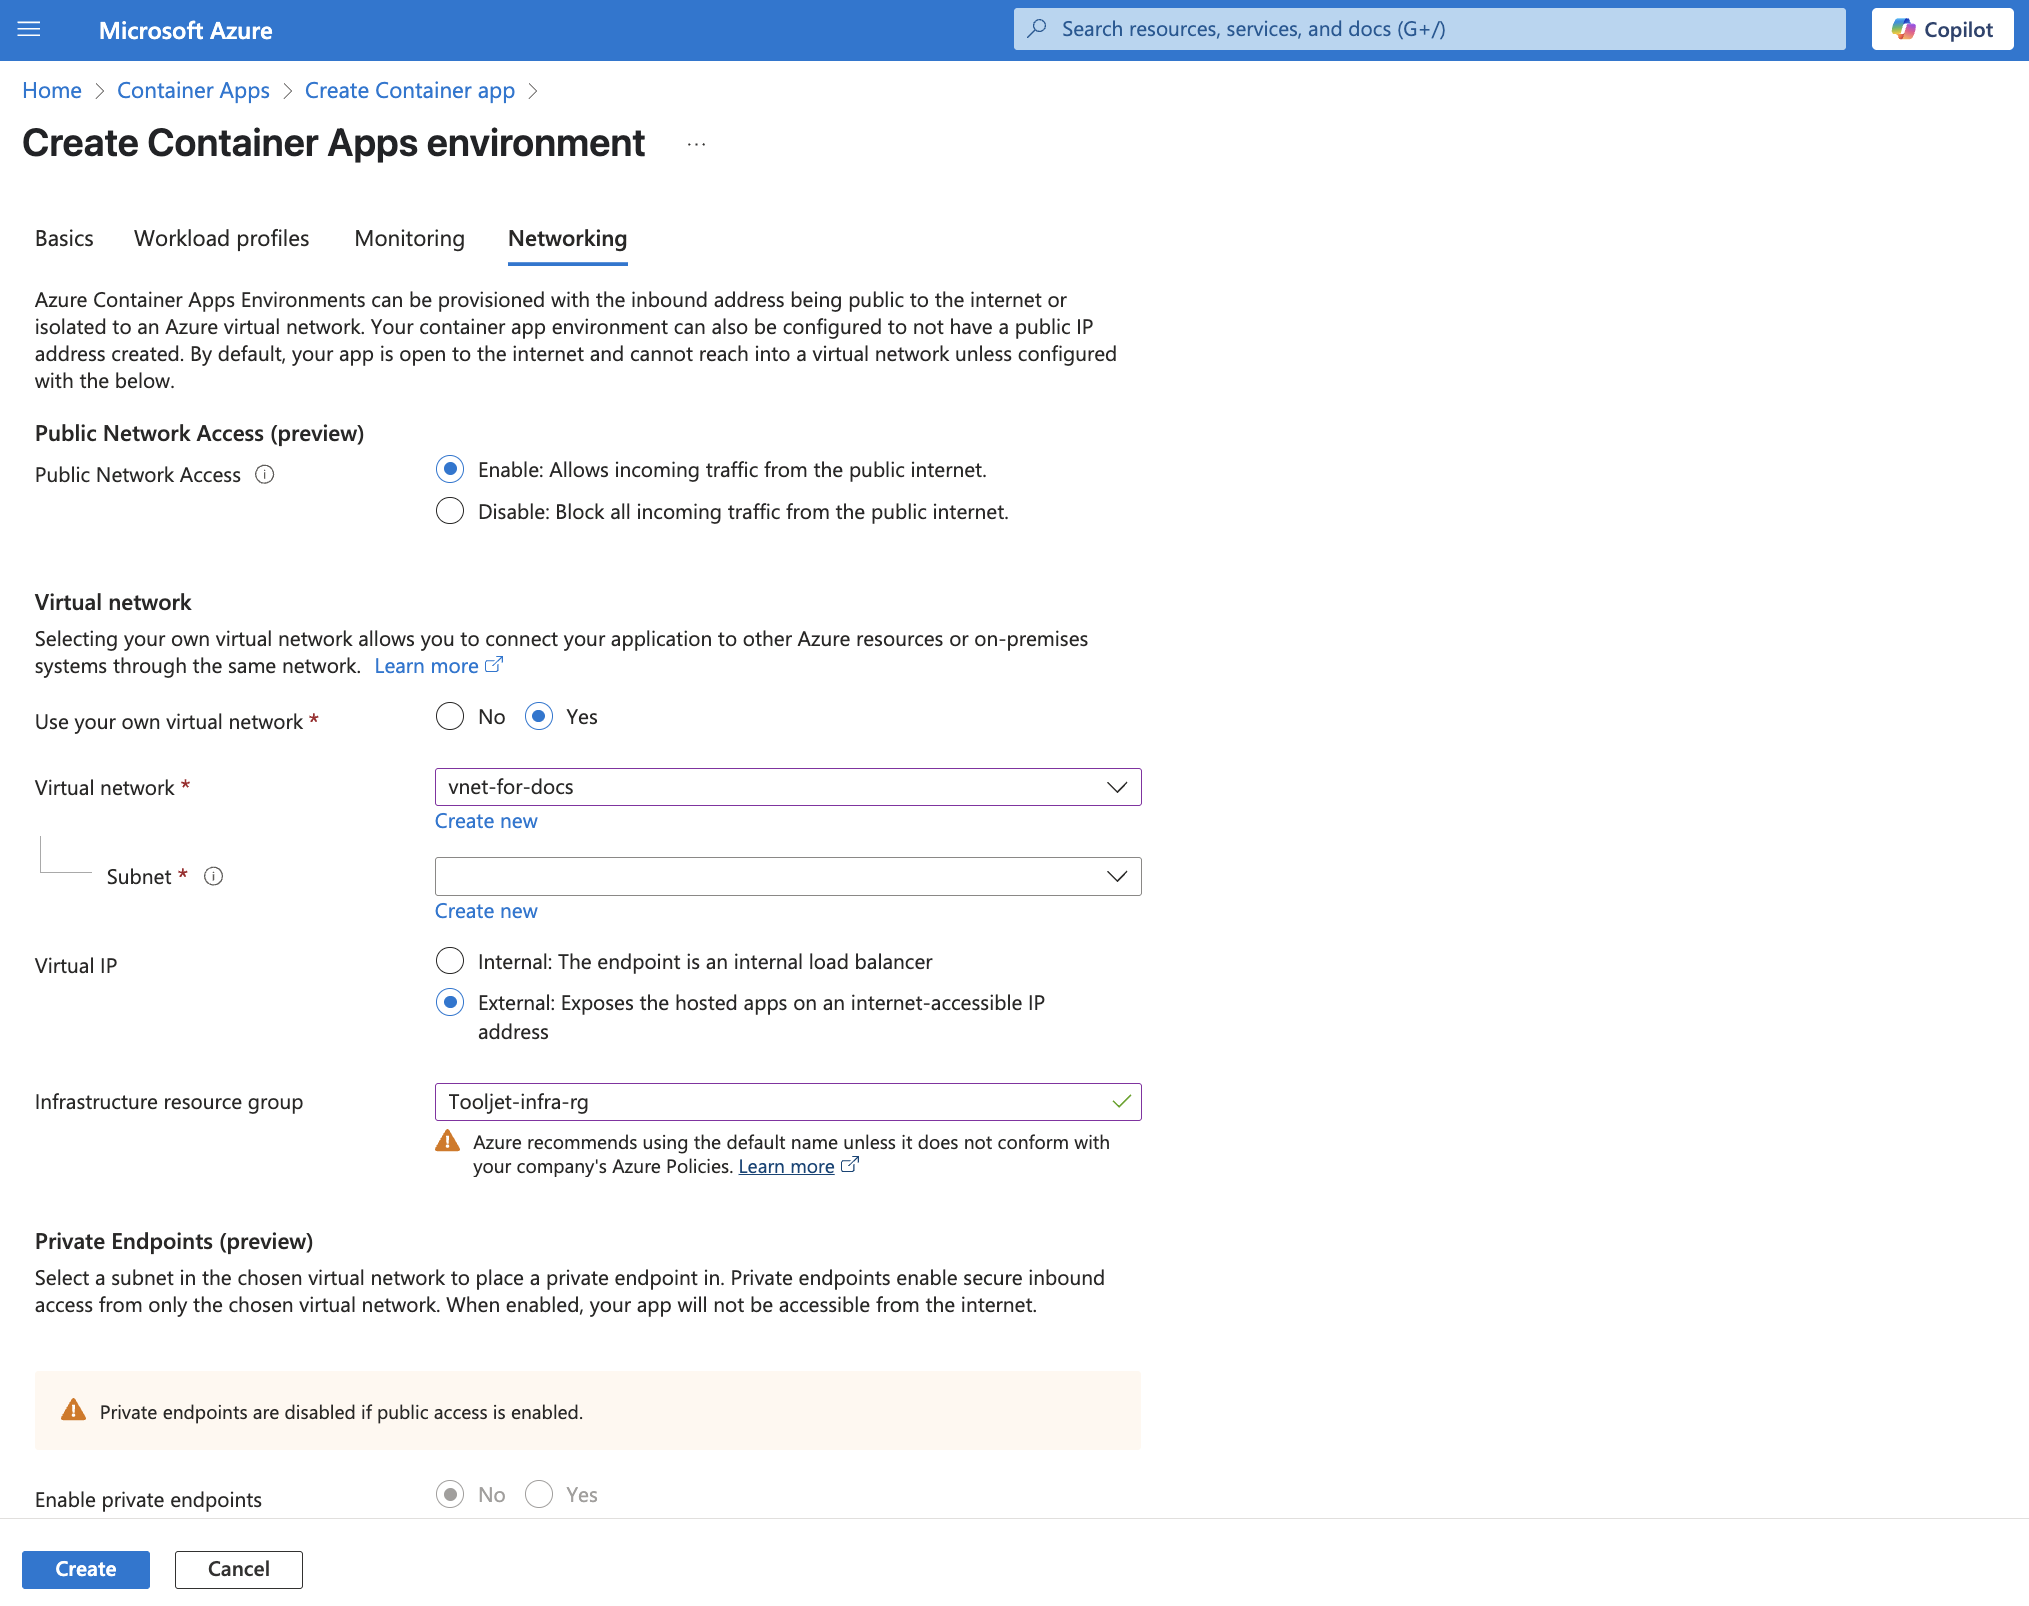
Move to the "Networking" tab for the detailed configuration as shown in the screenshot. You can retain the default settings for Workload Profiles and Monitoring configurations.
tipThe Container app, the PostgreSQL server, and the Redis server all should be in the same virtual network (VNet).
-
Click on the Create button at the bottom of the page.
-
In the container tab, uncheck the "Use quickstart image" option to select the image source manually.
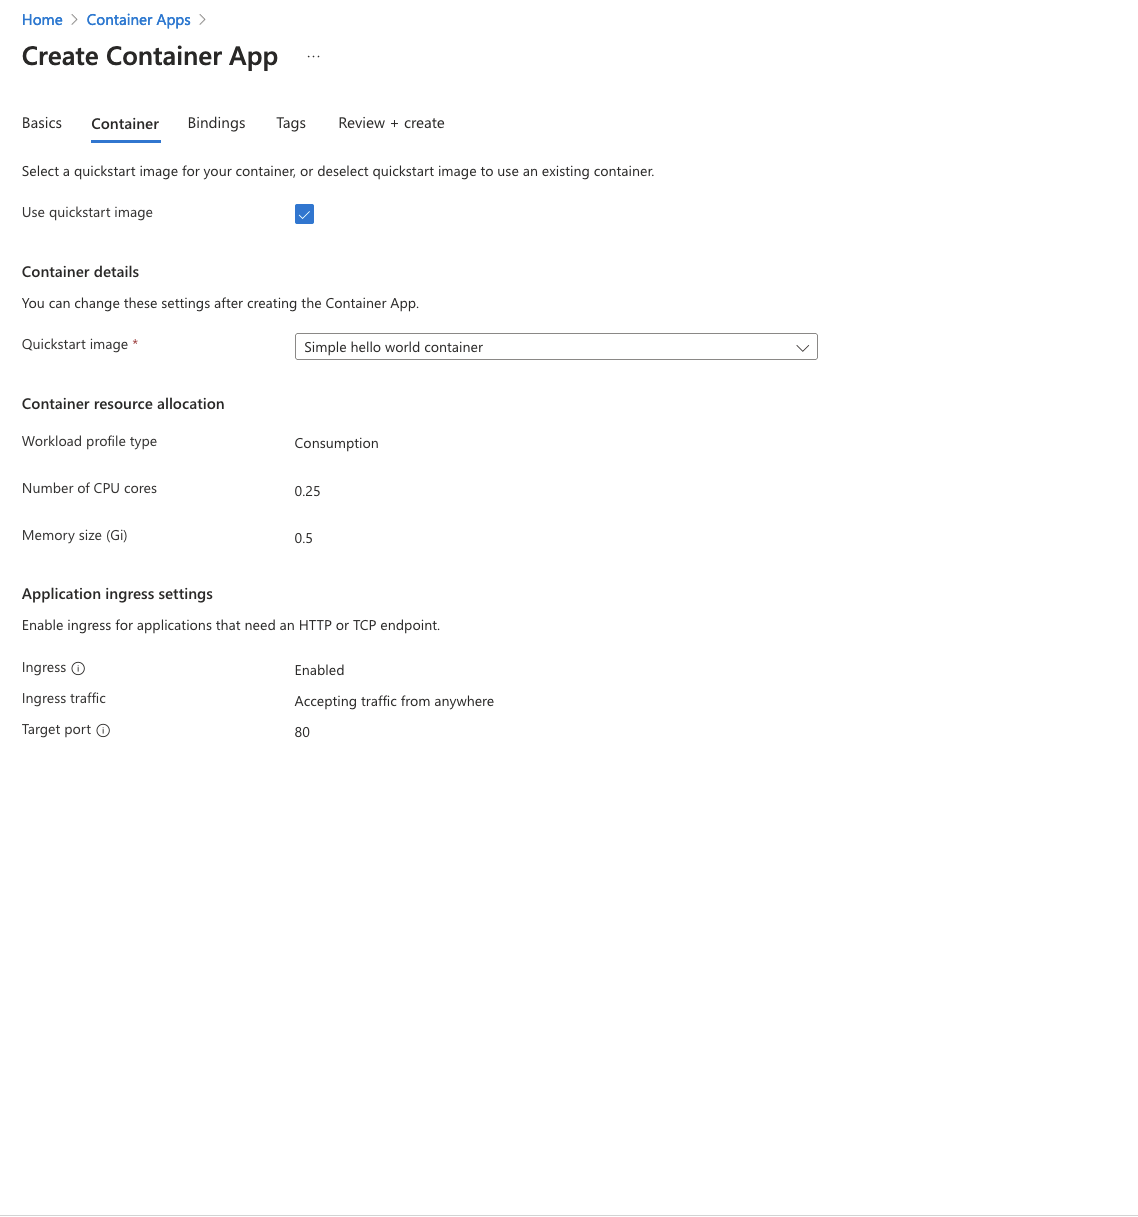
Make sure to provide the image tag, and then enter
server/entrypoint.sh, npm, run, start:prodin the "Arguments override" field.Add the following ToolJet application variables under the "Environmental variable" section. You can refer to this documentation for more information on environment variables.
Note: ToolJet requires:
 TOOLJET_DB
 TOOLJET_DB_HOST
 TOOLJET_DB_USER
 TOOLJET_DB_PASS
 PG_HOST
 PG_DB
 PG_USER
 PG_PASS
 SECRET_KEY_BASE
 LOCKBOX_KEY
For redis connection ensure below environment variables are added:
 REDIS_HOST
 REDIS_PORT
 REDIS_USER
If using Azure Database for Postgresql-Flexible server, add:
PGSSLMODE = require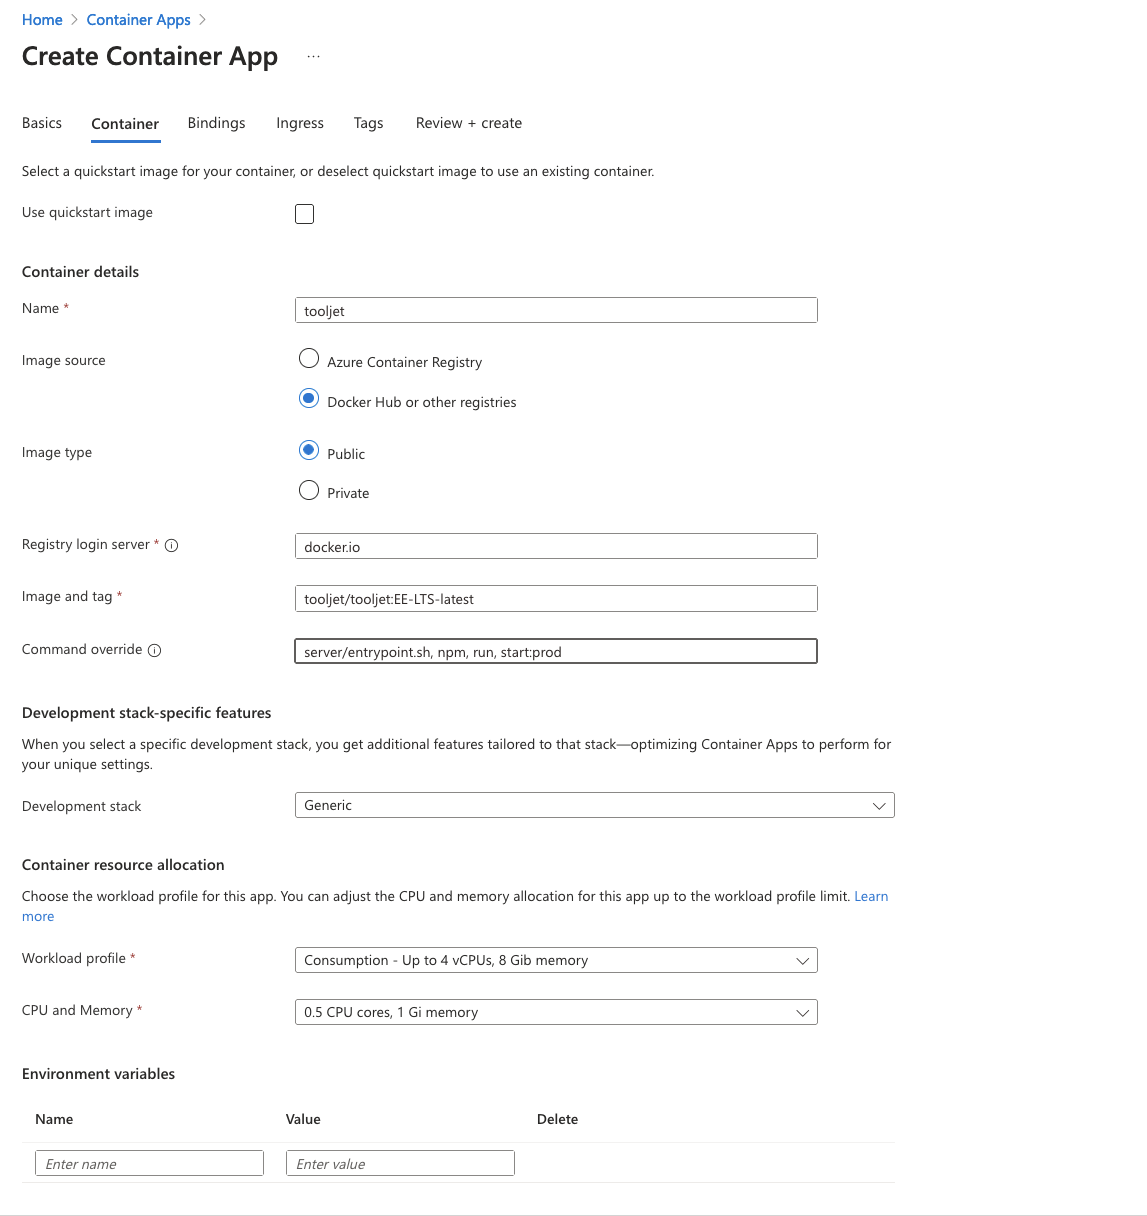
-
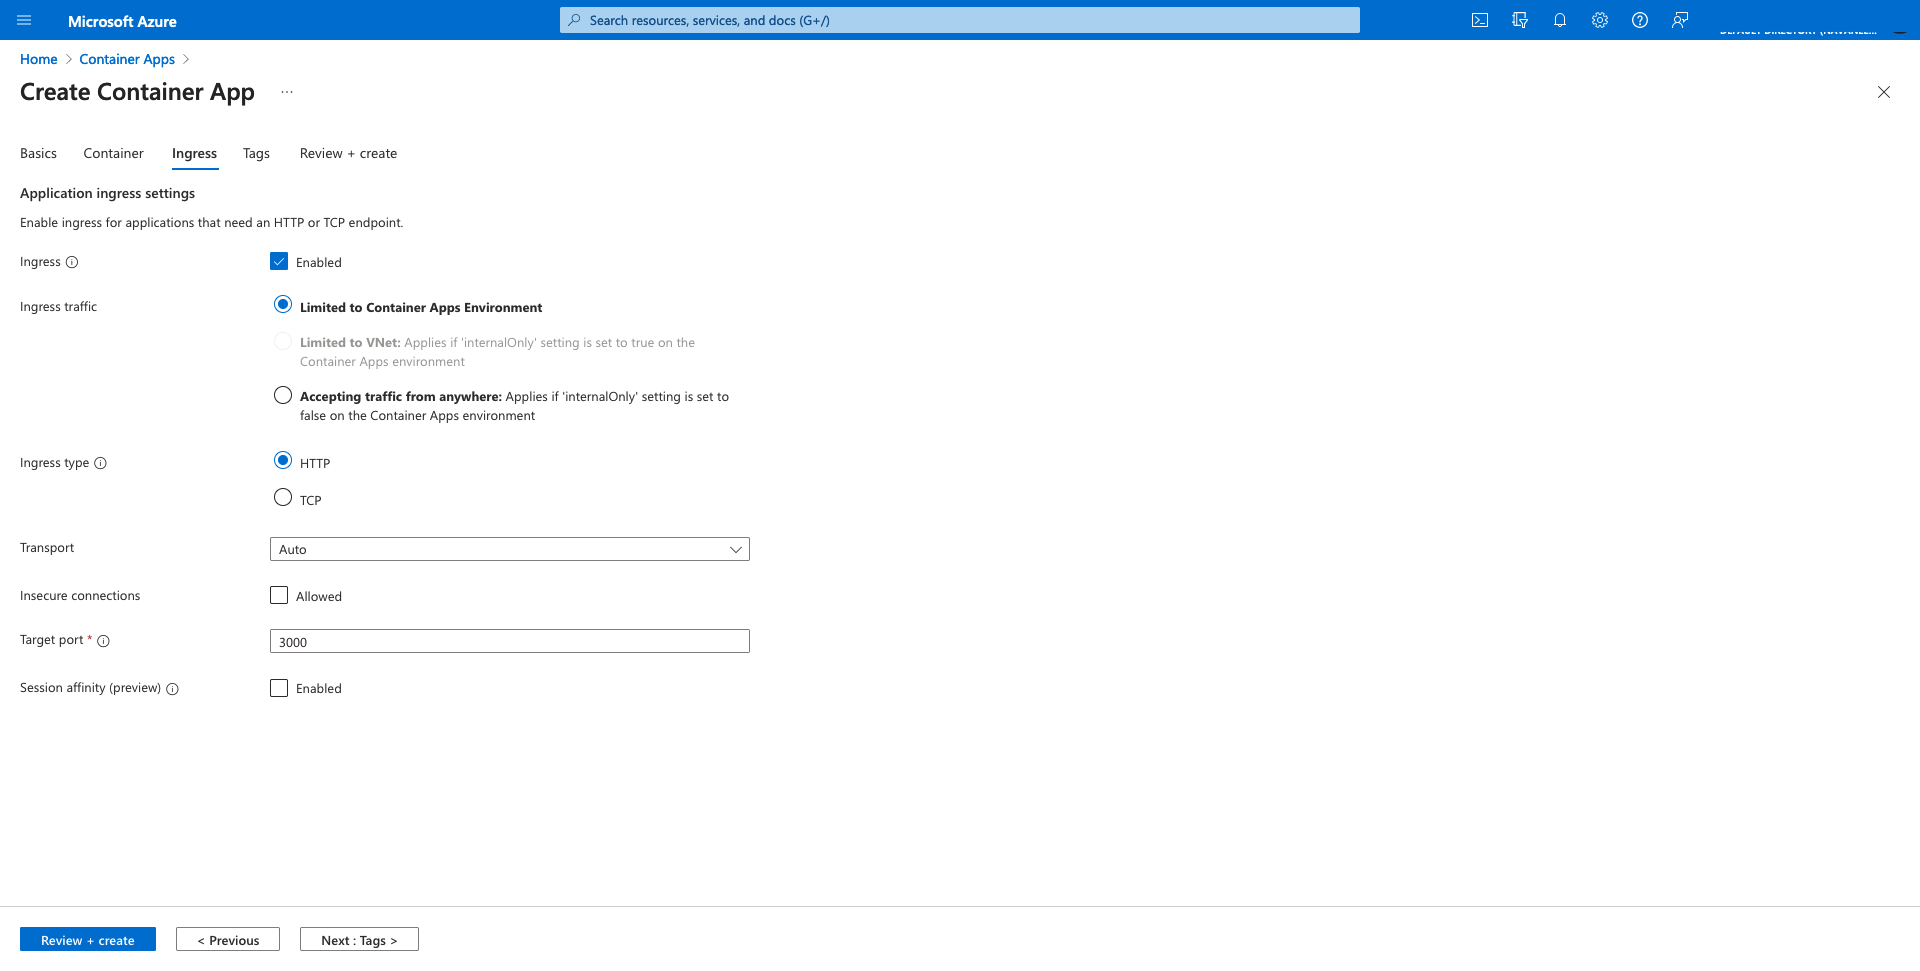
In the ingress tab, configure Ingress and Authentication settings as shown below. You can customize the security configurations as per your requirements. Make sure the port is set to 3000.
-
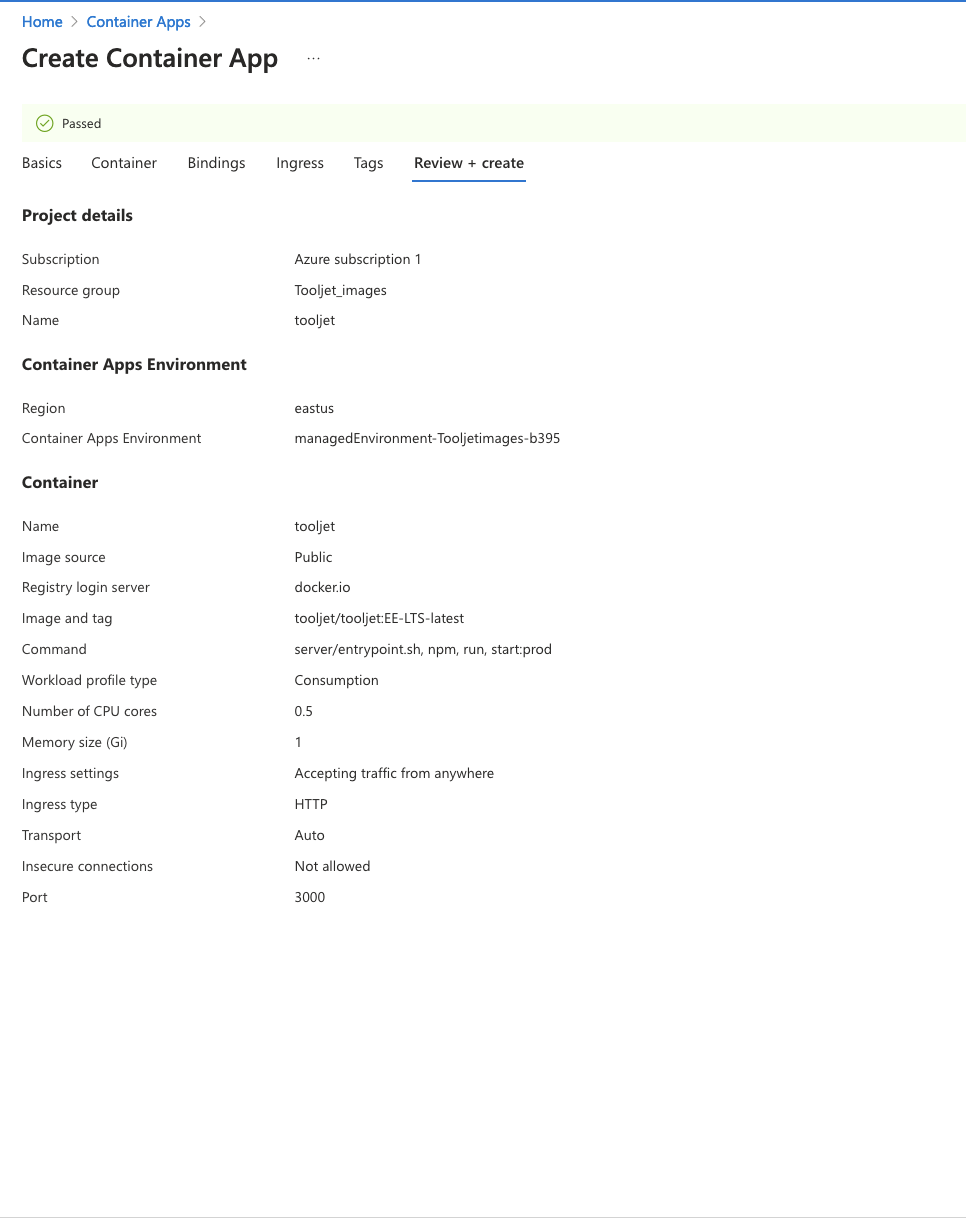
Move to Review + create tab and wait for the template to be verified and passed, as shown in the screenshot below.
-
Once the container is deployed, you can verify its status under revision management.
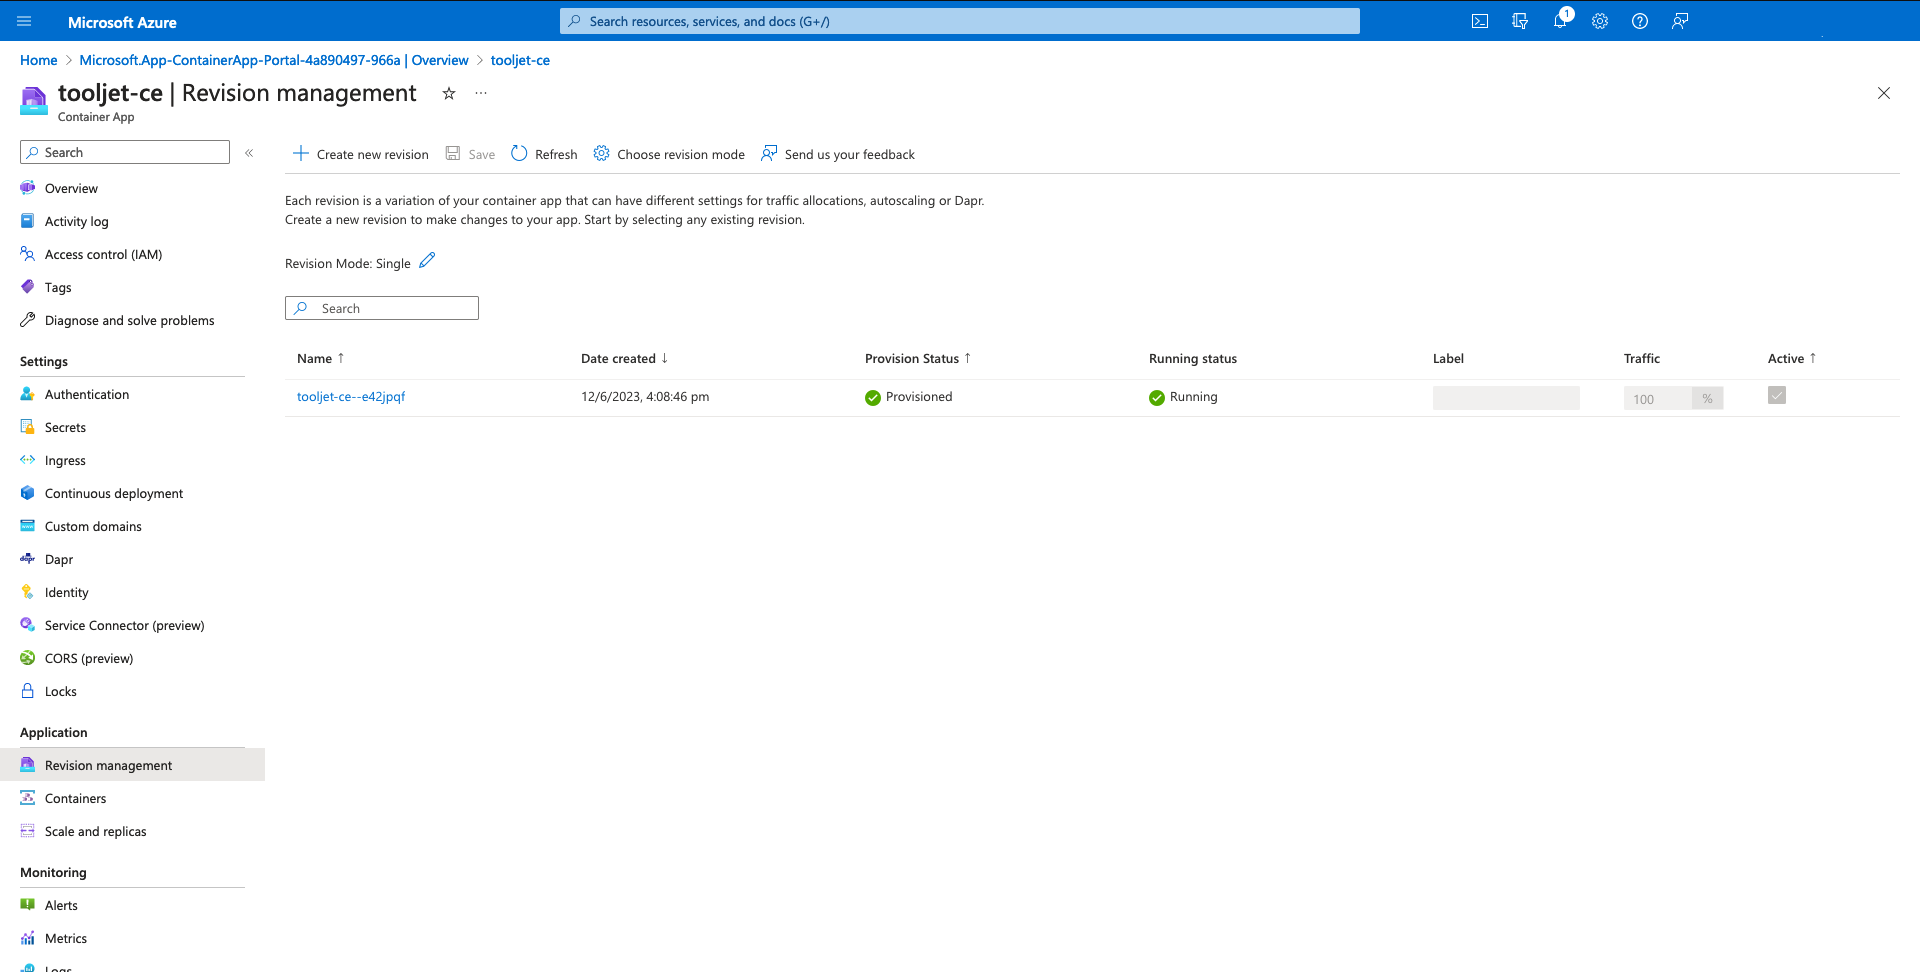
You can access ToolJet via the application URL provided in the overview tab.
Redis Setup
ToolJet requires Redis for multiplayer editing and background jobs.
If you already have Redis configured, you can use your existing setup. Otherwise, you can create a new Redis service by following these instructions.
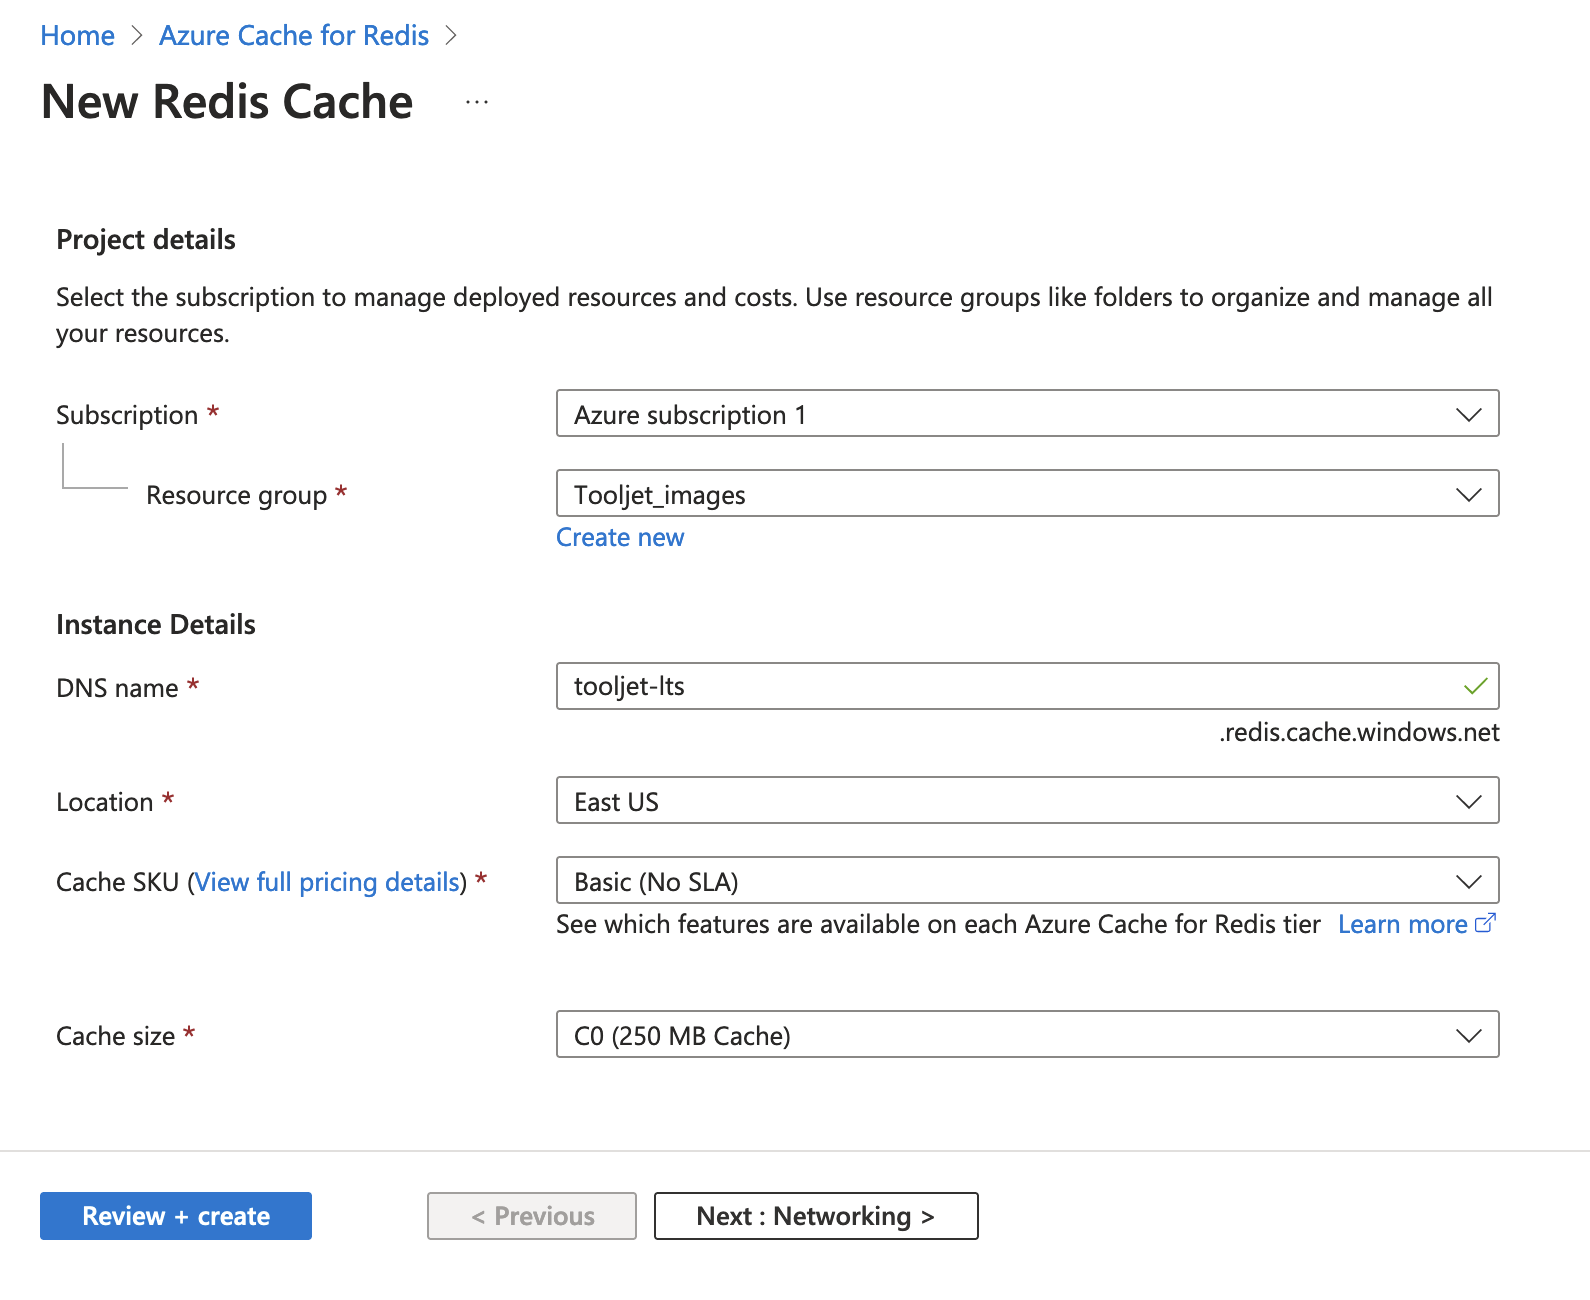
Create a Redis Instance
-
Create a Redis instance with the minimum required specifications.
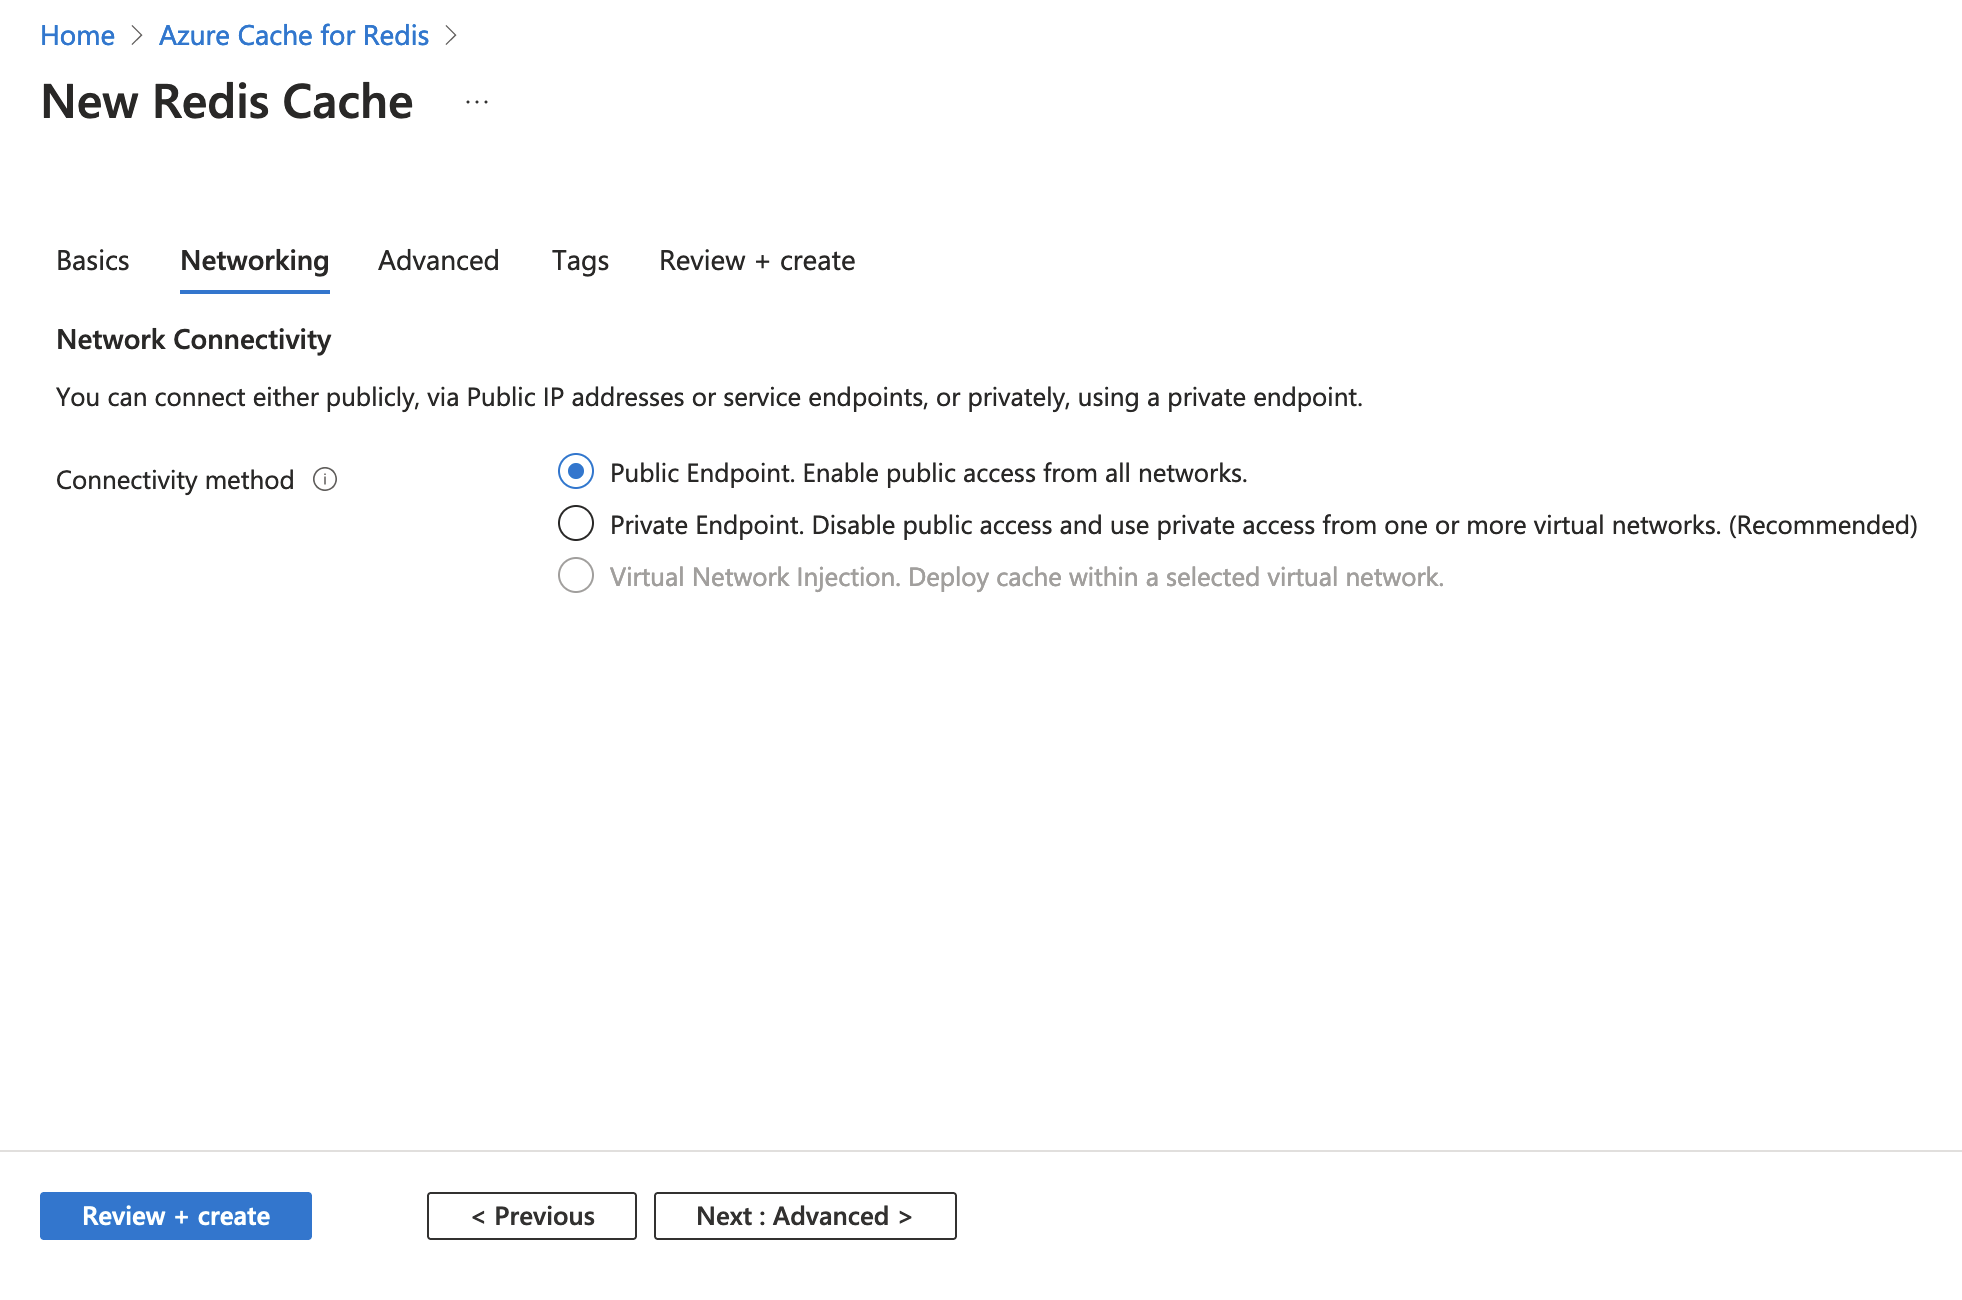
Choose Network Settings
-
Select your preferred network settings based on your setup.
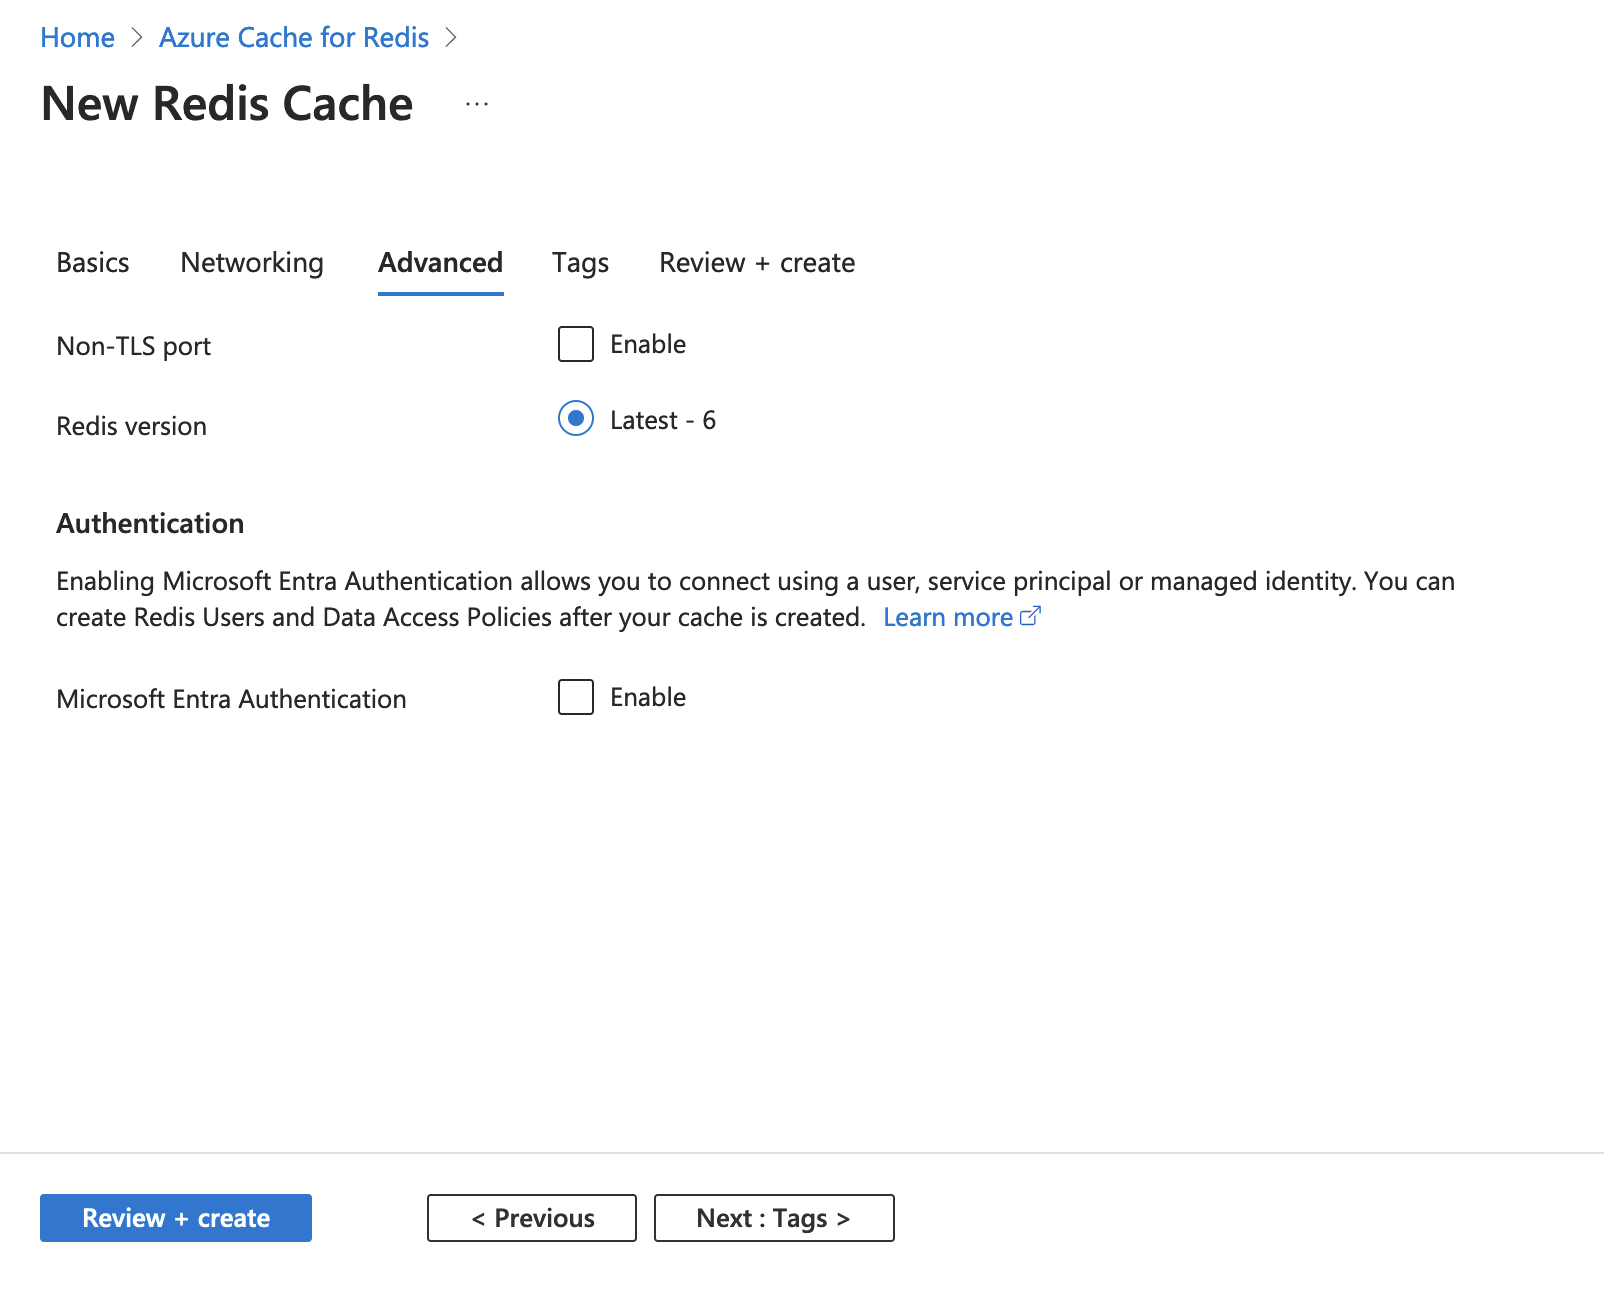
Configure TLS Port
-
Choose your preferred settings for the TLS port.
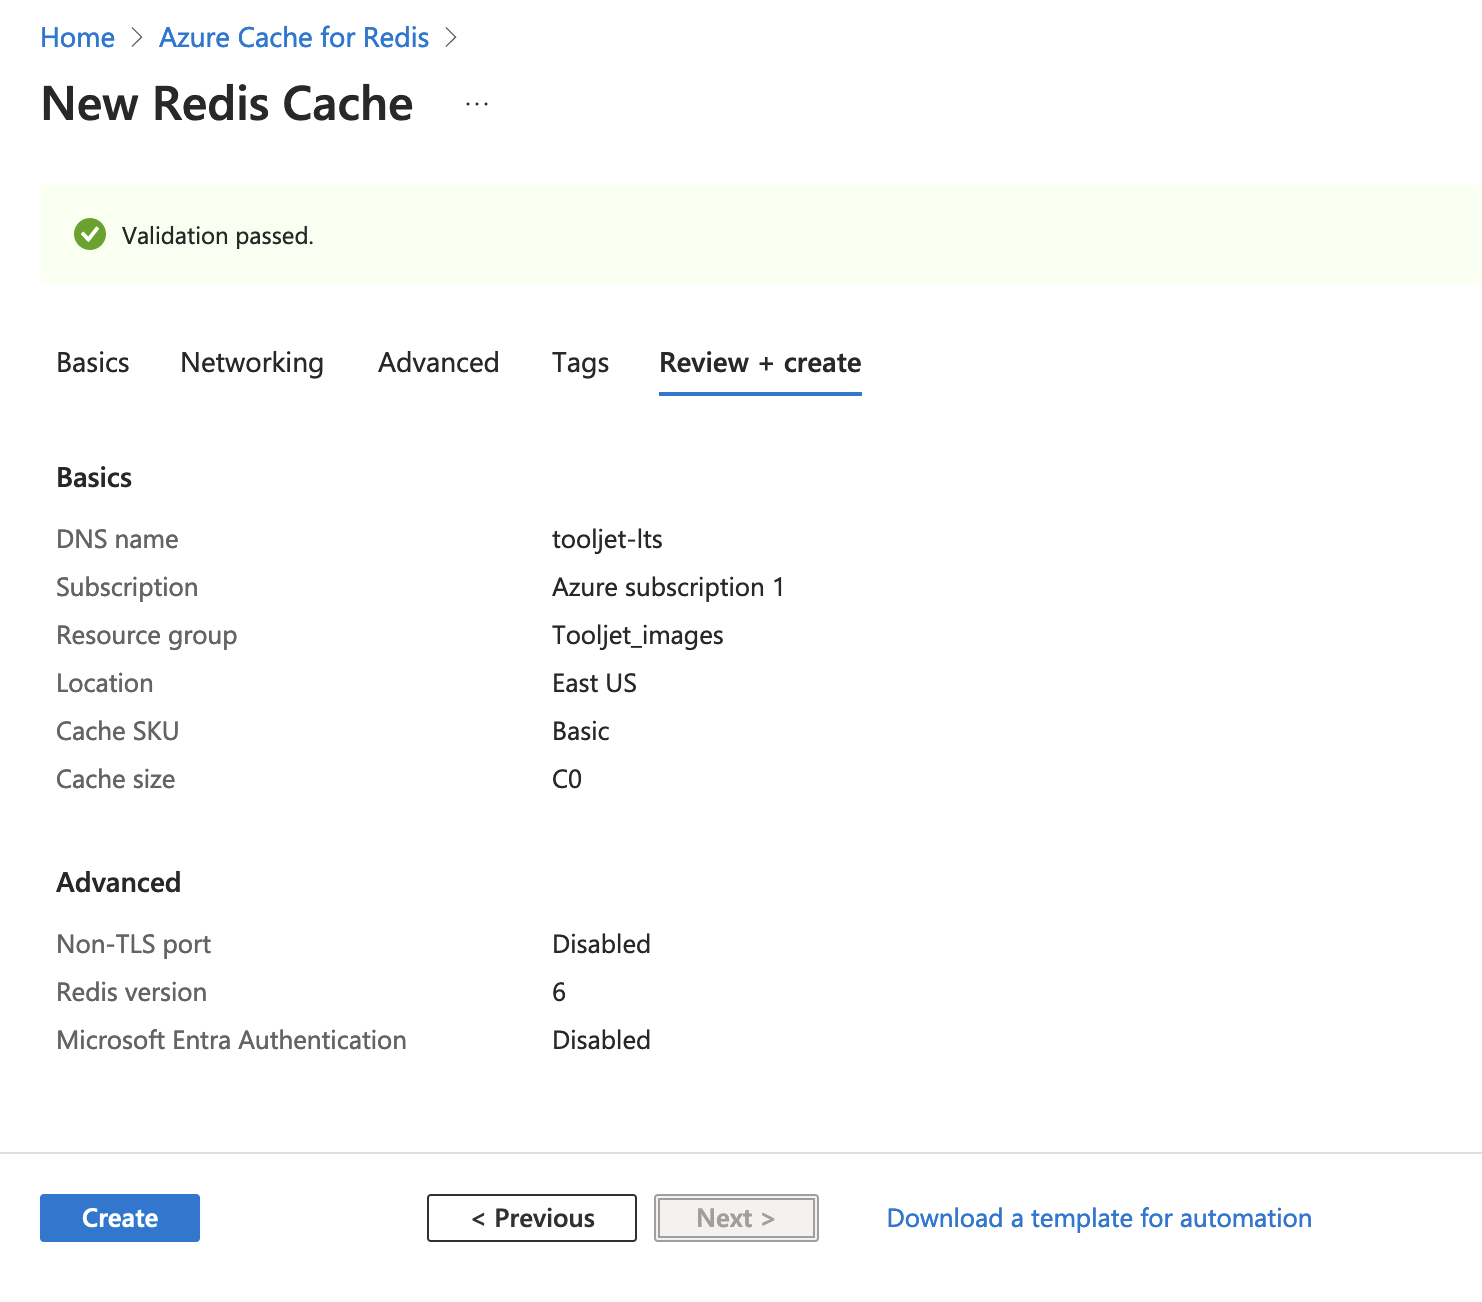
Review and Create
-
Click on "Review + create" and wait for the template to be verified and passed.
Upgrading to the Latest LTS Version
New LTS versions are released every 3-5 months with an end-of-life of atleast 18 months. To check the latest LTS version, visit the ToolJet Docker Hub page. The LTS tags follow a naming convention with the prefix LTS- followed by the version number, for example tooljet/tooljet:ee-lts-latest.
If this is a new installation of the application, you may start directly with the latest version. This guide is not required for new installations.
Prerequisites for Upgrading to the Latest LTS Version:
-
It is crucial to perform a comprehensive backup of your database before starting the upgrade process to prevent data loss.
-
Users on versions earlier than v2.23.0-ee2.10.2 must first upgrade to this version before proceeding to the LTS version.
If you have any questions feel free to join our Slack Community or send us an email at [email protected].